
Woodworking is a craft that requires precision, patience, and the right set of tools. Among the most critical tools in any woodworker’s arsenal is the woodworking square. This simple yet essential tool ensures that every cut, joint, and angle is perfectly aligned, which is crucial for creating high-quality, professional-looking projects. In this comprehensive guide, we’ll dive deep into the world of woodworking squares, exploring their history, types, uses, and how they contribute to achieving unmatched accuracy in woodworking.
1. Introduction: What is a Woodworking Square?
The woodworking square is a versatile tool that serves as a guide for ensuring accuracy in a variety of woodworking tasks. Whether you’re marking lines, checking angles, or aligning pieces, a woodworking square helps ensure that everything is straight and true. It’s the tool that turns rough wood into precise components for furniture, cabinets, and more. The importance of the woodworking square cannot be overstated—it is fundamental to producing high-quality work.
2. The History and Evolution of the Woodworking Square
The history of the woodworking square dates back centuries. Early civilizations, including the Egyptians and Romans, used rudimentary squares made from wood and metal to construct their monumental architecture. Over time, these tools evolved into the precise instruments we use today. Understanding this evolution helps us appreciate the precision and reliability of modern squares.
Ancient squares were typically made from hardwoods like oak or mahogany, sometimes with brass reinforcements for added durability. These early tools were handcrafted, requiring significant skill to produce. As metalworking techniques advanced, squares began to be made from steel and other metals, offering greater durability and precision. Today, modern woodworking squares are produced with high levels of accuracy, often to within a fraction of a degree, making them indispensable in the woodworking trade.
3. Types of Woodworking Squares
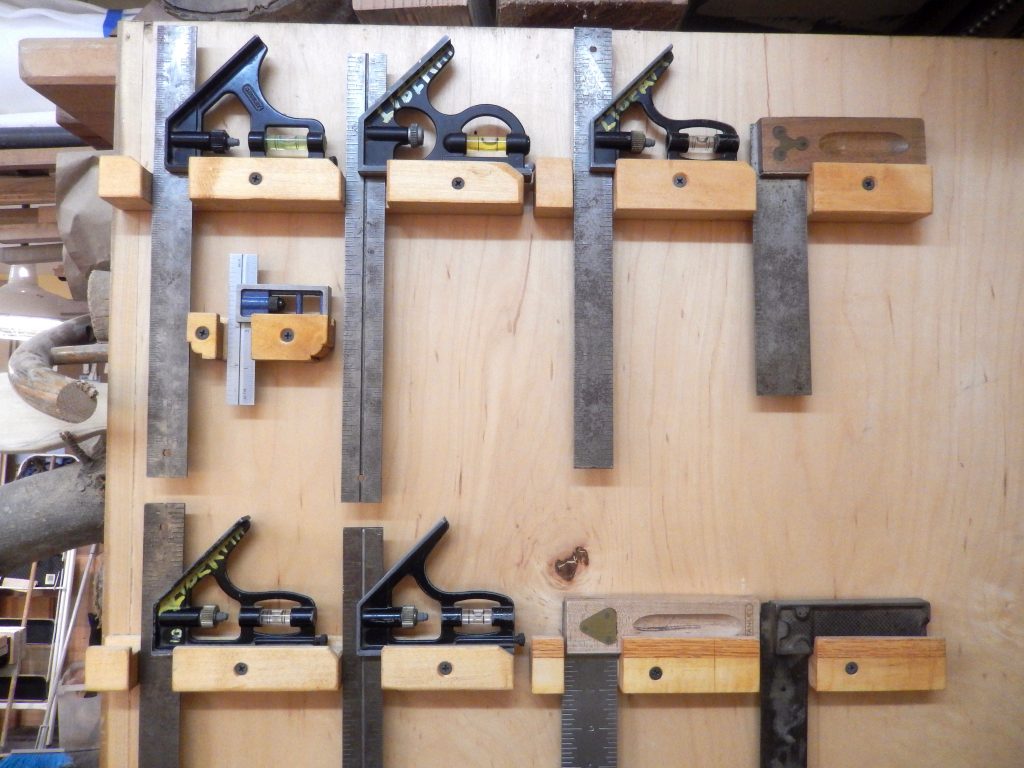
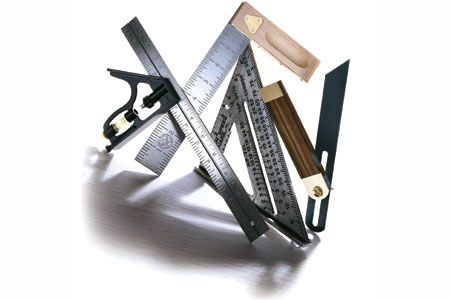
There are several types of woodworking squares, each designed for specific tasks. Understanding the different types will help you choose the right one for your needs.
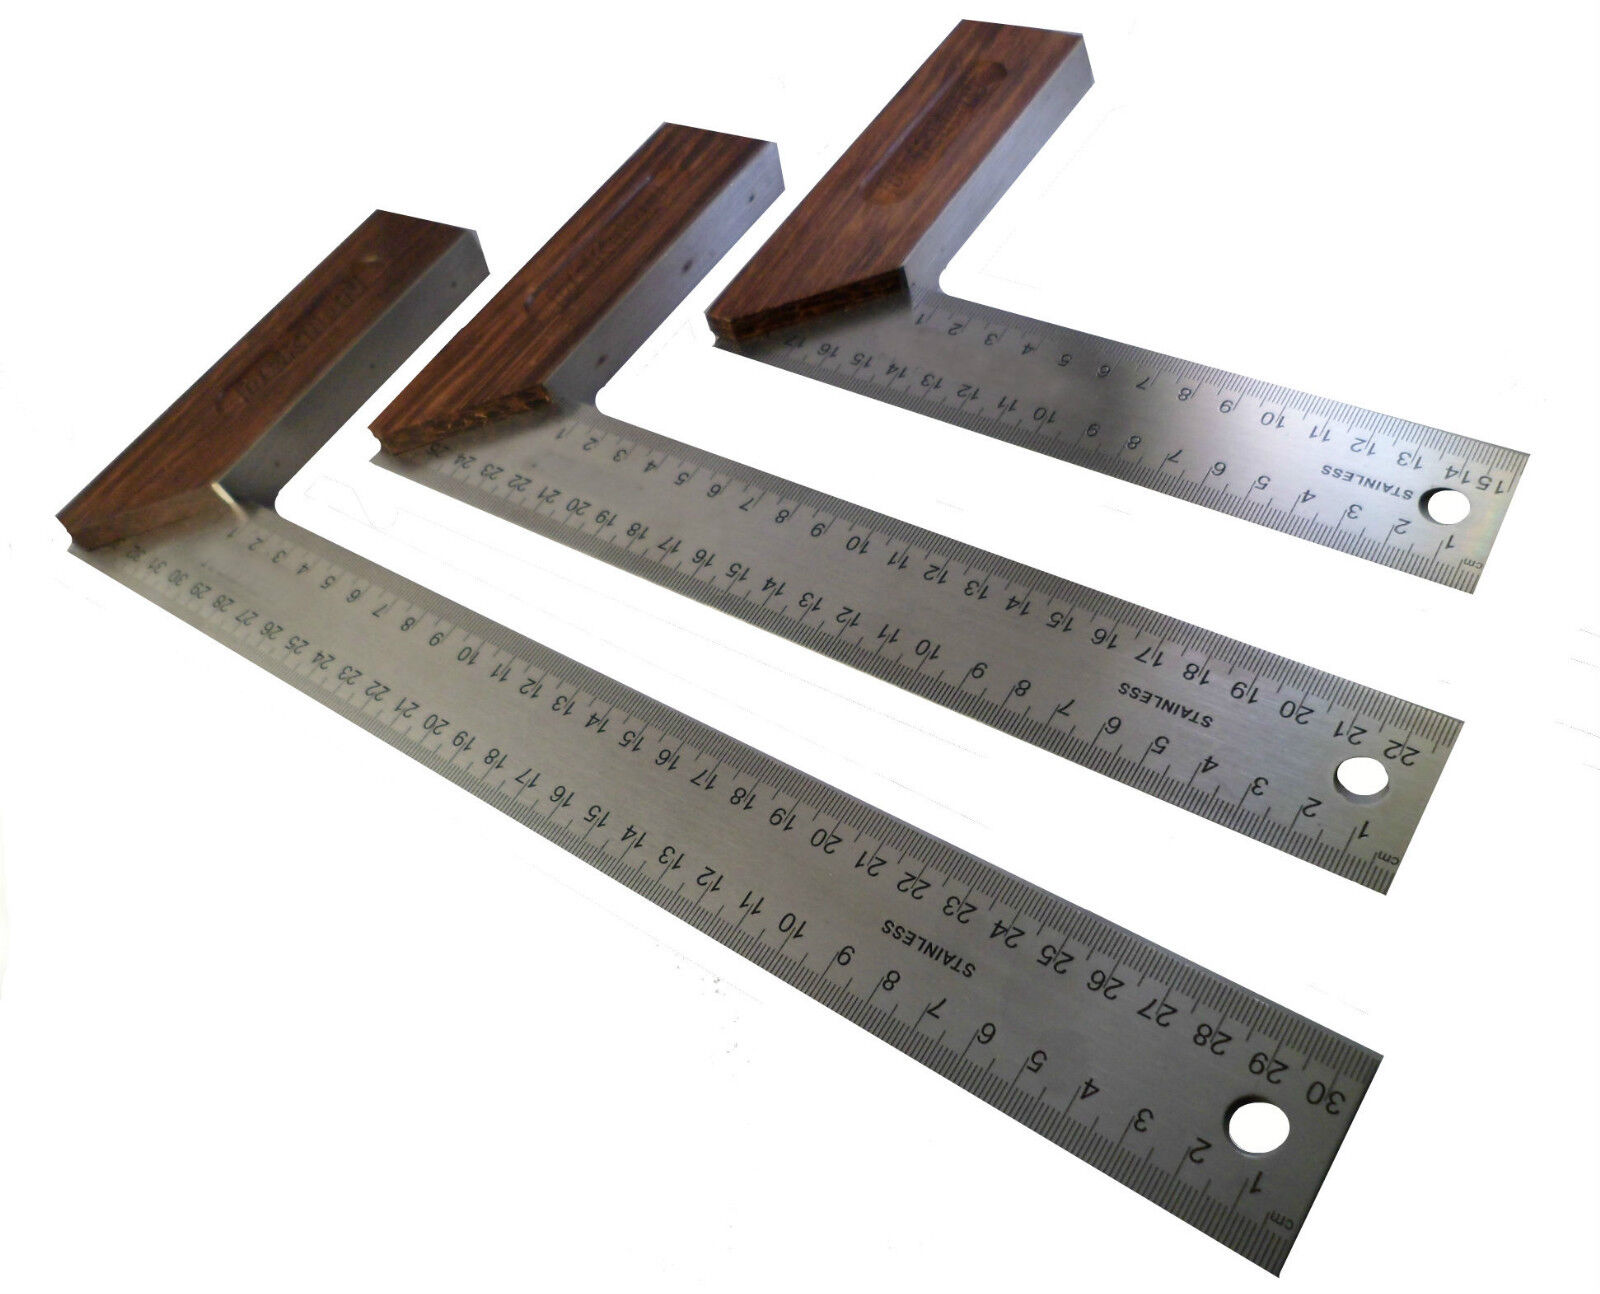
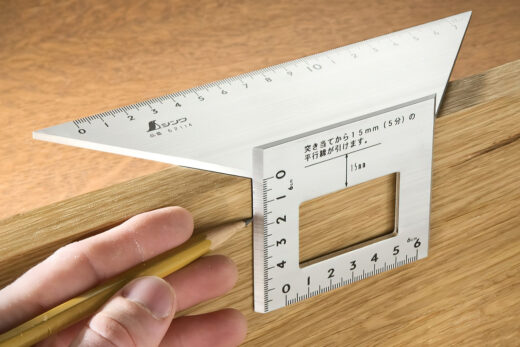
- Try Square: The try square is perhaps the most commonly used type of woodworking square. It consists of a steel blade fixed at a 90-degree angle to a wooden or metal handle. It’s primarily used for checking and marking right angles. The try square is a simple tool but incredibly effective for ensuring that your cuts are perfectly square.
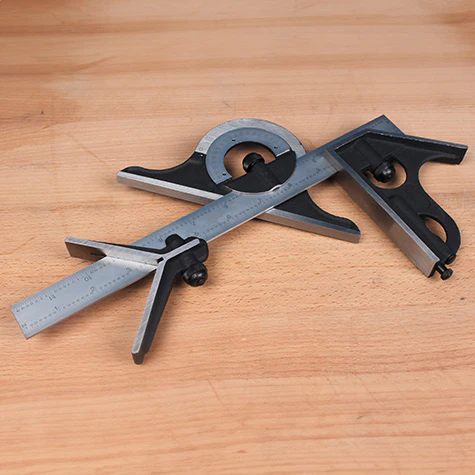
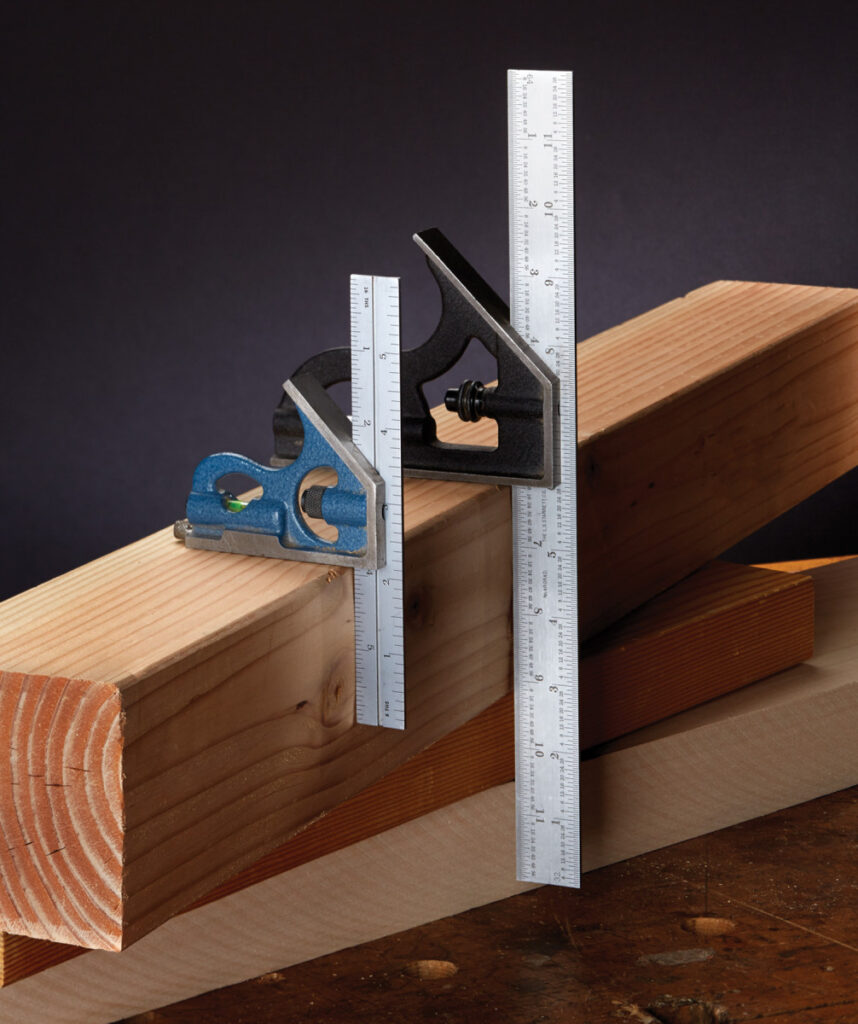
- Combination Square: The combination square is a versatile tool that combines several functions into one. It typically includes a ruler, a 90-degree square, a 45-degree miter square, and a level. The ruler is adjustable, allowing you to measure different angles and depths with precision. This tool is especially useful for marking, measuring, and checking the accuracy of your work.
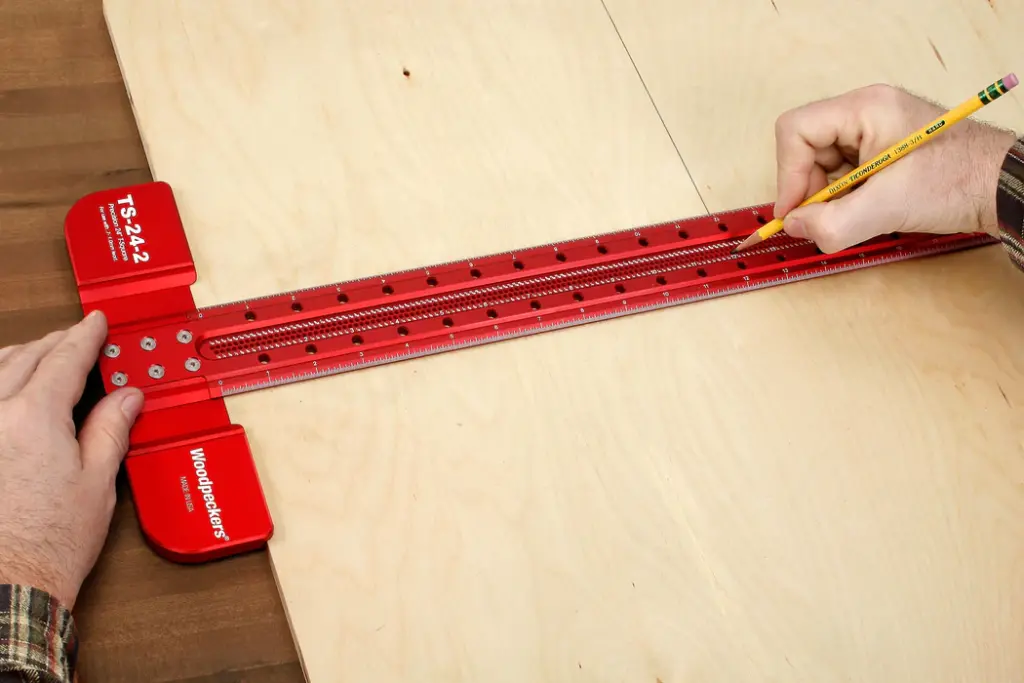
- Framing Square: Also known as a carpenter’s square, the framing square is a large, L-shaped tool used for measuring and marking large pieces of wood, such as those used in framing houses. It’s essential for ensuring that large structures are square and true.
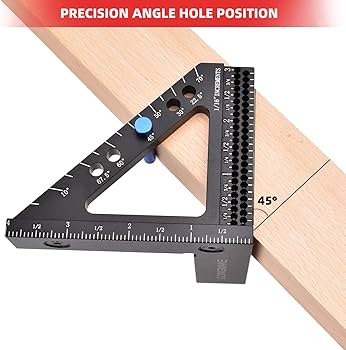
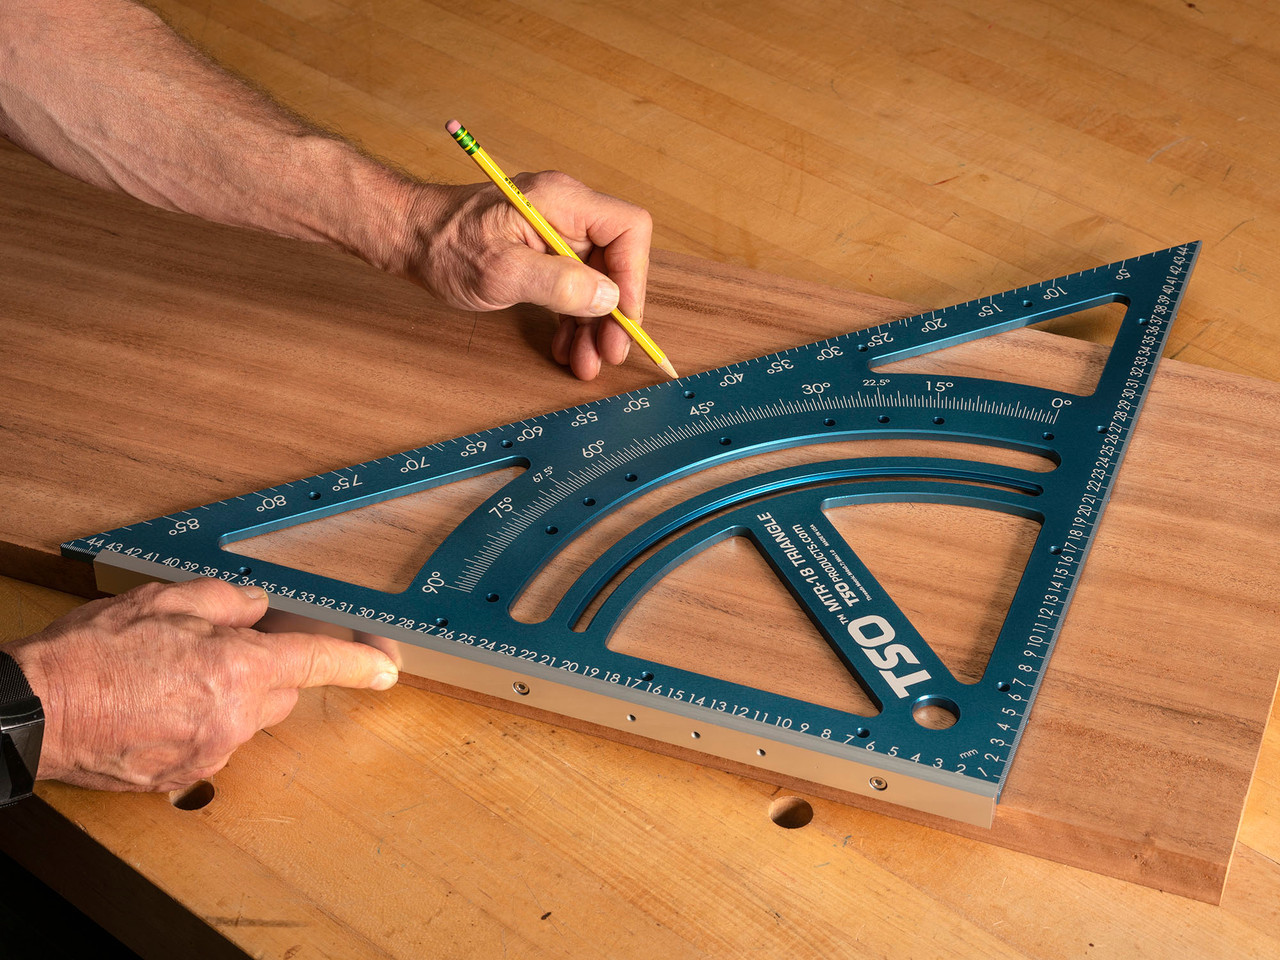
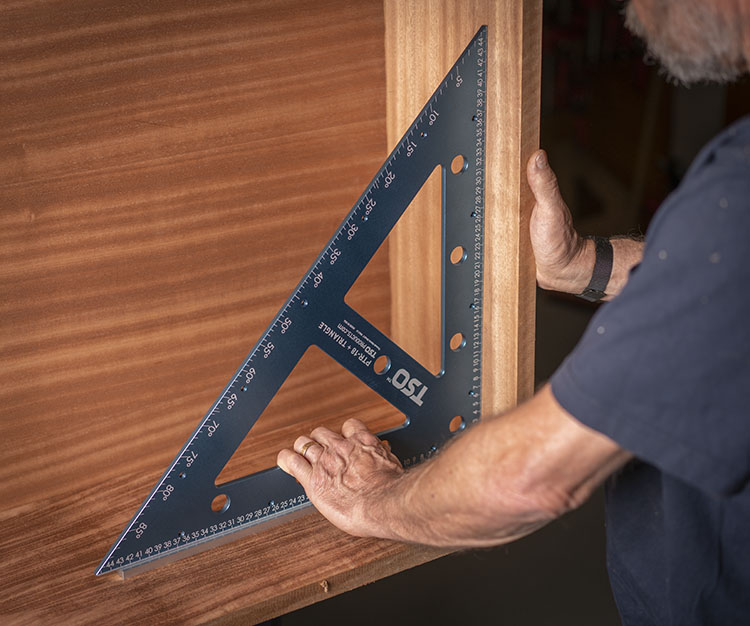
- Speed Square: The speed square is a triangular tool that combines the functions of a try square, miter square, protractor, and saw guide. It’s often used for quick measurements and is particularly popular in construction for marking rafters and stairs.
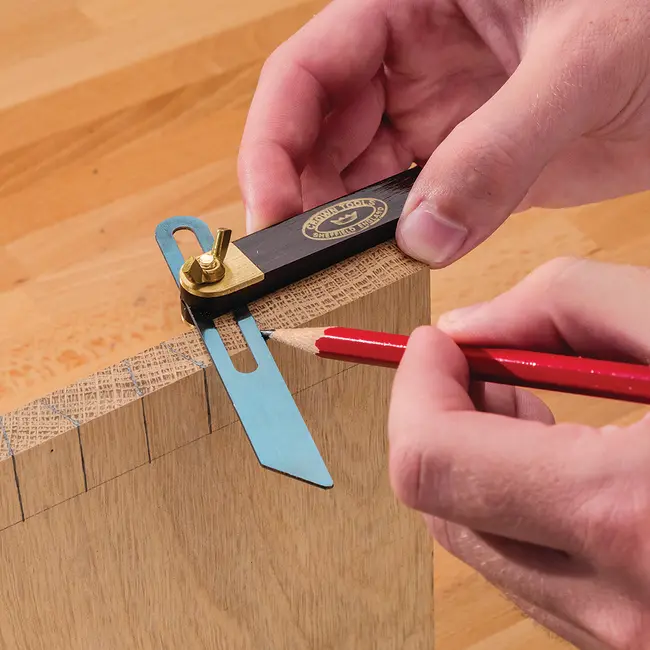
- Bevel Square: Also known as a sliding T-bevel, this square is adjustable, allowing you to replicate and transfer angles. It’s particularly useful when working with non-standard angles that aren’t 90 or 45 degrees.
4. Why Accuracy is Essential in Woodworking
Accuracy in woodworking is paramount. A slight error in measurement or alignment can result in pieces that don’t fit together correctly, leading to gaps, weak joints, or an overall poor appearance. The woodworking square is the tool that ensures these errors are minimized, if not entirely eliminated.
When working on a project, every component must be cut and joined with precision. The woodworking square helps you achieve this by providing a reliable reference for ensuring that cuts are at the correct angle and that joints are properly aligned. This accuracy is not only important for the aesthetics of the piece but also for its structural integrity. A well-made joint is stronger and more durable, ensuring that the finished piece will stand the test of time.
5. The Role of the Woodworking Square in Achieving Precision
Precision is the hallmark of high-quality woodworking, and the woodworking square is the tool that makes this precision possible. By providing a consistent reference point for measurements and cuts, the woodworking square helps ensure that every part of a project is aligned perfectly.
For example, when cutting pieces for a frame, the woodworking square ensures that each piece is cut at exactly 90 degrees, so that the frame will be square when assembled. Without the square, even a small deviation from 90 degrees could result in a frame that’s skewed or uneven, which would be particularly noticeable once the piece is finished.
The woodworking square also plays a crucial role in joinery. When creating joints, such as mortise and tenon or dovetail joints, the square ensures that the pieces are aligned correctly, resulting in a strong and seamless joint. In complex projects with multiple joints, the cumulative effect of even small errors can be significant, so precision is key.
6. How to Use a Woodworking Square for Maximum Accuracy
Using a woodworking square correctly is essential for achieving accuracy in your work. Here’s a detailed guide on how to use different types of squares in various woodworking tasks:
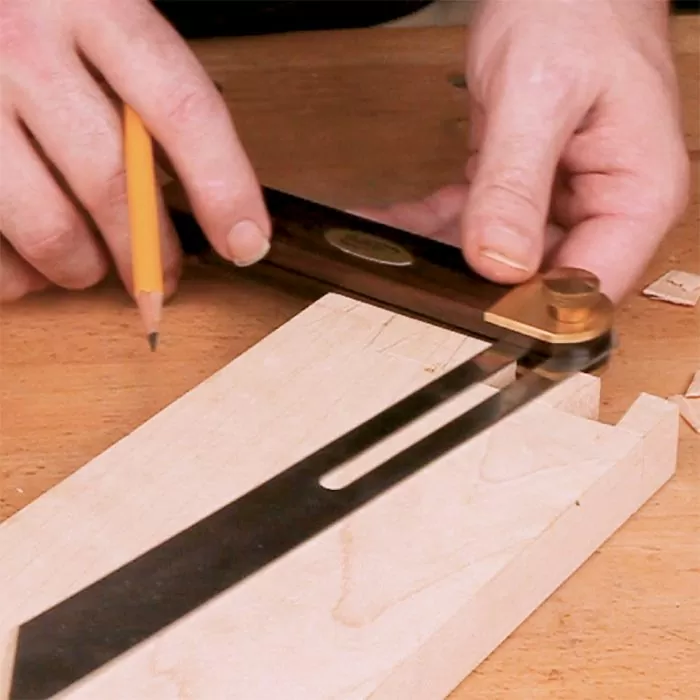
- Aligning and Marking: Place the square’s body against the edge of your workpiece. The blade should rest flat on the surface. For marking, use a sharp pencil or marking knife to draw a line along the blade’s edge. This line will be your reference for cutting.
- Checking for Squareness: To check if a piece is square, place the square’s body against one edge and the blade against the adjacent edge. If the blade lies flat along the entire edge without gaps, the piece is square. This is particularly important when checking the squareness of frames, cabinets, or other structures.
- Measuring Angles: When using a combination or speed square, you can measure angles by aligning the pivot point of the square with the corner of the workpiece and rotating the blade or ruler to the desired angle. Mark the line for cutting. This method is especially useful for cutting rafters, stairs, or other pieces that require precise angles.
- Transferring Angles: For transferring an angle from one piece to another, a bevel square is ideal. Set the bevel square to the angle you want to replicate, then place it on the second piece and mark the angle. This is especially helpful when working with non-standard angles.
- Checking Joints: When assembling joints, use the square to ensure that the pieces are aligned correctly. For example, when assembling a frame, check that each corner is square by placing the square in the corner and checking for any gaps.

7. Common Mistakes to Avoid When Using a Woodworking Square
Even though the woodworking square is a straightforward tool, there are common mistakes that can lead to inaccurate results. Here are some pitfalls to avoid:
- Assuming All Squares are Perfect: Not all squares are perfectly square out of the box. It’s important to check the accuracy of your square before using it. You can do this by drawing a line along the edge of the square, flipping the square over, and drawing another line from the same starting point. If the lines align, your square is accurate.
- Not Maintaining the Tool: Over time, even the best woodworking squares can become worn or damaged. Regular maintenance, such as cleaning and checking for squareness, is essential to ensure that your square remains accurate.
- Using the Wrong Type of Square: Each type of square is designed for specific tasks. Using the wrong type of square can lead to errors. For example, using a try square for large framing work might not give you the accuracy you need. Make sure to use the appropriate square for the task at hand.
- Improper Marking Technique: When marking, it’s important to use the square correctly. Ensure that the square is firmly held against the edge of the workpiece and that you’re marking along the entire length of the blade. A light, steady hand will produce the best results.
8. The Importance of Maintenance and Calibration
Maintaining your woodworking square is essential for ensuring that it remains accurate and reliable. Here’s how to keep your square in top condition:
- Cleaning: After each use, clean your square to remove any dust, wood chips, or debris that could affect its accuracy. Use a soft cloth to wipe down the blade and handle. For metal squares, applying a light coat of oil can prevent rust.
- Checking for Squareness: Regularly check your square for accuracy. This can be done using the method described earlier (drawing two lines and checking for alignment). If your square is out of true, it may need to be recalibrated or replaced.
- Storage: Store your woodworking square in a dry, safe place where it won’t be subjected to heavy impacts or pressure. Hanging it on a tool rack or storing it in a dedicated case will protect it from damage.
- Calibration: If your square becomes slightly out of true, some types, like combination squares, can be recalibrated. This typically involves adjusting the blade or tightening the screws that hold it in place. Follow the manufacturer’s instructions for calibration to ensure accuracy.
9. Advanced Techniques for Precision with a Woodworking Square
Once you’ve mastered the basics of using a woodworking square, there are advanced techniques that can help you achieve even greater precision in your work:
- Using a Square as a Saw Guide: A speed square can be used as a guide for making straight cuts with a hand saw or circular saw. Simply align the square along the cutting line, and use the edge as a guide for the saw blade. This technique ensures a perfectly straight cut every time.
- Laying Out Complex Angles: For projects that require compound angles, such as roof rafters or stair stringers, a combination square or speed square is invaluable. By using the square’s built-in protractor, you can accurately layout angles that are otherwise difficult to measure.
- Creating Precision Joints: When making joints such as dovetails or box joints, the accuracy of your square is crucial. Use the square to mark out the joint and to check that each cut is square and true. This ensures that the joint fits together perfectly without gaps.
- Verifying Machine Settings: Use a woodworking square to verify the settings on your saws and other machines. For example, you can use a square to check that the blade of your table saw is perpendicular to the table, ensuring that your cuts are accurate.
10. Choosing the Right Woodworking Square for Your Projects
Selecting the right woodworking square depends on the types of projects you typically work on. Here are some tips for choosing the best square for your needs:
- For Fine Woodworking: If you’re focused on furniture making or other fine woodworking projects, a high-quality try square or combination square is essential. Look for squares made from durable materials with a high level of precision.
- For Construction and Framing: If you’re working on larger projects, such as framing a house or building outdoor structures, a framing square and speed square are your best options. These tools are designed for larger workpieces and are ideal for ensuring that everything is square and true.
- For Versatility: If you need a square that can handle a variety of tasks, a combination square is a great choice. It combines multiple functions into one tool, making it suitable for everything from marking and measuring to checking angles.
- For Beginners: If you’re new to woodworking, start with a try square. It’s simple to use and will cover most of your basic needs. As you gain more experience, you can add other types of squares to your collection.
11. The Role of a Woodworking Square in Joinery
Joinery is the art of connecting pieces of wood to create structures like furniture, cabinetry, and more. Precision is crucial in joinery, and the woodworking square plays a vital role in achieving that precision. Here’s how:
- Ensuring Straight Cuts: In joinery, each piece must be cut perfectly to fit together without gaps. The square ensures that each cut is straight and at the correct angle, which is particularly important in joints like dovetails and mortise and tenon.
- Aligning Components: When assembling joints, the square helps you align each piece correctly. For example, when creating a mortise and tenon joint, the square ensures that the tenon is perfectly aligned with the mortise, resulting in a tight, strong joint.
- Checking Joint Accuracy: After cutting and assembling a joint, use the square to check that it’s accurate. If the joint is not square, it may not fit together properly, or it could weaken over time. The square helps you catch these errors before they become a problem.


12. Practical Tips for Using a Woodworking Square
Here are some additional tips to help you get the most out of your woodworking square:
- Use a Sharp Pencil or Knife: For the most accurate markings, use a sharp pencil or marking knife. This ensures that your lines are precise and easy to follow.
- Double-Check Your Measurements: Before making any cuts, double-check your measurements and marks with the square. It’s better to take a few extra seconds to ensure accuracy than to make a mistake that could ruin your project.
- Practice on Scrap Wood: If you’re new to using a woodworking square, practice on scrap wood before working on your actual project. This will help you get comfortable with the tool and ensure that your measurements and markings are accurate.
13. The Future of Woodworking Squares: Innovations and Technology
As with many tools, woodworking squares have seen innovations and improvements over the years. Advances in materials and manufacturing processes have led to more accurate and durable squares. Some modern squares incorporate digital technology, providing electronic readouts for even greater precision.
Digital squares can measure angles with incredible accuracy and display the results on a screen, making it easier than ever to achieve perfect measurements. While these advanced tools can be more expensive, they offer unmatched precision and are becoming increasingly popular among professional woodworkers.
14. Conclusion: The Woodworking Square as an Indispensable Tool
The woodworking square is more than just a tool—it’s a woodworker’s best friend. Whether you’re a seasoned professional or just starting in the craft, this simple yet powerful tool is essential for achieving the precision and accuracy that high-quality woodworking demands. By ensuring that every cut, joint, and angle is perfectly aligned, the woodworking square helps you create beautiful, durable, and professional-quality projects.
FAQs
1. What is the most commonly used woodworking square? The most commonly used woodworking square is the try square. It’s simple, reliable, and perfect for checking and marking right angles.
2. Can I use a woodworking square for metalworking? While primarily designed for woodworking, some squares can be used in metalworking, particularly the combination square. However, it’s essential to ensure the tool is suitable for the material you’re working with.
3. How do I check if my woodworking square is accurate? You can check the accuracy of your woodworking square by placing it against a straight edge and marking a line. Then, flip the square and draw another line from the same starting point. If the lines align, your square is accurate.
4. What materials are woodworking squares made from? Woodworking squares are typically made from steel, aluminum, or plastic. Steel squares are the most durable and precise, but plastic squares can be a good choice for beginners or light-duty use.
5. Do I need more than one type of woodworking square? Yes, having multiple types of woodworking squares allows you to tackle different tasks more effectively. Each square has its specific use, and having a variety can greatly enhance your woodworking precision and versatility.
This expanded guide should provide you with the comprehensive insights needed to understand and effectively use a woodworking square in all your projects. By mastering this tool, you’ll be well on your way to creating precise, professional-quality work every time.