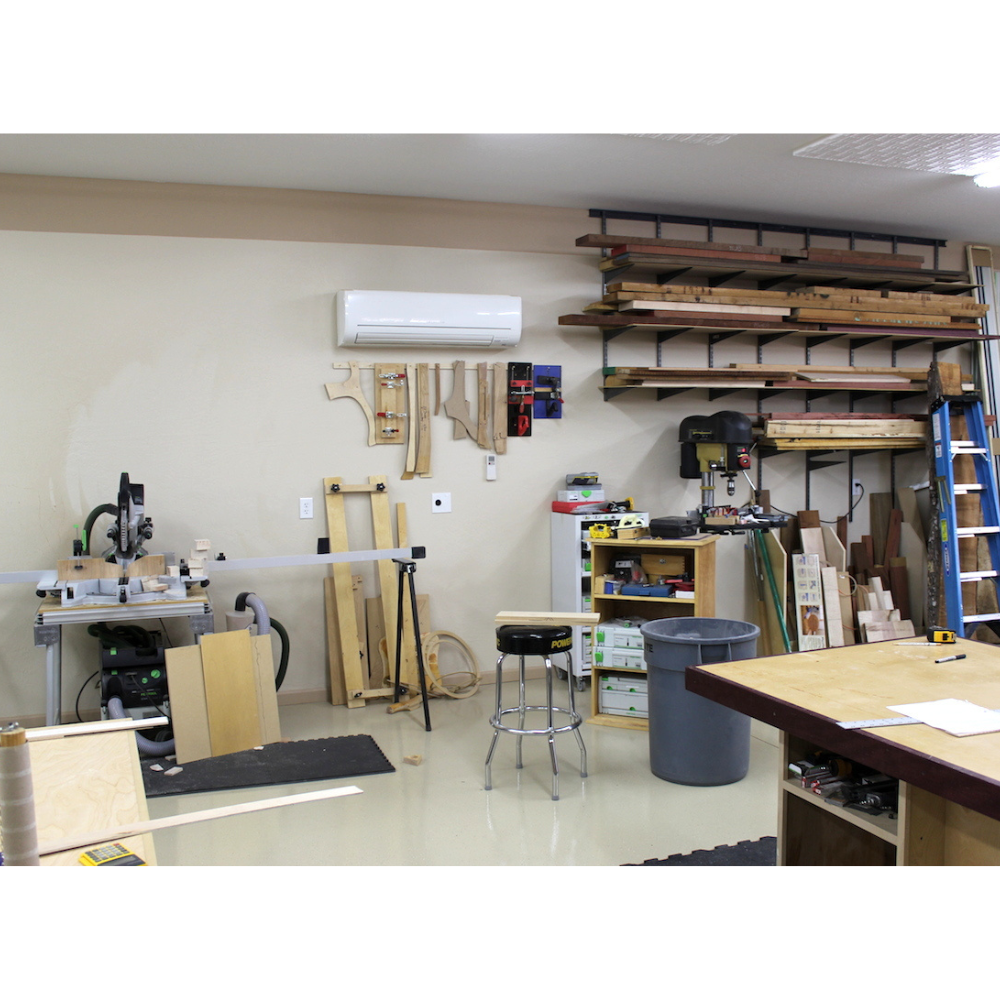
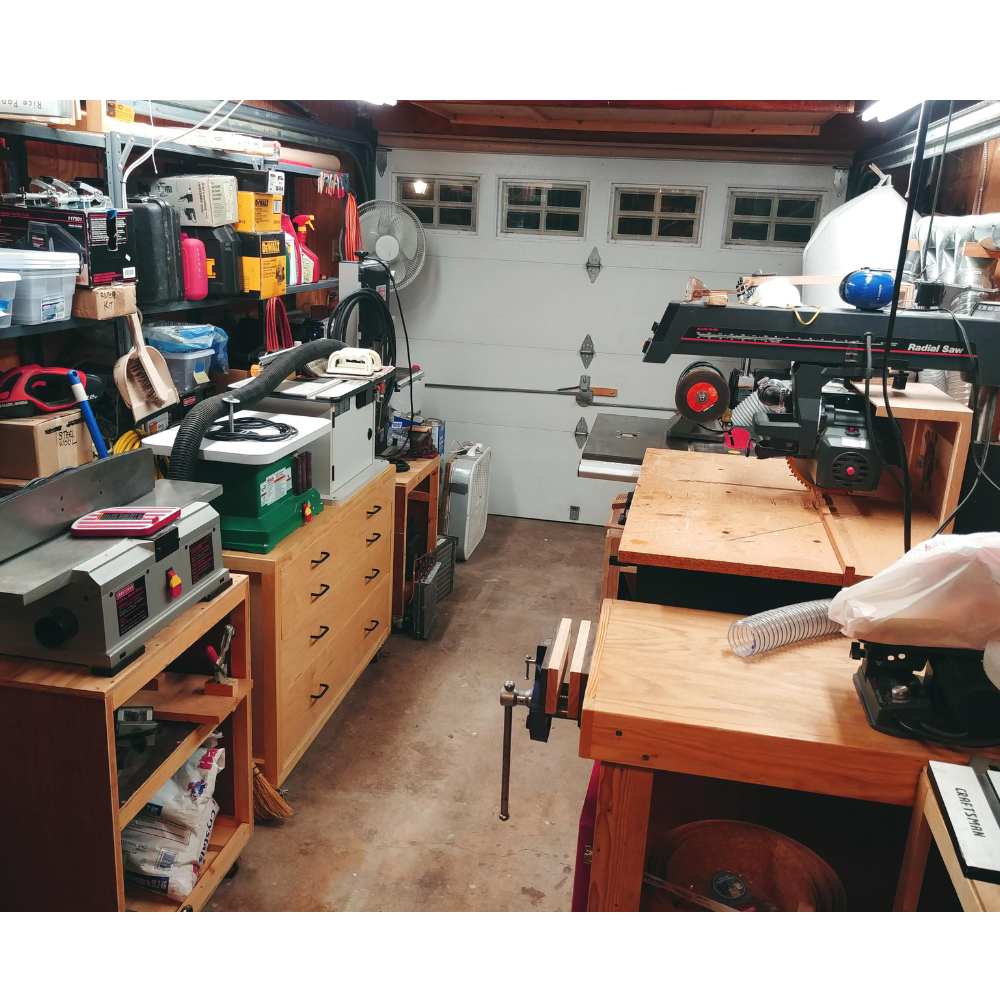
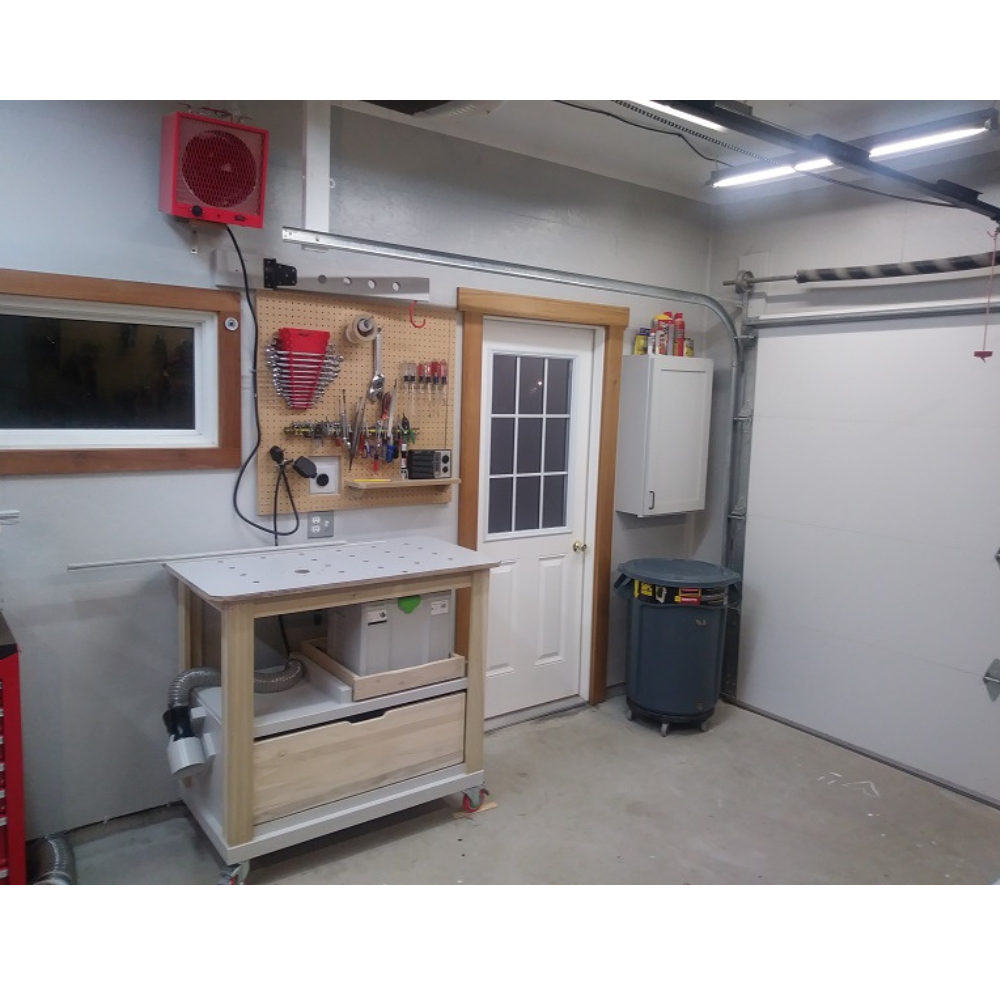
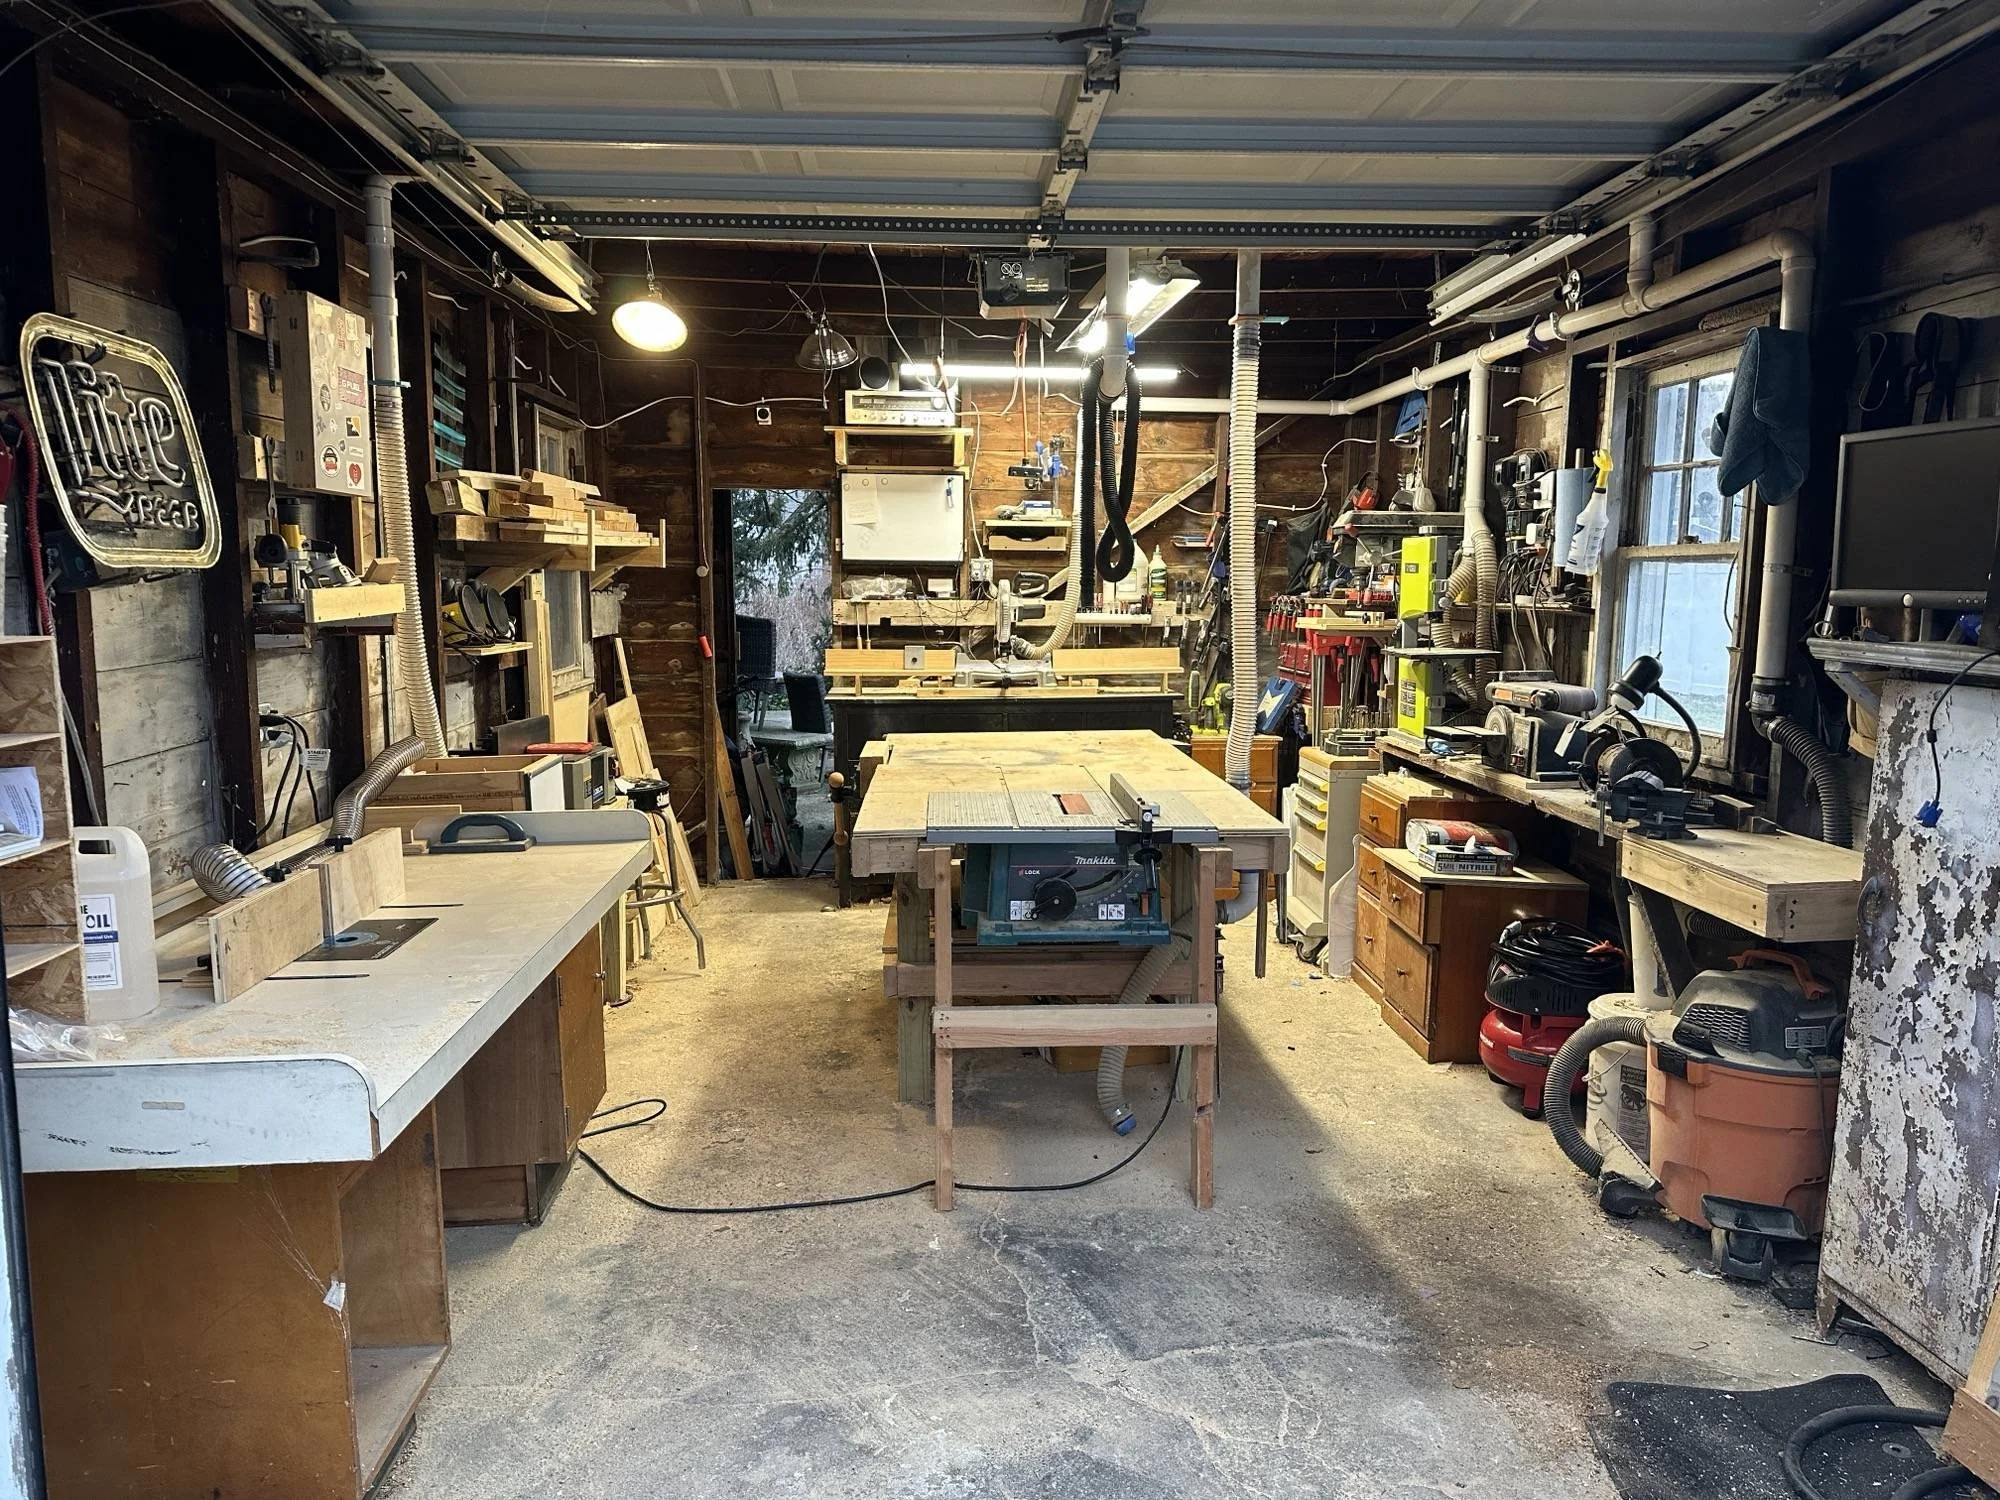
Introduction: Why Plan Your Small Woodworking shop layout?
Setting up a small woodworking shop may seem overwhelming, but with the right layout plans, you can efficiently transform a modest space into a highly productive and enjoyable area. This comprehensive guide delves into Small Woodworking Shop Layout Plans, aimed at helping you maximize and optimize your workspace for better workflow and productivity.

Understanding Your Space
Firstly, assess your square footage. How much room do you have? Whether it’s a multi-purpose garage, a basement, or a dedicated shed, understanding the size and characteristics of your space is crucial for creating a functional workshop.
Essential Zones in a Small Woodworking Shop
To ensure your Small Woodworking Shop remains functional and well-organized, consider establishing several key zones:
- The Power Tool Station
- The Hand Tool Hub
- The Finishing Area
- The Assembly Zone
- Storage Solutions

The Power Tool Station: Planning for Major Equipment
Your Small Woodworking Shop Layout must prioritize major tools such as the table saw, planer, and drill press. These require fixed positions with sufficient outfeed space and clear safety zones to prevent accidents. Plan the flow of raw materials into these tools, ensuring ample space for handling large sheets or long boards.
The Hand Tool Hub: Accessibility and Efficiency
Efficiency in your Small Woodworking Shop often hinges on how quickly and easily you can access your tools. Create a hand tool hub close to your primary work area, integrating wall-mounted racks or under-bench drawers to keep essential tools within easy reach.
The Finishing Area: Clean and Contained
A dust-free environment with adequate ventilation is crucial for finishing work to avoid contaminating freshly applied finishes. Establish a dedicated finishing area separate from the main dust-producing tools, possibly including an air filtration system and task lighting for detailed work.
The Assembly Zone: A Space for Creativity
The assembly area is where your projects come to life. It should be adaptable, with a large, flat table to support various project sizes and additional mobile benches for flexibility. Ensure this area is well-lit and unobstructed.
Storage Solutions: A Place for Everything
A cluttered shop is inefficient. To maximize space, use vertical storage solutions like wall-mounted cabinets, pegboards for hanging tools, and mobile carts that can be stowed under benches. Labeling drawers and bins can also help save time and prevent frustration.
Designing for Workflow: Keeping It Logical
Plan the path of materials from their entry into the shop to the completion of projects. Arrange your equipment so each manufacturing step is logical and minimizes unnecessary movement, saving time and reducing fatigue.

For your “Free” Guide to 13 Wood Joinery Types – Click Here.
Safety First: Minimizing Risks in Your Shop Layout
In a Small Woodworking Shop, safety is paramount. Ensure all tools are easily accessible without having to navigate over cords or around other equipment. Maintain ready access to fire safety gear like extinguishers and first aid kits, and ensure good visibility and communication if the space is shared.
Lighting: Seeing Your Projects in the Best Light
Effective lighting is essential, especially for detailed tasks. Include overhead LED lights for general illumination and task lighting at key stations like the workbench and assembly area to eliminate shadows and reduce eye strain.
Climate Control: Comfort and Wood Care
Wood is sensitive to environmental fluctuations. Implement controls for temperature and humidity, such as insulation, heating, cooling, and humidity control devices. This not only makes the workshop more comfortable but also protects wood from warping.
Adapting Layouts to Technology: Embracing Modern Tools
As tools like CNC routers and laser cutters become more accessible, future-proof your workshop by allowing space for these technologies or ensuring your layout can adapt to accommodate new equipment.
Personalizing Your Space: Adding Your Unique Touch
Personalize your Small Woodworking Shop Layout to make it a more enjoyable place to spend time. Incorporate personal touches like displaying favorite tools on a shadow board, using inspiring color schemes, or bringing in natural light and plants to enhance the ambiance.
Maintaining Flexibility: Planning for Changes
As your skills and project types grow, your needs may evolve. Design your workshop with flexibility in mind, using modular components like mobile bases for heavy equipment and adjustable shelving.
Conclusion: Your Ideal Small Woodworking Shop
A strategic approach to Small Woodworking Shop Layout Plans can greatly enhance your productivity and enjoyment of woodworking. By considering each aspect of the layout from the beginning, you can create a space that is not only functional and safe but also a pleasure to work in.

FAQs About Small Woodworking Shop Layout Plans
- What is the minimum viable size for a small woodworking shop?
Even a compact area of about 100-200 square feet can be effectively organized if planned carefully. - How can I make my small woodworking shop appear larger?
Utilize bright colors, effective lighting, and consider installing mirrors to create the illusion of more space. - What should I consider when choosing machinery for a small shop?
Select multi-functional tools that conserve space and consider the tool size relative to your workshop’s scale. - How do I handle dust management in a small shop? Invest in a robust dust extraction system and position dust-producing machines near ventilation or filtration units.
- Is it possible to have a shared space, like a garage, function effectively as a Small Woodworking Shop? Yes, with thoughtful planning and mobile setups, you can efficiently convert a shared space into a functional shop and back as needed.
