Blog

  • Balsa Woodworking: Crafting Lightweight Masterpieces

    Balsa Woodworking: Crafting Lightweight Masterpieces

    Introduction to Balsa Woodworking

    Balsa woodworking is a fascinating and accessible craft, perfect for anyone looking to explore the world of woodworking without the heavy equipment typically required. This unique material, known for its lightweight and soft characteristics, offers a wide range of possibilities for both novices and experienced woodworkers. Whether you’re building models, creating decorative items, or experimenting with new woodworking techniques, balsa wood is an excellent material to work with.

    For your “Free” Traditional Bookcase Plan – Click Here.

    What is Balsa Wood?

    Balsa wood comes from the Ochroma pyramidale tree, found primarily in South and Central America. It is the lightest commercial wood available, making it incredibly popular in industries ranging from model building to insulation due to its buoyancy and soundproofing qualities.

    Benefits of Working with Balsa Wood

    Working with balsa wood offers several advantages that make it a preferred choice for many projects:

    • Lightweight: Its lightweight nature makes it ideal for model aircraft and small craft projects.
    • Easy to Handle: The softness of balsa allows for easy cutting and shaping.
    • Absorptive: Balsa’s high absorbency makes it excellent for various finishes and glues.

    Types of Balsa Wood Products

    Balsa wood is available in several forms, each suited for different applications:

    1. Sheets: These are commonly used in model building, where precise, flat pieces are needed.
    2. Blocks: Perfect for carving and turning on lathes.
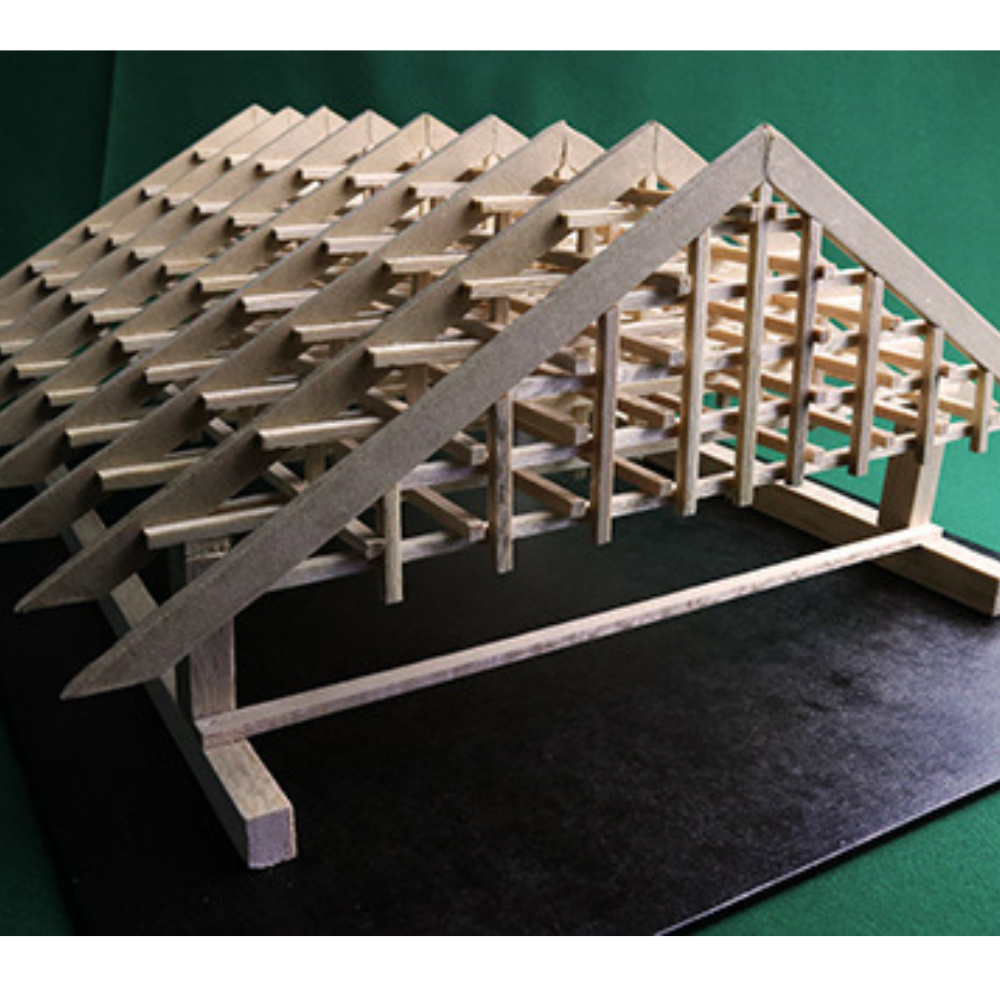
    3. Sticks and Strips: Often used in architectural models and bridge building competitions.

    For your “Free” 2 in 1 Folding Picnic Table Bench Plan – Click Here.

    Choosing the Right Balsa Wood

    To choose the best balsa wood for your project, consider the following:

    • Density: The wood’s density can vary, affecting its strength and weight.
    • Grain Direction: Understanding grain direction is crucial for maximizing strength and aesthetics in your project.

    Tools for Balsa Woodworking

    The simplicity of balsa woodworking means you don’t need specialized tools. Key tools include:

    • Sharp Blades: Craft knives and scalpel blades are essential for precise cuts.
    • Fine Grit Sandpaper: For smooth finishes on balsa surfaces.
    • Specialty Glues: Some projects may require specific types of adhesives, such as CA (cyanoacrylate) for stronger bonds.

    Preparing Balsa Wood for Projects

    Proper preparation of balsa wood can enhance your project’s outcome. This includes:

    • Conditioning: Sometimes, lightly dampening the wood can make it more pliable for bending.
    • Storage: Keep balsa wood in a cool, dry place to prevent warping.

    Basic Techniques in Balsa Woodworking

    Familiarize yourself with fundamental techniques to improve your skill set:

    • Cutting and Shaping: Practice making clean, straight cuts and experiment with gentle curves.
    • Sanding Techniques: Learn how to sand along the grain to avoid tearing the wood.
    • Assembly Tips: Plan your assembly process to minimize stress on delicate parts.

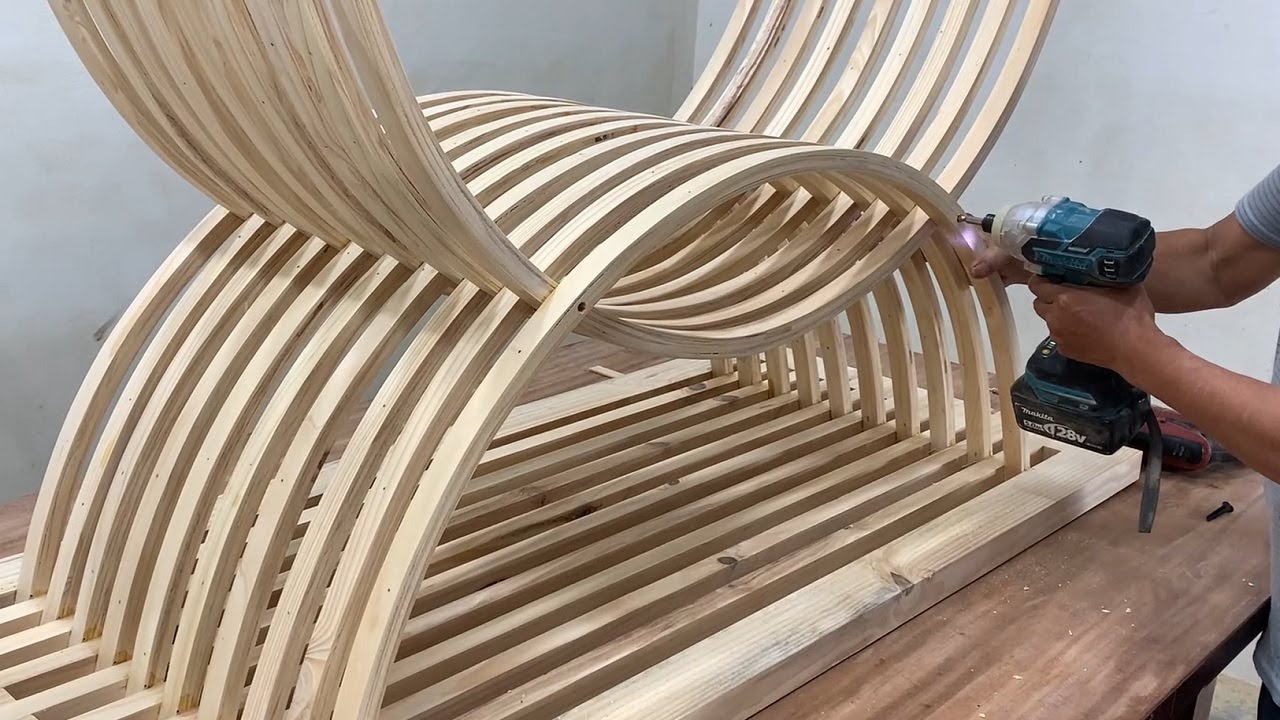
    Advanced Crafting with Balsa Wood

    As you gain confidence, you can tackle more complex projects like detailed scale models or custom-designed decorative pieces that require intricate cuts and assembly.

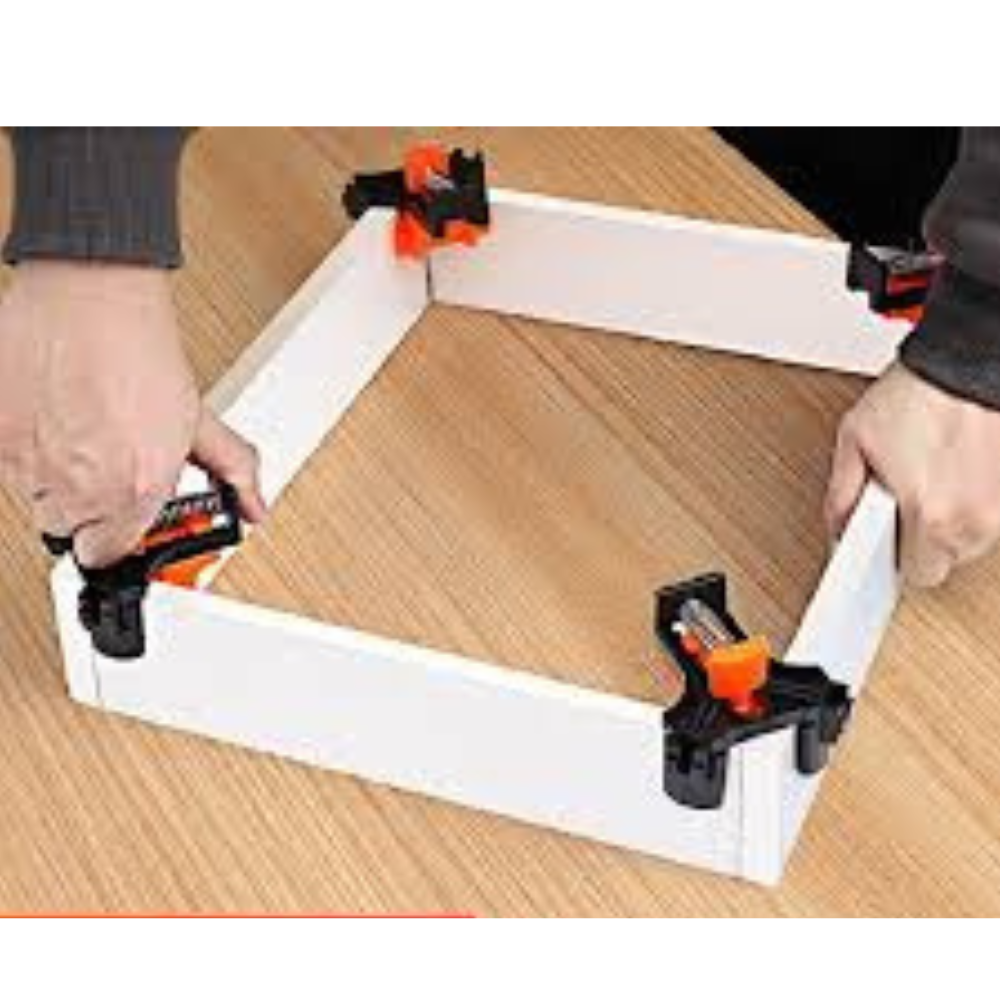
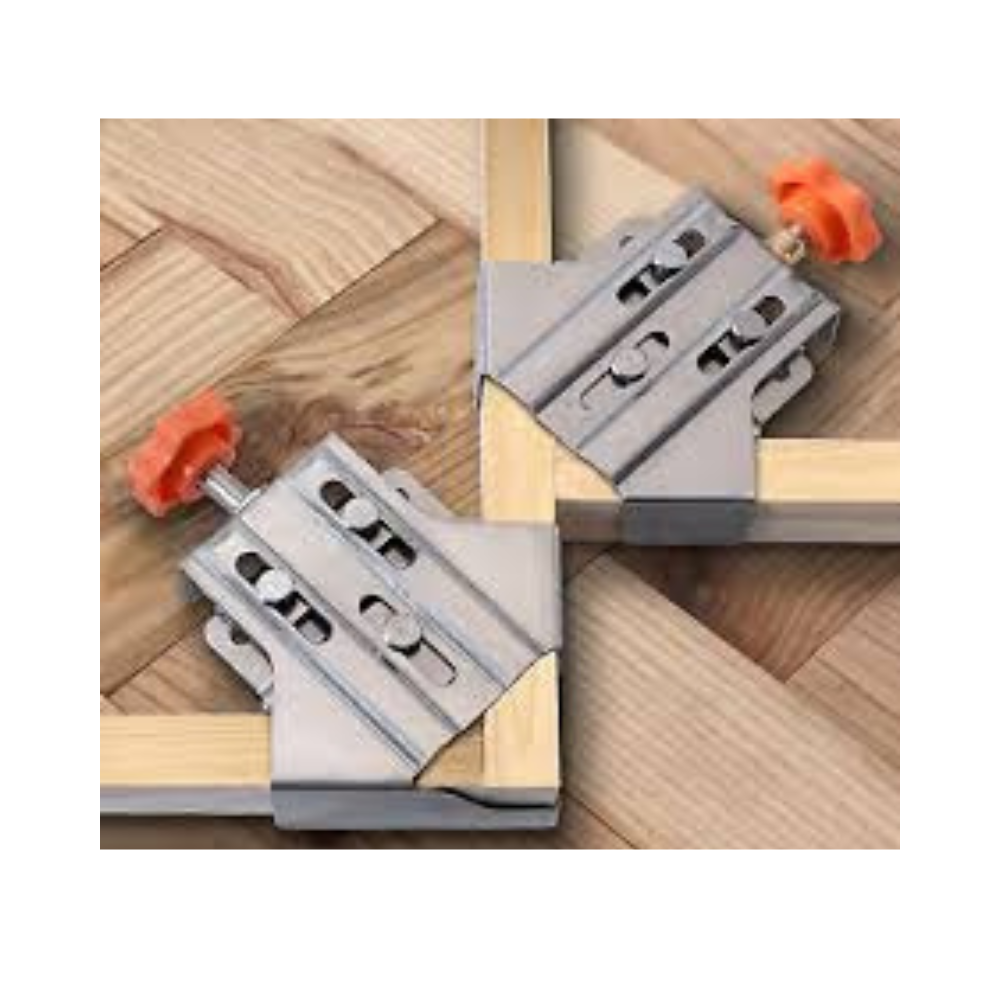
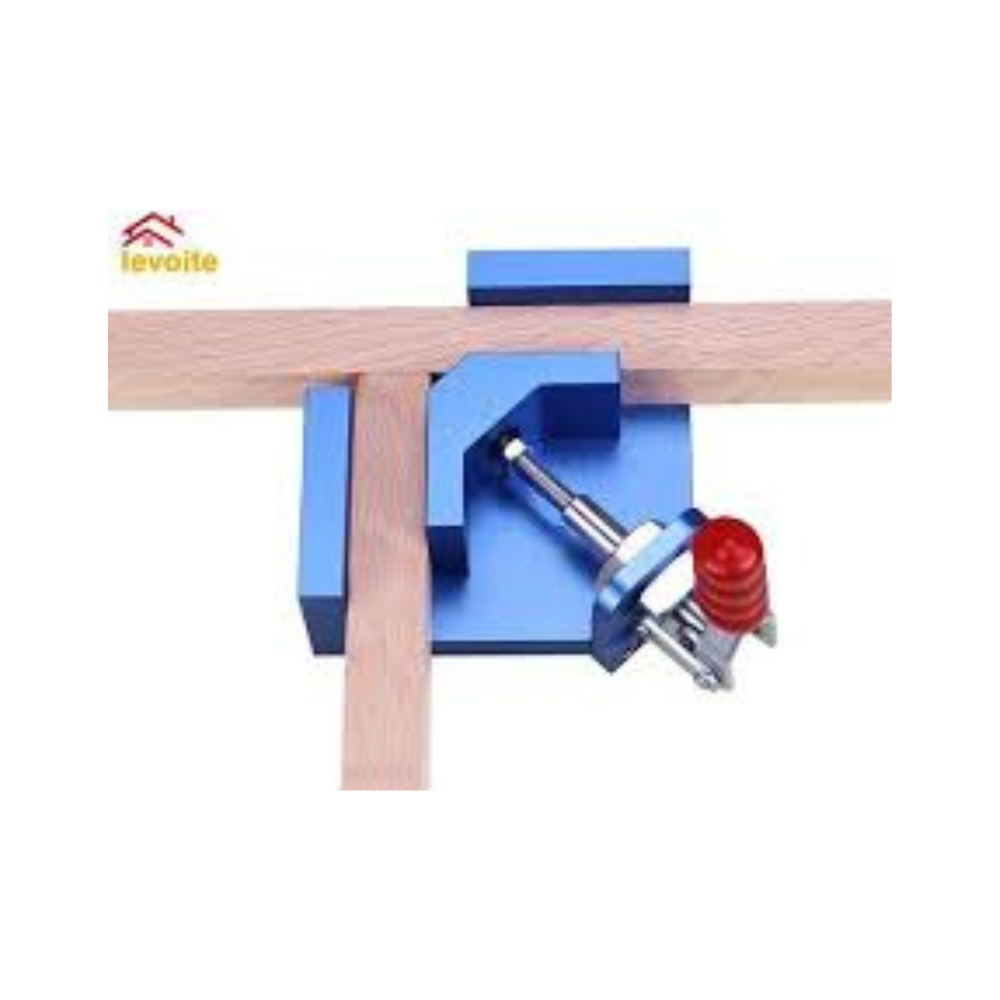
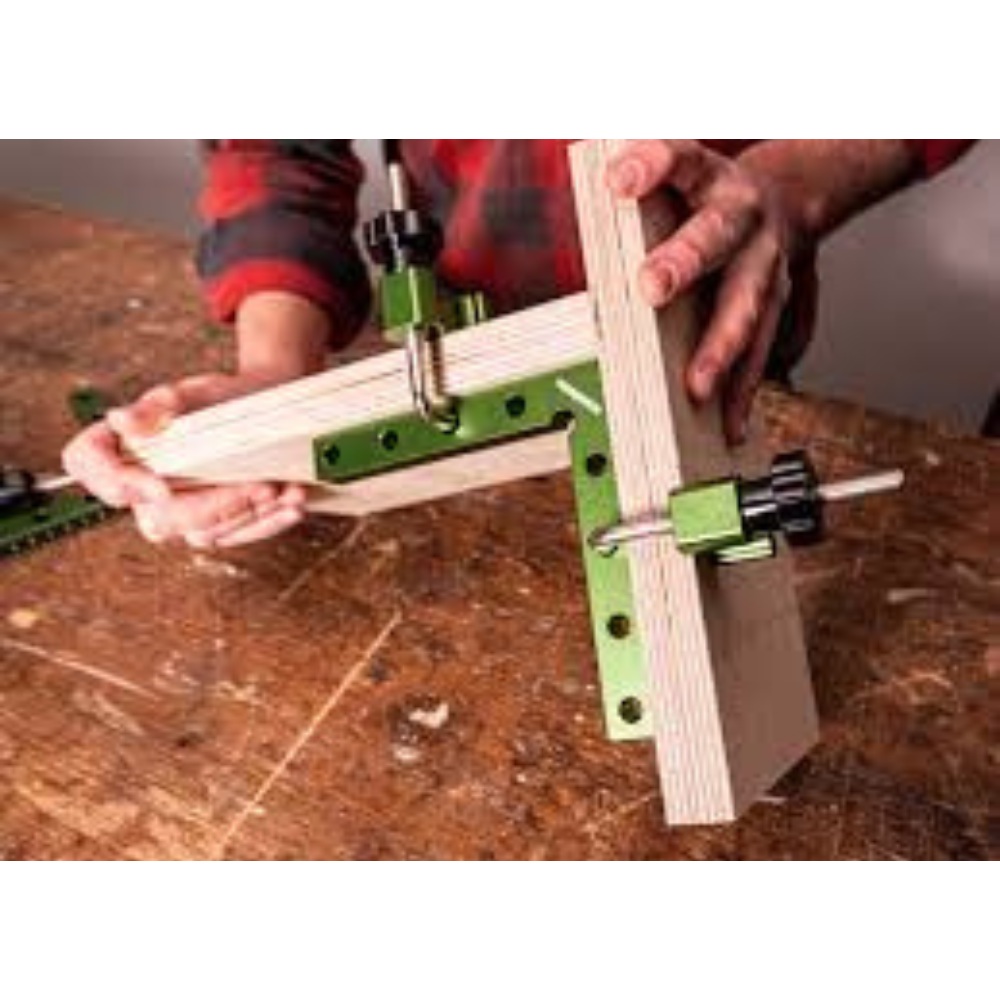
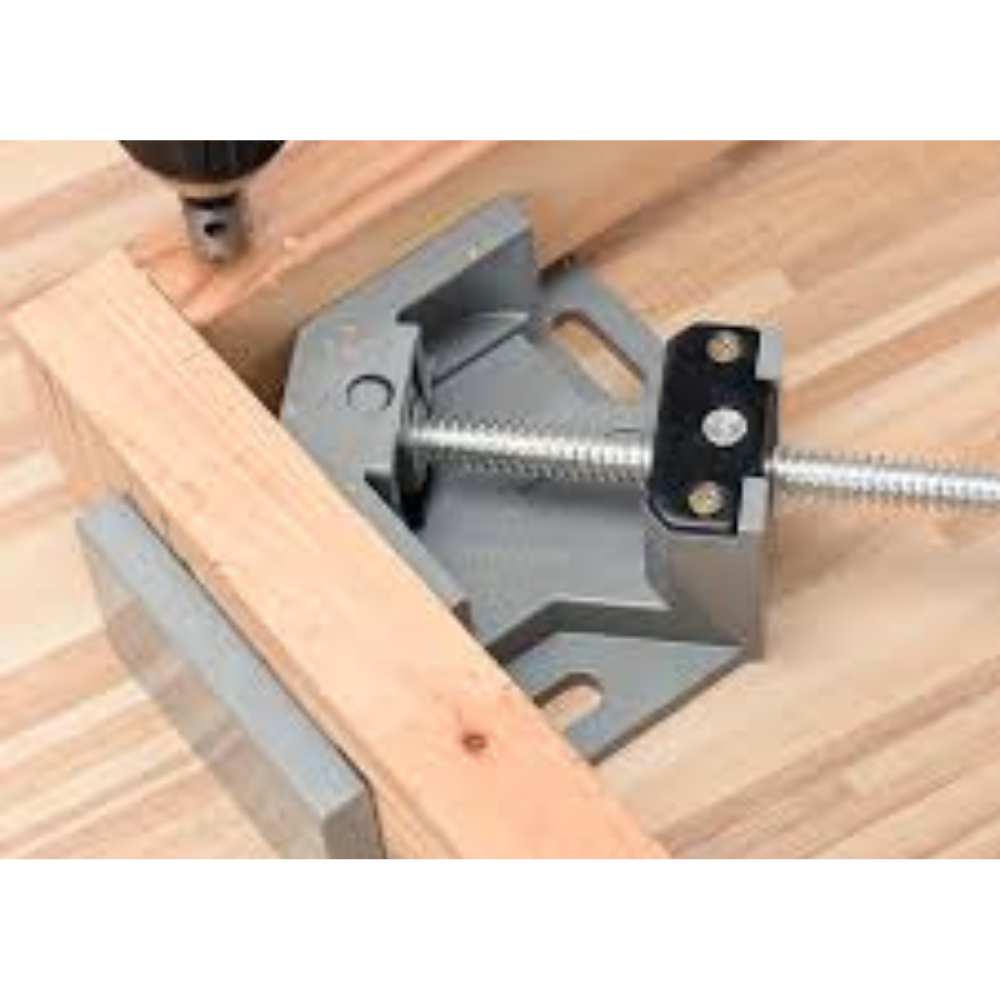
    Joining Techniques for Balsa Wood

    Effective joining techniques are crucial for balsa woodworking:

    • Pinning with Micro Fasteners: For adding extra strength to joints.
    • Epoxy Bonds: When stronger adhesion is necessary, especially in structural projects.

    For your “Free” Modern Table Plan – Click Here.

    Decorative Techniques in Balsa Woodworking

    Unleash your creativity with these decorative techniques:

    • Wood Burning: Create unique patterns and designs.
    • Staining and Painting: Enhance the natural beauty of balsa with various finishes.

    Maintaining Balsa Wood Projects

    To maintain the beauty and integrity of your balsa wood creations:

    • Proper Cleaning: Use gentle, non-water-based cleaners to avoid damaging the wood.
    • Regular Inspections: Check for any signs of damage or wear, especially if the item is frequently handled.

    Projects Ideas for Balsa Woodworking

    Here are some project ideas to get you started or inspire your next creation:

    • Model Airplanes: Balsa’s light weight makes it perfect for flying models.
    • Decorative Boxes: Use thin balsa sheets for delicate, lightweight boxes.
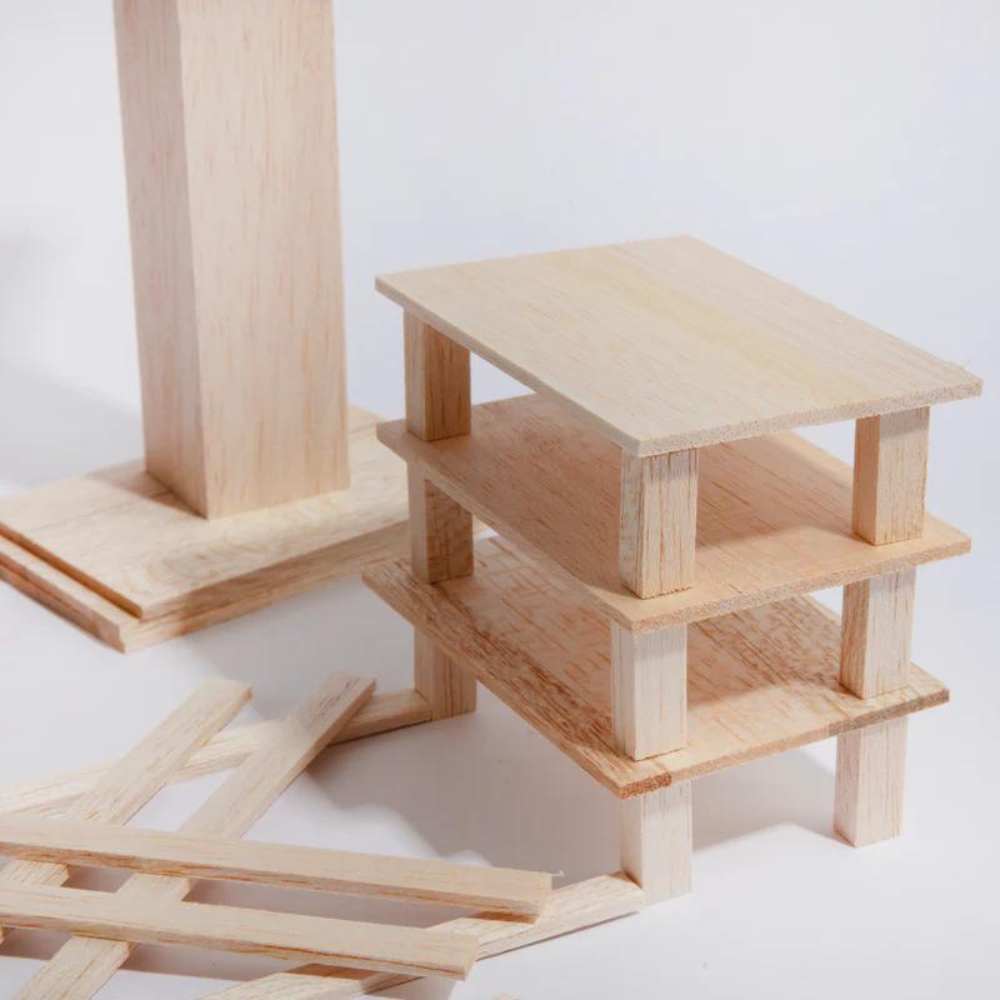
    • Miniature Furniture: Craft detailed furniture for dollhouses.

    Balsa Woodworking for Educational Purposes

    Balsa is an excellent material for educational projects:

    • STEM Learning: Build bridges or towers to teach principles of engineering and physics.
    • Art Projects: Allow students to explore their artistic abilities through sculpture and model making.

    Environmental Impact of Balsa Woodworking

    Balsa wood is a sustainable resource, but it’s important to source it responsibly. Consider the following:

    • Sourcing: Choose suppliers who harvest balsa sustainably.
    • Recycling: Balsa wood pieces can often be reused in different projects.

    Summary: Unleashing Creativity with Balsa Woodworking

    Balsa woodworking is a rewarding hobby that combines the joys of crafting with the satisfaction of creating something both beautiful and functional. With the right tools, techniques, and a bit of creativity, you can transform simple pieces of balsa wood into impressive works of art.

    For your “Free”Guide to 13 Wood Joinery Types – Click Here.

    FAQs About Balsa Woodworking

    1. Is balsa wood easy to paint? Yes, balsa takes paint very well due to its absorbent nature, but always use a primer to achieve the best finish.
    2. How do you join balsa wood pieces securely? For best results, use wood-specific glues or epoxy resins designed for lightweight materials.
    3. Can balsa wood be sealed for outdoor use? While balsa is not typically recommended for outdoor use, sealing it with a waterproof varnish can extend its durability under covered areas.
    4. What safety precautions should be taken when working with balsa wood? Although balsa is relatively safe to work with, always wear a dust mask when sanding and cutting to avoid inhaling fine particles.
    5. Where can I learn more about balsa woodworking techniques? Many woodworking hobby shops offer classes, and there are numerous online forums and websites dedicated to model building and woodworking where you can learn more and share ideas.

    Balsa woodworking not only provides a platform for developing your woodworking skills but also offers a gateway to exploring more intricate and rewarding projects. Whether you’re crafting a tiny replica or designing a custom piece of art, balsa wood is an excellent medium to work with.

  • Corner Clamps for Woodworking: Precision and Efficiency

    Corner Clamps for Woodworking: Precision and Efficiency

    Introduction to Corner Clamps for Woodworking

    Corner clamps for woodworking are indispensable in achieving clean, precise right angles in various projects. They are crucial for ensuring your workpieces align perfectly when forming corners, making them a favorite among both amateurs and professionals. This guide will explore the types, uses, and benefits of corner clamps, enhancing your understanding and techniques in woodworking.

    For your “Free” Guide to 13 Wood Joinery Types – Click Here.

    What Are Corner Clamps?

    Corner clamps, also known as right-angle clamps, are specialized tools designed to hold workpieces at a 90-degree angle. These clamps are fundamental for tasks requiring high precision, such as frame making, cabinet construction, and box assemblies.

    Benefits of Using Corner Clamps

    The main advantages of using corner clamps for include:

    • Accuracy: They ensure corners meet precisely and are square.
    • Efficiency: They speed up assembly time, allowing for faster project completion.
    • Consistency: They help maintain uniformity in repetitive tasks, such as production runs in a professional workshop.

    Types of Clamps

    1. Adjustable Corner Clamps: These clamps can be adjusted to handle various sizes of wood, making them highly versatile for different projects.
    2. Quick-Release Corner Clamps: Feature a mechanism that allows for fast adjustment, saving time and effort during repetitive tasks.
    3. 90-Degree Welding Clamps: Although primarily used in metalworking, these robust clamps are also excellent for heavy-duty woodworking.

    Choosing the Right Corner Clamp

    Selecting the appropriate corner clamp depends on:

    • Material Compatibility: Ensure the clamp can handle the type of wood and finishes you work with.
    • Clamping Capacity: Choose clamps that accommodate the thicknesses and widths of your materials.
    • Durability: High-quality materials like cast iron or reinforced polymers offer longevity and stable performance.

    How to Use Clamps Effectively

    To maximize the benefits of corner clamps:

    1. Proper Alignment: Position the workpieces precisely within the clamps before tightening.
    2. Appropriate Pressure: Apply enough pressure to hold the pieces securely without distorting the wood.
    3. Surface Protection: Use soft pads to protect the wood from imprints or damage from the clamp.

    Setting Up Your Workspace with Corner Clamps

    Organizing your workspace can enhance your efficiency significantly. Keep corner clamps within easy reach and ensure your workbench allows for ample space to maneuver and adjust the clamps as needed.

    For your “Free” Workspace Plans – Click Here.

    Common Mistakes to Avoid

    • Over-tightening: This can deform the wood or even break the clamp.
    • Misalignment: Double-check alignment before final tightening to avoid uneven joints.
    • Ignoring Clamp Capacity: Do not force a clamp beyond its capacity, as this may compromise the clamp’s integrity and your project’s quality.

    Maintenance Tips for Clamps

    • Regular Cleaning: Dust and wood particles can accumulate in the clamps, affecting their operation. Clean them after each use.
    • Lubrication: Apply lubricant to moving parts periodically to ensure smooth operation.
    • Regular Inspections: Check for signs of wear or mechanical issues to address them before they affect your work.

    Advanced Projects Using Corner Clamps

    As you become more comfortable with basic projects, consider using corner clamps for more advanced applications like constructing multi-tiered shelving units or detailed furniture corners. These projects can benefit significantly from the precision that corner clamps provide.

    Innovations in Corner Clamp Technology

    The latest developments in corner clamp technology include adjustable pivot points and wider clamping surfaces, which cater to a broader range of project sizes and complexities. These innovations make corner clamps more adaptable and user-friendly.

    DIY Tips for Homemade Corner Clamps

    For woodworkers on a budget or needing a custom clamping solution, DIY corner clamps can be a viable option. You can create effective clamps with basic materials like plywood and screws, tailored to your specific project dimensions.

    The Role of Corner Clamps in Professional Woodworking

    In a professional setting, corner clamps are invaluable for ensuring consistent, high-quality outputs. They play a critical role in streamlining production processes, reducing manual labor, and enhancing overall work efficiency.

    Summary: Mastering the Use of Corner Clamps in Woodworking

    Corner clamps are more than just tools; they are essential partners in your woodworking endeavors. By ensuring precise angles and stable assembly, corner clamps help you achieve professional-level results in your projects.

    For your “Free” 2 in 1 Folding Picnic Table Bench Plan – Click Here.

    FAQs About Corner Clamps for Woodworking

    1. What materials are best for durable corner clamps? Steel and aluminum are top choices for durability and reliability, particularly under heavy use.
    2. Can corner clamps be used on materials other than wood? Yes, many corner clamps are versatile enough to be used with materials like metal and plastic, though it’s important to choose the right type for the material.
    3. How can I protect delicate surfaces from clamp marks? Using rubber or silicone pads can prevent damage and protect the finish of your workpieces.
    4. Are there corner clamps suitable for very large woodworking projects? Yes, some clamps are designed with extendable arms or modular designs that can be adjusted for larger scale projects.
    5. What’s the best way to store corner clamps to prevent damage? Hanging them on a dedicated rack or storing them in a drawer with padded dividers can prevent physical damage and keep them in good working order.

    By integrating corner clamps into your woodworking practice, you ensure each project benefits from precise alignment and tight, secure construction. This comprehensive guide equips you with the knowledge to choose, use, and maintain corner clamps, enhancing both your efficiency and the quality of your work.

  • CNC Routers for Woodworking: A Comprehensive Guide

    CNC Routers for Woodworking: A Comprehensive Guide

    Introduction to CNC Routers for Woodworking

    CNC routers for woodworking have revolutionized the way woodworkers approach their craft, offering unparalleled precision and efficiency. These machines are vital for anyone from hobbyists to professionals, providing the ability to create intricate designs and consistent reproductions with ease. In this guide, we’ll explore everything from the basics of CNC routing to advanced techniques, helping you make the most of this powerful tool.

    For your “Free” Guide to 13 Wood Joinery Types – Click Here.

    What is a CNC Router?

    A CNC (Computer Numerical Control) router is a computer-controlled cutting machine related to the hand-held router used for cutting various hard materials, such as wood, composites, aluminum, steel, plastics, and foams. It’s designed to bring automation to the cutting process, which not only speeds up production but also increases accuracy and opens the door to more complex designs.

    Benefits of Using CNC Routers in Woodworking

    The adoption of CNC routers for woodworking offers numerous advantages:

    • Precision: The automated nature of CNC routers allows for exact cuts every time, reducing errors and material waste.
    • Efficiency: These machines can operate continuously, with little supervision, speeding up production times dramatically.
    • Versatility: CNC routers are not just limited to cutting; they can also drill, carve, and engrave across a variety of materials.

    Types of CNC Routers

    Choosing the right type of CNC router can significantly impact your woodworking projects:

    1. Desktop CNC Routers: Ideal for small shops or hobbyists, these routers are compact but still powerful enough for detailed work.
    2. Industrial CNC Routers: Built for continuous use, these routers handle larger projects and tougher materials with ease, suitable for high-volume production environments.

    Choosing the Right CNC Router

    When selecting a CNC router, several factors should be considered:

    • Size of the Machine: Ensure the machine fits in your workspace and is capable of handling the sizes of materials you plan to work with.
    • Power and Speed: Look for a router that balances power and speed capabilities to meet your project needs.
    • Software Compatibility: It’s crucial that the router is compatible with the design software you’re comfortable using to streamline the production process.

    Key Features to Look for in a CNC Router

    While shopping for a CNC router, pay attention to these essential features:

    • Robust Construction: A well-built frame is crucial for the longevity and accuracy of the router.
    • High-Quality Spindle: The spindle’s quality affects the precision and quality of the cuts.
    • User-Friendly Interface: Especially important for those new to CNC routing, an intuitive interface will make the learning curve much smoother.

    Setting Up Your CNC Router

    Proper setup is key to maximizing the efficiency and lifespan of your CNC router:

    • Installation: Positioning and installation should follow the manufacturer’s instructions to avoid any operational issues.
    • Calibration: Regular calibration is necessary to maintain accuracy over time.
    • Safety Measures: Adequate safety measures, such as emergency stops and shields, should be in place to protect the operator.

    For your “Free” Workspace Plans – Click Here.

    Operating Tips for CNC Routers

    Optimize your CNC router’s performance with these operating tips:

    • Regular Maintenance: Perform regular maintenance checks and clean the machine to prevent mechanical failures.
    • Software Updates: Keep the controlling software updated to ensure compatibility and access to new features.
    • Test Runs: Always do a test run with new designs to fine-tune the settings for the best results.

    Common Materials Processed with CNC Routers

    CNC routers are highly versatile, capable of processing a wide array of materials:

    • Softwood and Hardwood: Ideal for creating detailed carvings and engravings.
    • Plywood and MDF: Commonly used for constructing durable yet lightweight furniture pieces.
    • Composite Materials: Useful for specialized applications requiring materials with specific properties.

    Advanced Techniques in CNC Routing

    Mastering these advanced techniques can help elevate your woodworking projects:

    • 3D Carving: Use CNC routers to create detailed three-dimensional objects.
    • Inlays and Engravings: Enhance the aesthetics and value of your work with intricate inlays and engravings.
    • Nested Based Manufacturing: This technique maximizes material usage by fitting parts into a single sheet, reducing waste.

    Software Options for CNC Routers

    The right software can greatly enhance your CNC routing experience:

    • CAD (Computer-Aided Design) Software: Allows for the creation of complex 3D designs.
    • CAM (Computer-Aided Manufacturing) Software: Converts CAD designs into CNC program files.
    • CNC Simulator Software: Provides a virtual preview of the routing process, which can help in planning and error prevention.

    Troubleshooting Common CNC Router Issues

    Stay ahead of potential problems with these troubleshooting tips:

    • Misalignment: Ensure all parts of the machine are aligned correctly during regular maintenance checks.
    • Breakage of Bits: Regularly inspect and replace worn or broken bits to maintain cut quality.
    • Software Errors: Keep software updated and backed up to avoid disruptions.

    Enhancing Your Woodworking Projects with CNC Routers

    CNC routers not only enhance the quality of woodworking projects but also expand the range of possible designs. From complex geometric patterns to fine detailed work, CNC routers open up a new world of woodworking opportunities.

    CNC Routers and Environmental Sustainability

    By reducing waste and optimizing material usage, CNC routers contribute to more sustainable manufacturing practices. This efficiency is not only good for the environment but also reduces costs by minimizing material expenses.

    Summary: Unlocking the Potential of CNC Routers in Woodworking

    CNC routers transform the woodworking landscape, providing tools that increase precision, efficiency, and creativity. With the right machine, understanding, and skills, your woodworking projects can reach new heights of complexity and finish quality, making CNC routing an invaluable skill in today’s market.

    For your “Free” Outdoor Projects Plan – Click Here.

    FAQs About CNC Routers for Woodworking

    1. What is the average cost of a CNC router for woodworking? The cost can range from a few thousand dollars for basic models to over twenty thousand for advanced setups.
    2. Can CNC routers work with materials other than wood? Yes, CNC routers can also handle plastics, foams, and even light metals, depending on the machine’s specifications.
    3. How difficult is it to learn to operate a CNC router? Learning the basics can be straightforward, especially with user-friendly software and robust community support.
    4. What safety measures should be in place when using a CNC router? Always follow safety guidelines, including using protective gear and ensuring proper machine maintenance.
    5. Can I use CNC routing for a home-based woodworking business? Absolutely, CNC routers offer the efficiency and precision needed to produce high-quality products suitable for a small business setting.

    By embracing CNC routers in your workshop, you can enhance both the scale and the quality of your woodworking projects, achieving professional results every time.

  • Woodworking Router Templates: Revolutionizing Your Craft

    Woodworking Router Templates: Revolutionizing Your Craft

    Introduction to Woodworking Router Templates

    Woodworking router templates are essential tools that simplify intricate cutting tasks, ensuring precision and repeatability. Whether you’re a hobbyist or a professional, understanding how to utilize these templates can significantly enhance your projects. Let’s delve into why these templates are a game-changer in woodworking, offering both flexibility and precision to create stunning pieces with ease.

    For your “Free” Outdoor Projects Plan – Click Here.

    What are Woodworking Router Templates?

    A router template is a pattern, typically made from rigid materials like wood, plastic, or metal, that guides a router to cut shapes accurately. By using a template, woodworkers can duplicate specific patterns or designs effortlessly, making them indispensable for anyone looking to achieve professional results in their crafting.

    Benefits of Using Templates in Woodworking

    Router templates save time and reduce waste by ensuring cuts are uniform and precise. They are invaluable for repetitive tasks, complex designs, and can be a major asset in both simple and advanced woodworking projects. The ability to replicate exact cuts multiple times without error improves both productivity and quality of the finished product.

    Types of Templates

    1. Fixed Templates: These are commonly used for standard shapes like circles and rectangles.
    2. Adjustable Templates: These templates offer flexibility and can be modified for various projects, making them ideal for custom work.
    3. Custom Templates: Crafted for specific projects, these are perfect for unique or intricate designs that require precise detailing.

    Materials Used in Router Templates

    Woodworking router templates are usually made from:

    • MDF (Medium Density Fiberboard): Affordable and easy to shape but less durable.
    • Phenolic Resin: Offers excellent durability and stability, resisting wear and tear from repeated use.
    • Aluminum: Long-lasting and perfect for professional use, aluminum templates are robust and ensure precision.

    How to Choose the Right Router Template

    When selecting a router template, consider the material, type of projects, and frequency of use. For beginners, MDF might be a good start, whereas professionals might opt for phenolic resin or aluminum for their durability and precision. Also, think about the size and complexity of the projects you plan to undertake.

    Essential Tools for Working with Router Templates

    To effectively use woodworking router templates, you’ll need:

    • A Quality Router: Choose one that fits your template’s guide bushings.
    • Sharp Router Bits: Ensure they are suitable for your template material.
    • Clamps: To secure the template to the workpiece, preventing any movement during operation.

    Setting Up Your Router with a Template

    Proper setup is crucial. Attach the template to your workpiece using clamps, ensure your router is set to the correct depth, and that the bits are aligned with the template guides. This preparation helps in achieving the best results possible.

    For your “Free” Guide to 13 Wood Joinery Types – Click Here.

    Common Mistakes to Avoid When Using Templates

    Avoid common pitfalls such as:

    • Not securing the template properly: This can lead to inaccurate cuts.
    • Using dull bits: This can damage both your template and the workpiece, potentially ruining both.

    Tips for Maintaining Your Router Templates

    Regular maintenance includes:

    • Cleaning: Keep templates dust-free.
    • Storage: Store flat to avoid warping.
    • Inspection: Check for wear or damage regularly to ensure they remain in top condition.

    Advanced Techniques Using Router Templates

    For those looking to expand their skills, consider experimenting with:

    • Layering Templates: To create more complex designs.
    • Combining Different Materials: For unique textural effects, such as integrating wood with metals or plastics to enhance aesthetic appeal and functionality.

    Creative Projects Using Router Templates

    Explore projects like customized wooden signs, intricate inlays, or even furniture pieces. Router templates open up a world of possibilities for personalization and creativity in woodworking, allowing for the creation of everything from detailed art pieces to functional home decor.

    The Impact of Router Templates on Project Efficiency

    Using woodworking router templates can drastically reduce the time spent on measuring and cutting, allowing for more focus on creativity and finishing touches. This efficiency not only speeds up the production process but also enhances the overall quality of the projects by reducing errors.

    Choosing Between DIY or Commercial Router Templates

    While commercial templates offer convenience and precision, creating your own templates can be a fulfilling and customized approach, especially for unique projects not suited to standard templates. Decide based on your project needs and skill level, considering the time investment and potential cost savings.

    Summary: The Value of Woodworking Router Templates

    Router templates are not just tools; they are your partners in the woodworking process, helping achieve accuracy, efficiency, and creativity. They are a worthy investment for any woodworker looking to elevate their craft, providing the means to replicate intricate designs effortlessly and with great precision.

    For your “Free” 2 in 1 Folding Picnic Table Bench Plan – Click Here.

    FAQs About Woodworking Router Templates

    1. What is the best material for a beginner to use for a router template? MDF is a great choice for beginners due to its affordability and ease of use.
    2. Can router templates be reused? Yes, most templates are designed for multiple uses, especially those made from durable materials like phenolic resin or aluminum.
    3. How do I prevent the router from slipping off the template? Ensure the template is securely clamped and consider using non-slip pads beneath the workpiece.
    4. What’s the difference between a router template and a jig? A router template guides the cut, while a jig holds the workpiece in place during the cutting process.
    5. Can I make my own router templates? Absolutely! Creating your own templates can be a cost-effective way to customize your projects to your exact specifications.

    By incorporating woodworking router templates into your practice, you’re not just enhancing your ability to produce consistent results; you’re also embracing a tool that expands your creative potential. Whether you choose to buy or build your own templates, the benefits they bring to your woodworking endeavors are undeniable, revolutionizing the way you approach your craft.

  • Wine Rack Woodworking Plans: Step-by-Step Guide

    Wine Rack Woodworking Plans: Step-by-Step Guide

    Introduction: Embracing the Craft of Wine Rack Woodworking Plans

    Are you a wine enthusiast looking to showcase your collection in a unique way? Wine Rack Woodworking Plans offer the perfect opportunity to craft a custom storage solution that not only fits your space but also highlights your personal style. Whether you’re a seasoned woodworker or a hobbyist looking to undertake a new project, these plans can guide you through creating a functional and beautiful wine rack.

    For your “Free” 2 in 1 Folding Picnic Table Bench Plan – Click Here.

    Understanding Wine Rack Essentials

    Before diving into woodworking, what should you know about wine racks? It’s not just about aesthetics—functionality is key. The right design will ensure that your wine is stored under optimal conditions, preserving its quality and taste. Stability, orientation, and material choice are crucial factors to consider.

    Choosing the right Wood for wine rack woodworking plans

    Why pick wood for your wine rack, and which types should you consider? Hardwoods like oak, mahogany, and walnut are popular for their durability and aesthetic appeal, while softer woods like pine can be cost-effective options for casual settings. The choice of wood can significantly impact both the style and longevity of your wine rack.

    Tools and Materials

    What do you need to start building your wine rack? From measuring tapes and saws to sandpaper and stains, gathering the right tools and materials is the first step in bringing your Wine Rack Woodworking Plans to life. Ensure you have everything on hand to streamline the construction process.

    Design Considerations for Your Wine Rack

    How do you design a wine rack that suits your needs? Consider the size of your collection, the space available, and how you intend to expand it in the future. Designing with scalability in mind can save you from future headaches.

    Step-by-Step Guide to Wine Rack Woodworking Plans

    Ready to start building? A step-by-step approach will help you avoid common pitfalls and achieve a professional-looking result. From cutting the wood to assembling the pieces, each step is crucial in the construction of your wine rack.

    Cutting Your Wood

    Accuracy in cutting your wood is crucial. How can you ensure each piece fits perfectly? Measure twice, cut once, and always follow the detailed measurements provided in your Wine Rack Woodworking Plans.

    Assembling Your Wine Rack

    What’s the best way to assemble your pieces? Whether you’re using nails, screws, or wood glue, the right assembly technique can affect the stability and appearance of your wine rack.

    Finishing Touches

    How do you add a professional finish to your wine rack? Sanding the wood smoothly and applying the right finish will not only enhance the appearance but also protect the wood from moisture and wear.

    Customization Ideas

    How can you personalize your wine rack? Consider adding unique features like a glass holder, a display shelf, or decorative carvings that reflect your personal taste and style.

    For your “Free” Outdoor Projects Plan – Click Here.

    Placement and Installation

    Where should you place your finished wine rack? Consider factors like temperature, light exposure, and convenience. Proper installation is key to ensuring that it is both functional and a focal point in your room.

    Maintaining Your Wine Rack

    How do you keep your wine rack in top condition? Regular maintenance, including dusting and checking for wear and tear, will ensure your rack remains beautiful and functional for years to come.

    Common Mistakes to Avoid when following wine rack woodworking plans

    What are the common pitfalls in wine rack construction? Avoiding mistakes like improper measurement, poor material choices, and inadequate sealing can save you from future problems.

    Inspiration from Successful Projects

    Where can you find inspiration for your wine rack project? Look at galleries of completed projects to see a wide range of designs and applications, from simple to intricate.

    Leveraging Wine Rack Woodworking Plans for Other Projects

    How can the skills you learn from building a wine rack be applied to other woodworking projects? The techniques and principles can be adapted to construct a variety of other furniture pieces and storage solutions.

    Conclusion

    What’s next after completing your wine rack? It’s time to fill it with your favorite wines, invite friends over, and enjoy the fruits of your labor. Your DIY wine rack isn’t just a piece of furniture—it’s a testament to your craftsmanship and passion for wine.

    For your “Free” Traditional Bookcase Plan – Click Here.

    FAQs About Wine Rack Woodworking Plans

    • What is the ideal wood for a wine rack?
      Hardwoods are generally preferred for their durability and aesthetic appeal.
    • How long does it take to build a wine rack?
      The time can vary, but typically it takes a few days to complete, depending on the complexity.
    • Do I need advanced woodworking skills to use these plans?
      No, Wine Rack Woodworking Plans can be adapted for various skill levels, from beginners to experts.
    • Can I make a wine rack that fits in a small space?
      Absolutely, part of customizing your plans involves tailoring the design to fit your available space.
    • What are the most important factors to consider in wine rack design?
      Stability, bottle orientation, and material choice are key factors to ensure optimal wine storage.

    By following these guidelines and using Wine Rack Woodworking Plans, you can create a custom wine rack that enhances your home decor and celebrates your wine collection in style.

  • Rocking Chair Woodworking Plans: Crafting comfort and Style

    Rocking Chair Woodworking Plans: Crafting comfort and Style

    Introduction

    Ever imagined creating something both beautiful and functional entirely by your own hands? Building a rocking chair could be the perfect woodworking project for you. It provides a relaxing nook and adds a touch of rustic elegance to any room. This guide offers you through rocking chair woodworking plans a step-by-step instruction to help you craft a piece that could turn into a cherished family heirloom.

    For your “Free” 2 in 1 Folding Picnic Table Bench Plan – Click Here.

    Understanding the Basics of Rocking Chair Design

    What’s the secret behind a great rocking chair? Balance and motion. The design of the rockers requires precision and careful attention to detail. Before you grab your tools, it’s essential to grasp the mechanics that make a rocking chair so soothing.

    Making the right choose when selecting the wood

    Which wood type suits your rocking chair best? While hardwoods like oak, ash, or cherry are popular for their durability and beautiful finish, softer woods like cedar or pine offer a lighter alternative, each imparting a unique character to your chair.

    What Tools and Materials you need are listed on Rocking Chair Woodworking Plans

    What are the essentials for this project? You’ll need a jigsaw, a drill, sandpaper, and your chosen wood. Also, gather finishing supplies like stain, paint, and sealant to protect and enhance the appearance of your completed rocking chair based on Rocking Chair Woodworking Plans.

    Are Rocking Chair Woodworking Plans Easy to follow.

    Breaking down the process into steps ensures clarity and efficiency. We’ll guide you from cutting the wood, through assembly, to applying the finishing touches, helping you steer clear of common errors.

    Make precise cuts when you follow the Rocking Chair Woodworking Plans

    Accuracy is crucial in woodworking. Always measure twice and cut once, and ensure your plans are clearly marked on your wood before making any cuts, as recommended in Rocking Chair Woodworking Plans.

    Assembling the frame using easy to read Rocking Chair Woodworking Plans

    How do you achieve a smooth rocking motion? Precise assembly of the frame is key. Align each piece carefully and check that all joints are tightly fitted.

    Creating the Rockers in accordance with Rocking Chair Woodworking Plans

    Shaping the rockers is an art—it requires careful cutting and sanding to ensure they not only look good but perform well, providing a gentle, soothing motion.

    The Seat and Backrest

    A comfortable seat and backrest are vital. How do you ensure comfort? Selecting the right angles and considering padding options will enhance the sitting experience.

    For your “Free” Outdoor Projects Plan – Click Here.

    Sanding and Finishing

    A beautiful finish starts with thorough sanding. Before applying any stain or paint, make sure the wood surface is smooth and free of any imperfections, following the guidelines from Rocking Chair Woodworking Plans.

    Adding Personal Touches

    How can you personalize your rocking chair? Consider carving a special inscription, adding a unique pattern, or choosing a distinctive stain or paint color.

    Maintaining Your Rocking Chair

    What’s the best way to care for your rocking chair? Regular maintenance like cleaning and occasional resealing will keep it in pristine condition, ready to be enjoyed by future generations.

    What are the common mistakes to avoid

    Watch out for these pitfalls: choosing inappropriate wood, rushing the sanding process, and neglecting precise measurements and cuts. These can all compromise the quality and functionality of your rocking chair.

    Inspiration for Your Rocking Chair Project

    Where can you find creative ideas? Explore different styles, from traditional to contemporary, or draw inspiration from historical designs. This research can help you add elements that reflect your personal style and functional needs.

    Enhancing Your Home with Your DIY Rocking Chair

    Imagine integrating your handcrafted rocking chair into your home decor. It could become the focal point in a living room, a cozy addition to a nursery, or a peaceful retreat on a porch or patio.

    Conclusion: Enjoying Your Handmade Rocking Chair

    Envision yourself relaxing in your DIY rocking chair after a day’s work—there’s something incredibly satisfying about using furniture you’ve built yourself. This guide on Rocking Chair Woodworking Plans has equipped you with the knowledge to create a functional and stylish rocking chair that’s sure to be enjoyed for years to come.

    For your “Free” Traditional Bookcase Plan – Click Here.

    FAQs About Rocking Chair Woodworking Plans

    1. What is the best wood for making a rocking chair? Opt for hardwoods like oak, ash, and cherry for durability and a fine finish, or softer woods like pine or cedar for a lighter feel.
    2. How long does it take to build a rocking chair? Depending on your skill level and the complexity of the design, it typically takes about 20-30 hours to complete a rocking chair.
    3. Do I need advanced woodworking skills to build a rocking chair? Basic woodworking skills are required, but with detailed plans and step-by-step guidance, even beginners can succeed in building a sturdy and beautiful chair.
    4. Can I customize my rocking chair design? Absolutely! Feel free to modify dimensions, add decorative elements, or choose a unique wood type to make the chair truly yours.
    5. How do I ensure my rocking chair is safe to use? Ensure all joints are properly glued and screwed, check the stability regularly, and choose high-quality materials to guarantee safety and durability.

    By following these detailed Rocking Chair Woodworking Plans, you’re well on your way to adding a functional and charming piece to your home that not only serves as a comfortable retreat but also showcases your woodworking prowess.

  • Small Woodworking Shop Layout Plans: Designing Your Ideal Workspace

    Small Woodworking Shop Layout Plans: Designing Your Ideal Workspace

    Introduction: Why Plan Your Small Woodworking shop layout?

    Setting up a small woodworking shop may seem overwhelming, but with the right layout plans, you can efficiently transform a modest space into a highly productive and enjoyable area. This comprehensive guide delves into Small Woodworking Shop Layout Plans, aimed at helping you maximize and optimize your workspace for better workflow and productivity.

    For your “Free” Workspace Plans – Click Here.

    Understanding Your Space

    Firstly, assess your square footage. How much room do you have? Whether it’s a multi-purpose garage, a basement, or a dedicated shed, understanding the size and characteristics of your space is crucial for creating a functional workshop.

    Essential Zones in a Small Woodworking Shop

    To ensure your Small Woodworking Shop remains functional and well-organized, consider establishing several key zones:

    • The Power Tool Station
    • The Hand Tool Hub
    • The Finishing Area
    • The Assembly Zone
    • Storage Solutions

    The Power Tool Station: Planning for Major Equipment

    Your Small Woodworking Shop Layout must prioritize major tools such as the table saw, planer, and drill press. These require fixed positions with sufficient outfeed space and clear safety zones to prevent accidents. Plan the flow of raw materials into these tools, ensuring ample space for handling large sheets or long boards.

    The Hand Tool Hub: Accessibility and Efficiency

    Efficiency in your Small Woodworking Shop often hinges on how quickly and easily you can access your tools. Create a hand tool hub close to your primary work area, integrating wall-mounted racks or under-bench drawers to keep essential tools within easy reach.

    The Finishing Area: Clean and Contained

    A dust-free environment with adequate ventilation is crucial for finishing work to avoid contaminating freshly applied finishes. Establish a dedicated finishing area separate from the main dust-producing tools, possibly including an air filtration system and task lighting for detailed work.

    The Assembly Zone: A Space for Creativity

    The assembly area is where your projects come to life. It should be adaptable, with a large, flat table to support various project sizes and additional mobile benches for flexibility. Ensure this area is well-lit and unobstructed.

    Storage Solutions: A Place for Everything

    A cluttered shop is inefficient. To maximize space, use vertical storage solutions like wall-mounted cabinets, pegboards for hanging tools, and mobile carts that can be stowed under benches. Labeling drawers and bins can also help save time and prevent frustration.

    Designing for Workflow: Keeping It Logical

    Plan the path of materials from their entry into the shop to the completion of projects. Arrange your equipment so each manufacturing step is logical and minimizes unnecessary movement, saving time and reducing fatigue.

    For your “Free” Guide to 13 Wood Joinery Types – Click Here.

    Safety First: Minimizing Risks in Your Shop Layout

    In a Small Woodworking Shop, safety is paramount. Ensure all tools are easily accessible without having to navigate over cords or around other equipment. Maintain ready access to fire safety gear like extinguishers and first aid kits, and ensure good visibility and communication if the space is shared.

    Lighting: Seeing Your Projects in the Best Light

    Effective lighting is essential, especially for detailed tasks. Include overhead LED lights for general illumination and task lighting at key stations like the workbench and assembly area to eliminate shadows and reduce eye strain.

    Climate Control: Comfort and Wood Care

    Wood is sensitive to environmental fluctuations. Implement controls for temperature and humidity, such as insulation, heating, cooling, and humidity control devices. This not only makes the workshop more comfortable but also protects wood from warping.

    Adapting Layouts to Technology: Embracing Modern Tools

    As tools like CNC routers and laser cutters become more accessible, future-proof your workshop by allowing space for these technologies or ensuring your layout can adapt to accommodate new equipment.

    Personalizing Your Space: Adding Your Unique Touch

    Personalize your Small Woodworking Shop Layout to make it a more enjoyable place to spend time. Incorporate personal touches like displaying favorite tools on a shadow board, using inspiring color schemes, or bringing in natural light and plants to enhance the ambiance.

    Maintaining Flexibility: Planning for Changes

    As your skills and project types grow, your needs may evolve. Design your workshop with flexibility in mind, using modular components like mobile bases for heavy equipment and adjustable shelving.

    Conclusion: Your Ideal Small Woodworking Shop

    A strategic approach to Small Woodworking Shop Layout Plans can greatly enhance your productivity and enjoyment of woodworking. By considering each aspect of the layout from the beginning, you can create a space that is not only functional and safe but also a pleasure to work in.

    For your “Free” Workspace Plans – Click Here.

    FAQs About Small Woodworking Shop Layout Plans

    • What is the minimum viable size for a small woodworking shop?
      Even a compact area of about 100-200 square feet can be effectively organized if planned carefully.
    • How can I make my small woodworking shop appear larger?
      Utilize bright colors, effective lighting, and consider installing mirrors to create the illusion of more space.
    • What should I consider when choosing machinery for a small shop?
      Select multi-functional tools that conserve space and consider the tool size relative to your workshop’s scale.
    • How do I handle dust management in a small shop? Invest in a robust dust extraction system and position dust-producing machines near ventilation or filtration units.
    • Is it possible to have a shared space, like a garage, function effectively as a Small Woodworking Shop? Yes, with thoughtful planning and mobile setups, you can efficiently convert a shared space into a functional shop and back as needed.
  • Free Woodworking Plans for Beginners: “Easy DIY Projects”

    Free Woodworking Plans for Beginners: “Easy DIY Projects”

    Introduction to Free Woodworking Plans For Beginners

    Have you ever wanted to dive into a woodworking project but felt overwhelmed by the costs and complexities involved? Woodworking can be an enriching hobby or a lucrative career, and the first step towards mastering it is often understanding how to start simply and economically. That’s where free woodworking plans for beginners come into play. Why spend money on expensive plans when you can get them for free?

    For your “Free” 2 in 1 Folding Picnic Table Bench Plan – Click Here.

    The Benefits of Using Free Woodworking Plans for Beginners

    Why should you consider using free woodworking plans? Well, they can help you save money, improve your skills, and allow you to test different types of projects without a significant financial investment. Think of free woodworking plans as your entry ticket into the world of woodworking, where you can make mistakes, learn, and refine your skills without breaking the bank.

    Finding Free Woodworking Plans For Beginners: A Treasure Hunt

    Where do you find these gems? Many websites offer free woodworking plans, ranging from simple furniture to intricate decor items. Often, these plans come with detailed instructions, materials lists, and sometimes even videos. Isn’t it amazing that so much information is available at no cost?

    Ensuring Quality of the Free Woodworking Plans For Beginners

    But here’s the kicker: not all free plans are created equal. How can you tell if you’re looking at a quality plan? Look for plans that include detailed instructions, clear illustrations, and a comprehensive materials list. If previous users have left reviews or feedback, those can be incredibly helpful as well.

    Simple Projects to Start With Free Woodworking Plans For Beginners

    What are some easy projects for beginners? Consider starting with something straightforward like a birdhouse, a simple shelf, or a basic table. These projects don’t require many materials or complex tools and are great for building your confidence.

    For the Love of the Outdoors: Garden Woodworking Plans

    Do you have a garden or wish to start one? Free woodworking plans for outdoor projects like a planter box, a garden bench, or a trellis can be perfect. These projects make your outdoor space more inviting and functional.

    Indoor Furniture Plans for Your Home

    And what about furnishing your home? Imagine crafting your coffee table, bookshelf, or even a bed frame using free woodworking plans. Selecting the right plan can help you make stunning furniture that guests won’t believe you made yourself.

    Toy Plans for the Little Ones

    Got kids or grandchildren? Free woodworking plans for wooden toys can be a goldmine. Making toys like puzzles, cars, or even a dollhouse can be fun projects that also make cherished gifts.

    Decorative Pieces to Enhance Your Interiors

    Interested in smaller projects? Why not start with wooden coasters, picture frames, or a jewelry box? These are fantastic for adding a personal touch to your home or for giving as thoughtful, handmade gifts.

    For your “Free” Traditional Bookcase Plan – Click Here.

    Advanced Projects for Seasoned Woodworkers

    Feeling ambitious? Some free woodworking plans offer complex designs like a roll-top desk, an intricate chest of drawers, or detailed cabinetry. These projects are ideal for developing advanced skills and can be quite rewarding.

    Tools and Materials: What Will You Need?

    Before you start, what tools and materials are essential? Most plans will specify what you need, but typically, you’ll want a saw, a drill, some screws, and of course, wood. You might also need sandpaper, a measuring tape, and various other hand tools depending on the complexity of the project.

    Customizing Your Projects

    How can you add a personal touch to your projects? Customizing can be as simple as choosing a unique wood finish or as intricate as adding your design elements. This is your chance to make each piece uniquely yours using free woodworking plans.

    Staying Safe While Woodworking

    What about safety? Always remember that safety comes first. Wear appropriate safety gear like goggles and gloves and ensure your work area is clean and well-organized to avoid accidents.

    Learning and Growing Through Experience

    Why is practice important? Woodworking is a skill, and like any skill, it improves with practice. The more you build, the better you become. Each project teaches you something new.

    Conclusion: The Joy of Woodworking

    Woodworking allows you to create with your hands, which can be incredibly satisfying. Free woodworking plans are a fantastic resource that can help you start this journey. With patience and practice, you can transform simple pieces of wood into works of art.

    For your “Free” Outdoor Projects Plan – Click Here.

    5 FAQs About Free Woodwork Plans

    • Are free woodwork plans suitable for all skill levels?
      Absolutely! There are plans available for absolute beginners as well as complex plans designed for skilled woodworkers looking for a challenge.
    • How do I know if a free plan is reliable?
      Look for detailed instructions, a comprehensive list of materials, and feedback from others who have used the plan.
    • Can I sell items I make from free woodwork plans?
      Yes, you can often sell items you make from free plans. However, it’s good practice to check if the creator of the plan has any restrictions on commercial use.
    • What if I make a mistake while following a plan?
      Mistakes are part of the learning process. They can be frustrating but think of them as opportunities to improve your skills.
    • Where can I share my completed projects?
      Many online communities and forums are eager to see your projects, offer feedback, and provide encouragement. Sharing your work can be incredibly rewarding!

    Embarking on your woodworking journey with free plans can be an enriching experience. Dive in, enjoy the process, and revel in the satisfaction of creating something beautiful with your own hands. Happy woodworking!