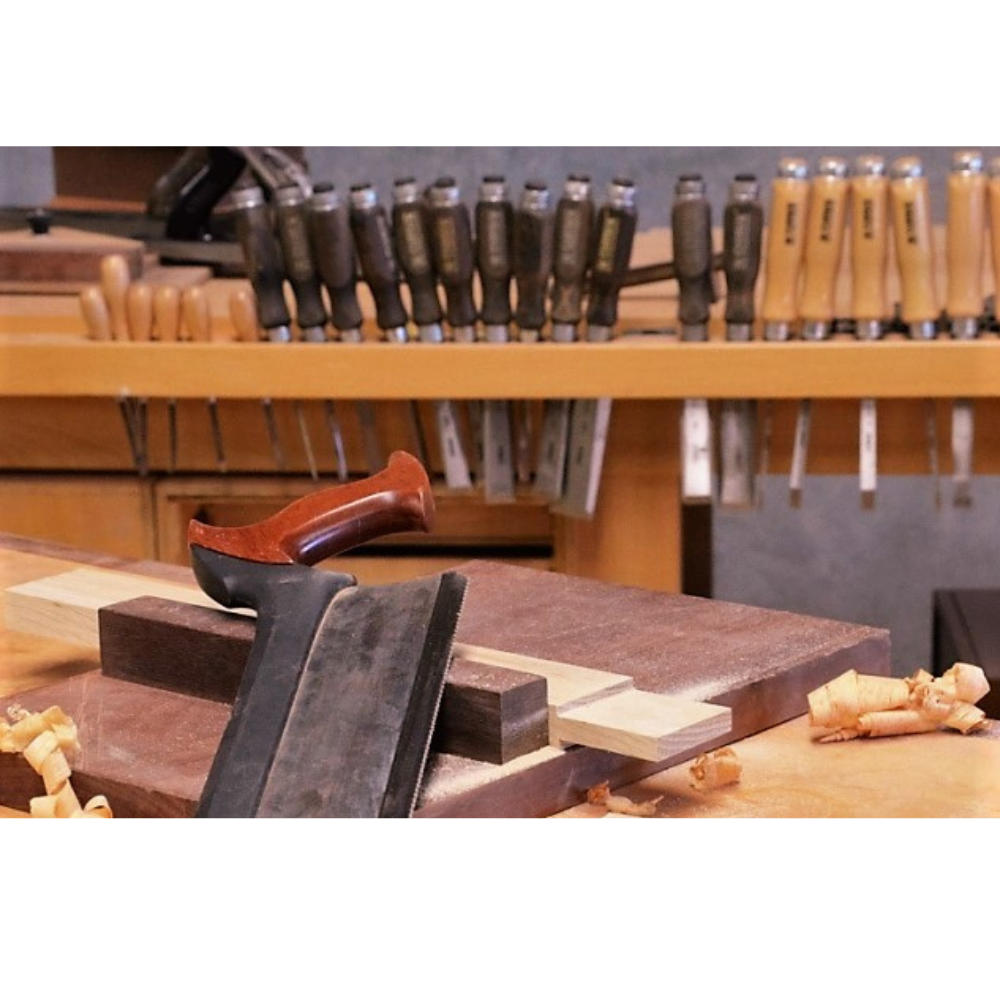
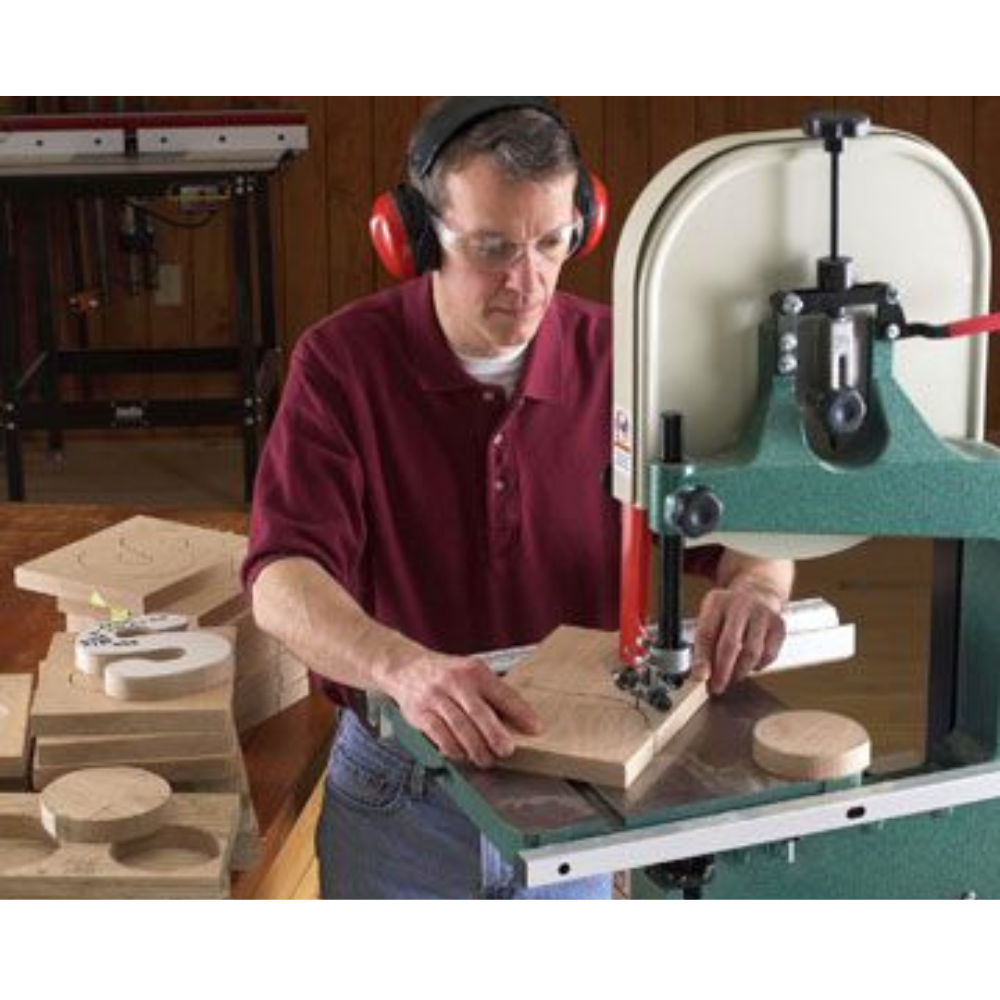
Woodworking is an art that combines creativity, precision, and a variety of tools to bring visions to life. Among the many tools available, the bandsaw for woodworking stands out as a versatile and essential machine. Whether you’re a seasoned woodworker or a beginner, understanding how to use a bandsaw effectively can elevate your craft. In this comprehensive guide, we’ll delve into everything you need to know about bandsaws, from their components and uses to maintenance tips and safety practices.
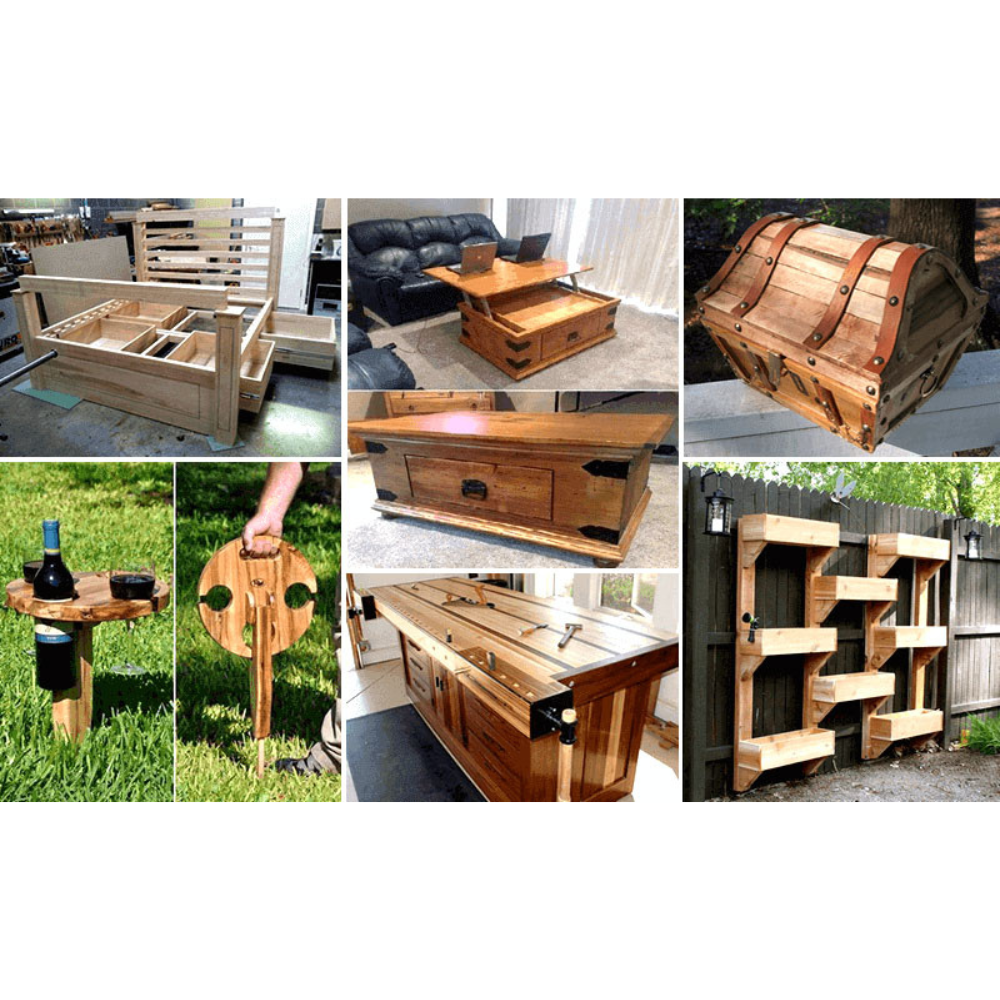
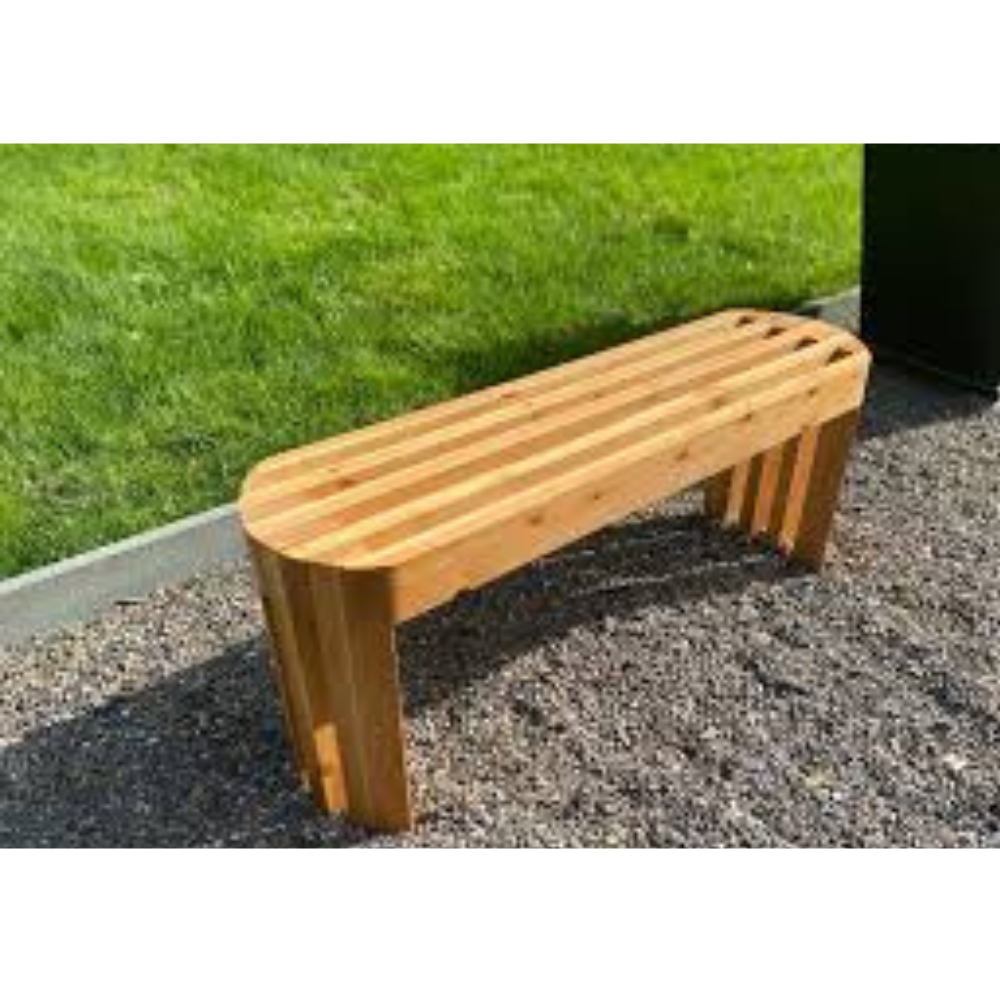
For your “Free” 2 in 1 Folding Picnic Table Bench Plan – Click Here.

Introduction to Bandsaws
A bandsaw is a powerful tool that uses a long, continuous band of toothed metal to cut through wood. This tool is perfect for making precise cuts, intricate curves, and even resawing lumber. If you’re serious about woodworking, a bandsaw can be a game-changer in your workshop.
Bandsaws come in various sizes and configurations, making them suitable for a wide range of woodworking projects. From hobbyists working in their garages to professional woodworkers in large shops, bandsaws are indispensable for their versatility and precision.
Why Choose a Bandsaw for Woodworking?
Why should you invest in a bandsaw for woodworking? The answer lies in its versatility. A bandsaw can handle a wide range of tasks, from cutting thick lumber to crafting delicate patterns. It’s the Swiss Army knife of woodworking tools, offering flexibility and precision.
One of the standout features of a bandsaw is its ability to make intricate cuts. Unlike other saws that are limited to straight lines or simple curves, a bandsaw can navigate complex patterns and tight radii with ease. This makes it ideal for projects that require a high degree of detail and precision, such as crafting furniture, musical instruments, or decorative woodwork.
Types of Bandsaws
There are two main types of bandsaws: bench-top and floor-standing models. Bench-top bandsaws are smaller, making them ideal for hobbyists and those with limited space. Floor-standing models are larger and more powerful, suitable for professional workshops.
Bench-top bandsaws are portable and relatively affordable, making them a popular choice for beginners. Despite their smaller size, they can handle many of the same tasks as their larger counterparts, though they may struggle with very thick or hard woods.
Floor-standing bandsaws, on the other hand, offer more power and a larger cutting capacity. They are better suited for heavy-duty tasks and larger projects. These models often come with additional features such as larger tables, more powerful motors, and advanced blade tensioning systems, making them a worthwhile investment for serious woodworkers.
Key Components of a Bandsaw
Understanding the parts of a bandsaw is crucial for effective use. Key components include the blade, the table, the motor, and the guide system. Each part plays a vital role in the machine’s operation and your ability to make precise cuts.
- Blade: The blade is a continuous loop of metal with teeth on one edge. It comes in various widths and tooth configurations, each suited for different types of cuts.
- Table: The table supports the material being cut. It can be adjusted to different angles for bevel cuts.
- Motor: The motor powers the blade. More powerful motors can cut through thicker and harder materials.
- Guide System: The guides keep the blade stable and aligned, ensuring precise cuts. These include upper and lower blade guides and thrust bearings.
Choosing the Right Blade
The blade is the heart of the bandsaw. Blades come in various widths, tooth designs, and materials. Choosing the right blade for your project is essential. For instance, a wider blade is better for straight cuts, while a narrower blade excels at cutting curves.
Blade selection depends on several factors, including the type of wood, the thickness of the material, and the desired finish. For example:
- Wide Blades (1/2 inch to 3/4 inch): Ideal for straight cuts and resawing. They provide stability and reduce blade drift.
- Narrow Blades (1/8 inch to 1/4 inch): Best for cutting curves and intricate patterns. They allow for tighter turns and more detailed work.
- Tooth Count: Blades with fewer teeth per inch (TPI) are better for cutting thick, rough materials, while blades with more TPI produce smoother cuts in thinner materials.
Setting Up Your Bandsaw
Setting up your bandsaw correctly is the first step to successful woodworking. Ensure the machine is stable, the blade is tensioned properly, and the guides are adjusted for the thickness of the wood. Proper setup can make a significant difference in the quality of your cuts.
- Stability: Place the bandsaw on a flat, stable surface. If it’s a bench-top model, secure it to the workbench to prevent movement during use.
- Blade Tension: Adjust the blade tension according to the manufacturer’s instructions. Proper tension prevents the blade from wandering and ensures straight cuts.
- Guide Adjustment: Set the upper and lower blade guides close to the blade without touching it. Properly adjusted guides keep the blade stable and reduce vibration.
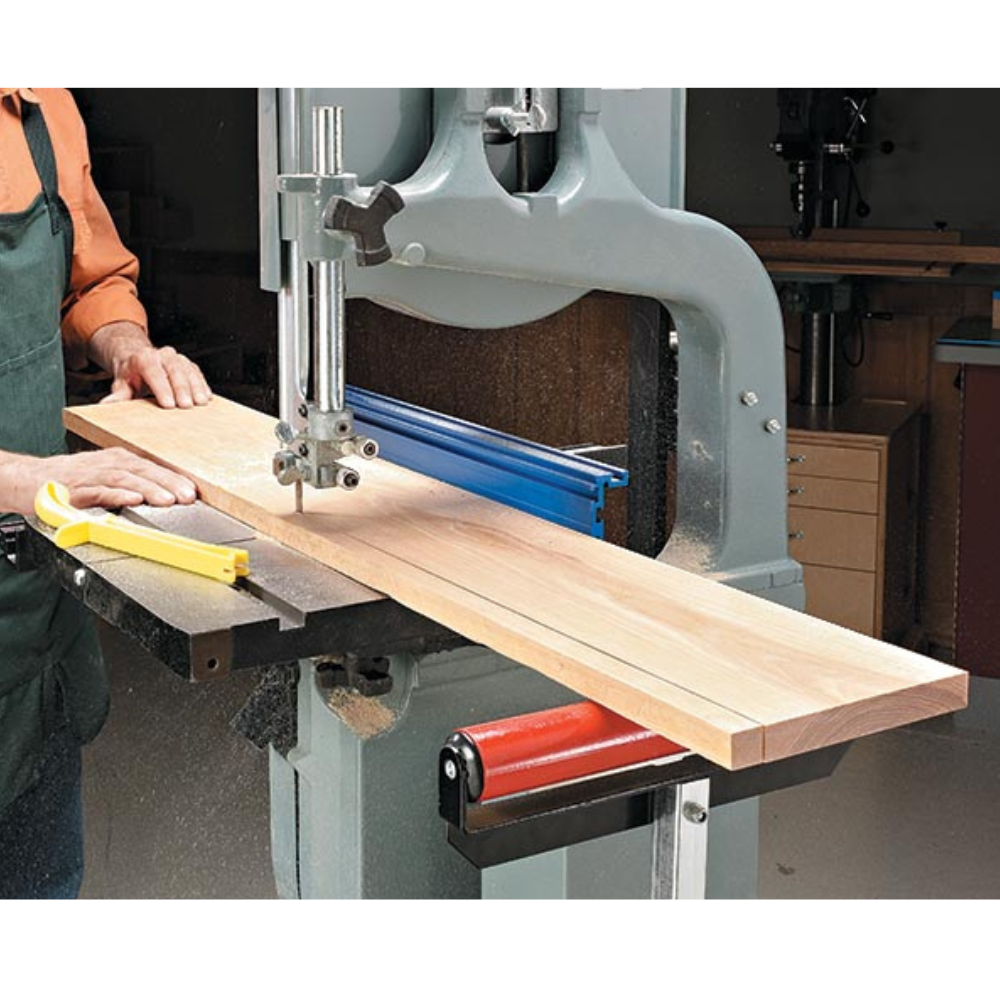
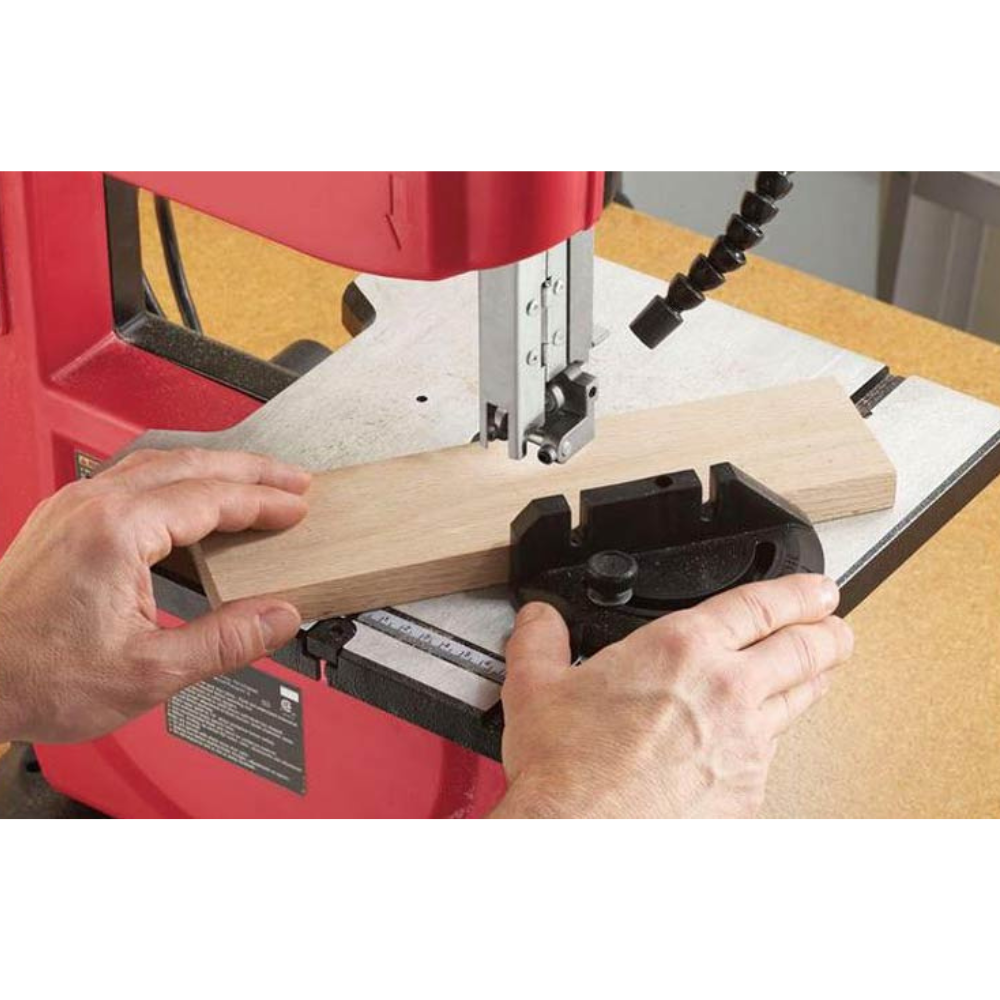
Making Straight Cuts when using a bandsaw for woodworking
One of the primary uses of a bandsaw is making straight cuts. Whether you’re cutting lumber to size or ripping boards, a bandsaw can handle it with ease. Use a fence to guide your material and keep the cuts straight and even.
To make straight cuts:
- Set the Fence: Attach the fence to the bandsaw table and adjust it to the desired width of the cut.
- Position the Material: Place the material against the fence, ensuring it is flat and stable.
- Start the Saw: Turn on the bandsaw and let it reach full speed before beginning the cut.
- Feed the Material: Slowly feed the material into the blade, keeping it flush against the fence. Maintain a consistent feed rate to prevent binding or burning.
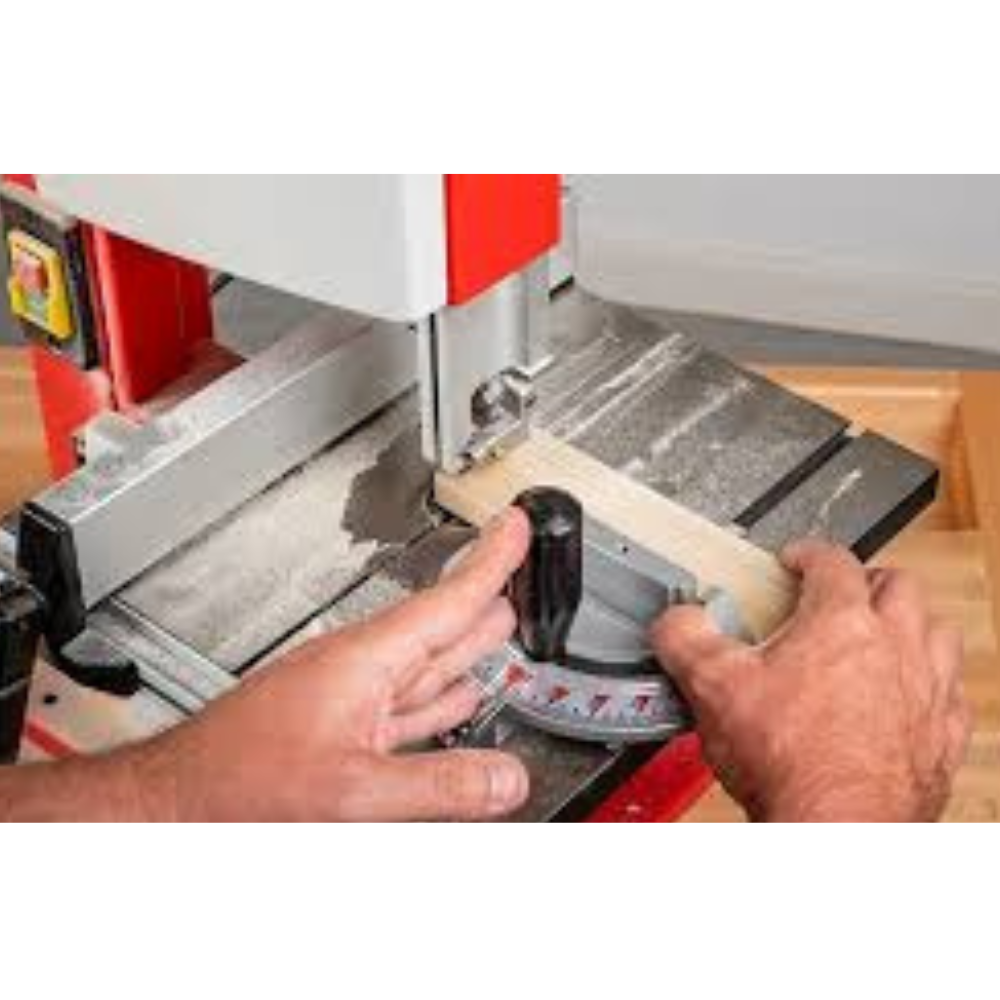
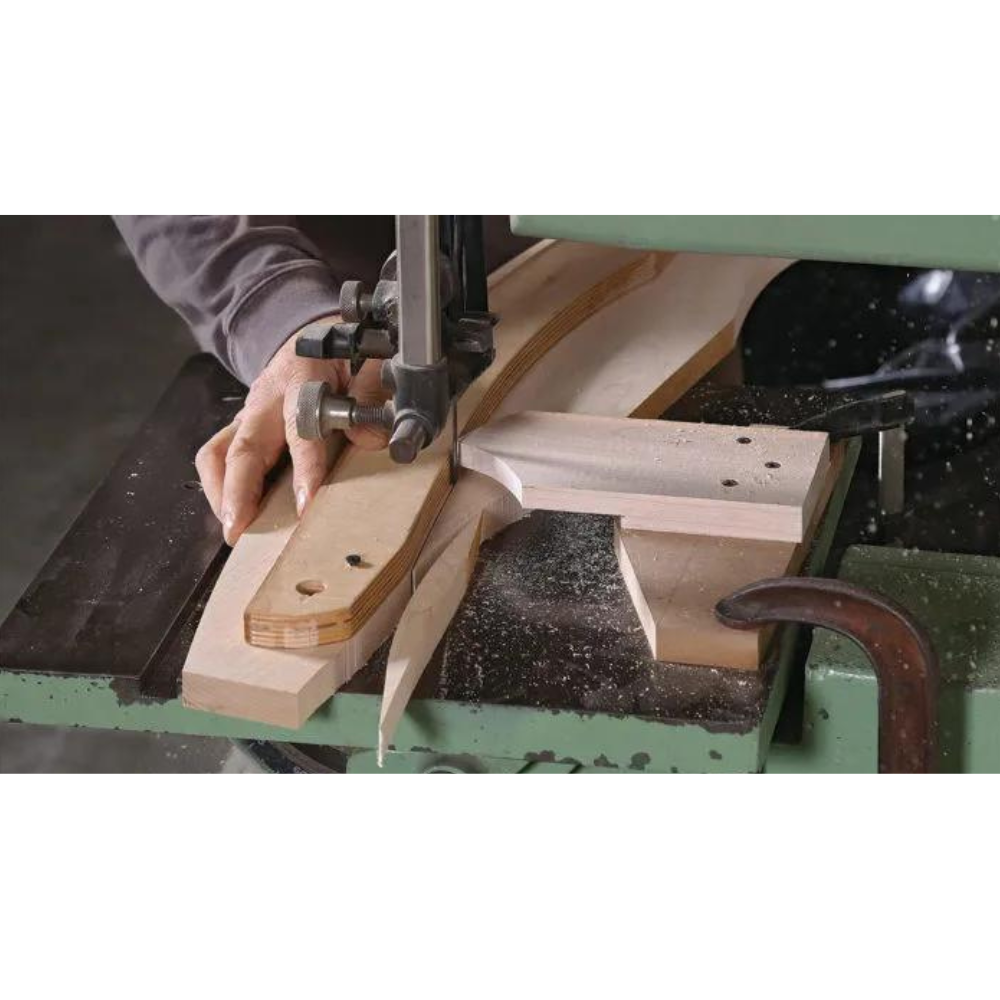
Cutting Curves and Patterns when using a bandsaw for woodworking
The bandsaw’s ability to cut curves is one of its standout features. This makes it ideal for creating intricate designs and patterns. Practice controlling the feed rate and steering the wood to achieve smooth, accurate curves.
To cut curves:
- Choose the Right Blade: Select a narrow blade suitable for cutting curves.
- Draw the Pattern: Mark the desired pattern on the wood using a pencil or template.
- Position the Material: Place the material on the bandsaw table, ensuring it is stable.
- Start the Saw: Turn on the bandsaw and let it reach full speed.
- Cut the Curve: Slowly feed the material into the blade, steering it along the marked line. Take your time to avoid over-cutting or straying from the pattern.
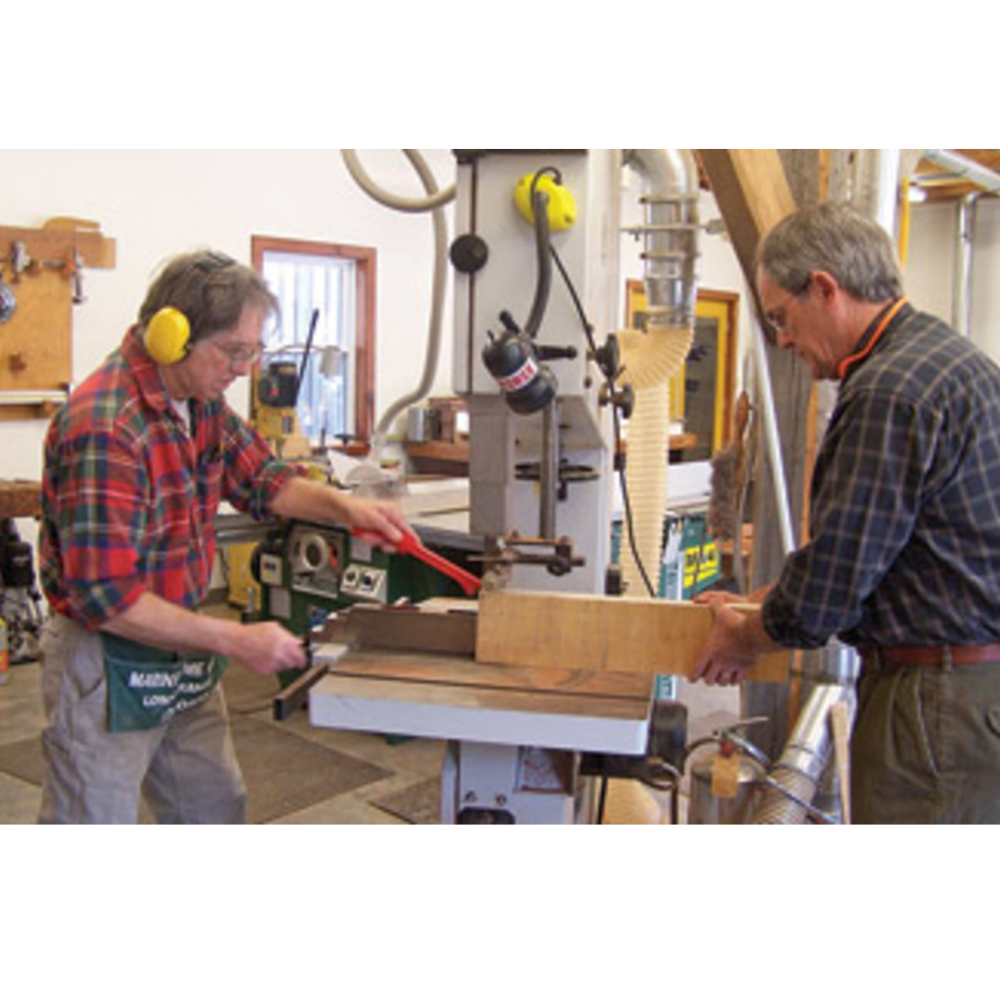
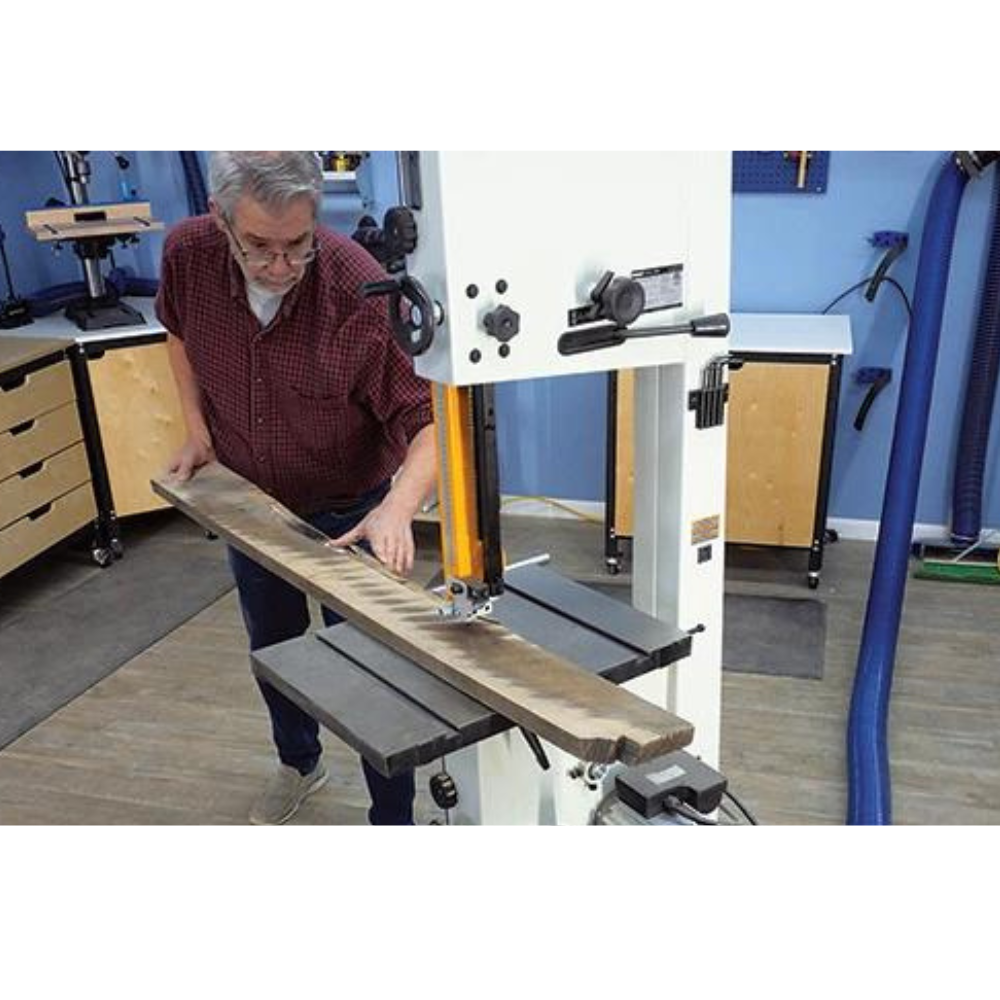
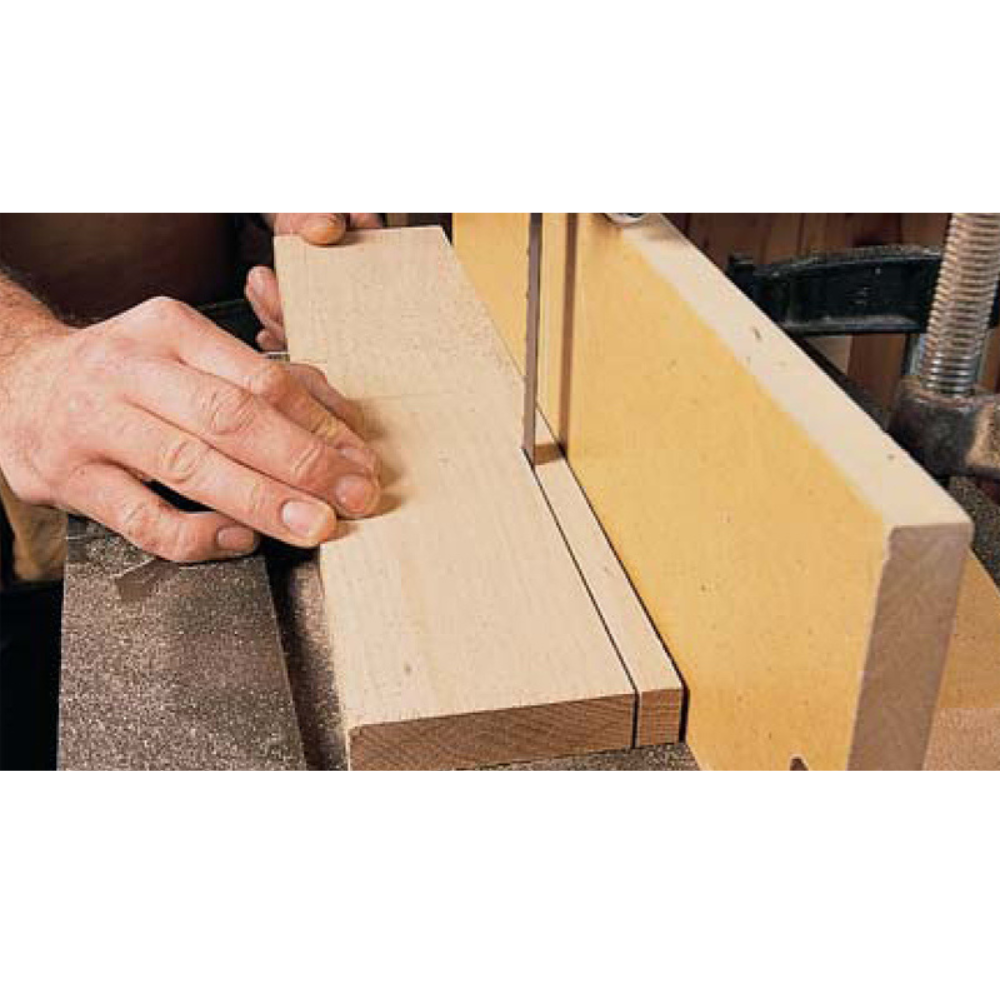
Resawing with a Bandsaw
Resawing involves cutting a piece of wood along its thickness, creating thinner boards from a thicker one. This is a great way to make veneers or bookmatched panels. A bandsaw for woodworking is particularly well-suited for this task, thanks to its deep throat and powerful motor.
To resaw wood:
- Set the Fence: Adjust the fence to the desired thickness of the cut.
- Position the Material: Place the wood vertically against the fence.
- Start the Saw: Turn on the bandsaw and let it reach full speed.
- Feed the Material: Slowly feed the wood into the blade, maintaining a consistent feed rate. Use push sticks or a feather board to keep your hands safe and the material stable.
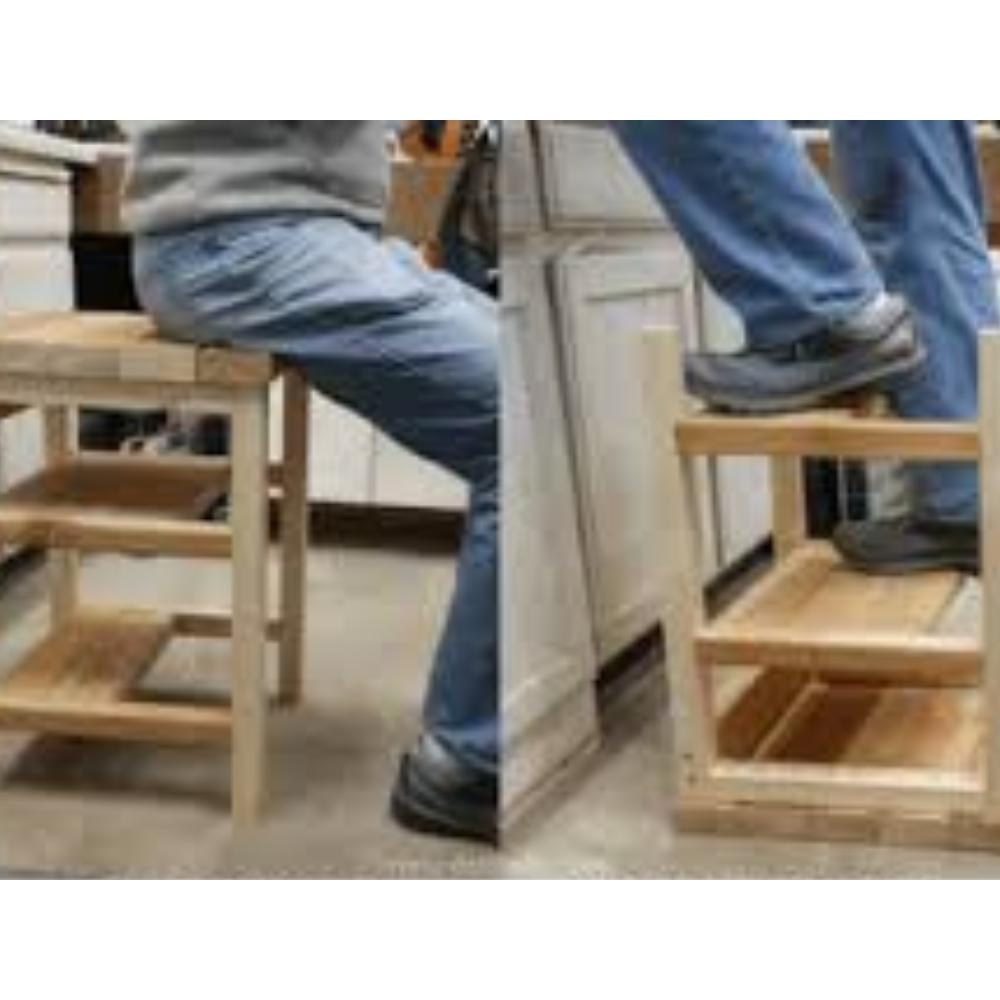
For your “Free” Workspace Plans – Click Here.
Bandsaw Safety Tips
Safety should always be a priority when using any power tool. Wear safety goggles, keep your fingers away from the blade, and use push sticks for small pieces. Regularly check the machine for any signs of wear or damage to ensure it operates safely.
- Personal Protective Equipment (PPE): Always wear safety goggles to protect your eyes from flying debris. Hearing protection is also recommended due to the noise level of the saw.
- Blade Guards: Ensure the blade guards are in place and functioning correctly. These protect your hands from accidental contact with the blade.
- Push Sticks: Use push sticks to feed small or narrow pieces of wood into the saw. This keeps your hands at a safe distance from the blade.
- Regular Inspections: Frequently inspect the bandsaw for signs of wear or damage. Check the blade, guides, and table for any issues that could affect safety or performance.
Maintaining Your Bandsaw
Regular maintenance keeps your bandsaw in top condition. Clean the blade and the table after each use, check the blade tension, and lubricate moving parts. Keeping your bandsaw well-maintained will extend its lifespan and improve its performance.
- Blade Cleaning: Remove sawdust and resin buildup from the blade using a brush or compressed air. A clean blade cuts more efficiently and lasts longer.
- Table Cleaning: Wipe down the table after each use to remove sawdust and debris. A clean table ensures smooth material movement and accurate cuts.
- Lubrication: Lubricate moving parts, such as the blade guides and bearings, to reduce friction and wear.
- Blade Tension: Regularly check and adjust the blade tension to prevent drift and ensure straight cuts.
Troubleshooting Common Issues
Even with proper maintenance, you may encounter issues with your bandsaw. Common problems include blade drift, uneven cuts, and excessive noise. Understanding how to troubleshoot these issues can save you time and frustration.
- Blade Drift: If the blade wanders from the cut line, check the blade tension and guide adjustment. Ensure the fence is parallel to the blade.
- Uneven Cuts: Uneven cuts can result from a dull blade, improper tension, or misaligned guides. Replace the blade if it is worn and adjust the tension and guides as needed.
- Excessive Noise: Excessive noise can indicate a problem with the motor, bearings, or blade. Inspect these components for wear or damage and replace as necessary.
Upgrading Your Bandsaw
Over time, you might want to upgrade your bandsaw to enhance its capabilities. Upgrades can include adding a better fence, installing a more powerful motor, or upgrading to a higher-quality blade. These enhancements can improve precision and efficiency.
- Fence Upgrade: A high-quality fence provides better stability and accuracy for straight cuts. Consider an aftermarket fence system for improved performance.
- Motor Upgrade: A more powerful motor allows for smoother, faster cuts and the ability to handle thicker materials. Upgrading the motor can significantly enhance your bandsaw’s capabilities.
- Blade Upgrade: Investing in high-quality blades can improve cutting performance and extend blade life. Consider specialty blades for specific tasks, such as resawing or cutting metal.
Advanced Techniques with a Bandsaw for Woodworking
Once you’ve mastered the basics, you can explore advanced techniques like making bandsaw boxes, cutting intricate joinery, or creating decorative elements. These projects can challenge your skills and expand your woodworking repertoire.
- Bandsaw Boxes: Bandsaw boxes are small, intricate boxes made from a single piece of wood. They require precise cuts and careful planning but are a great way to showcase your skills.
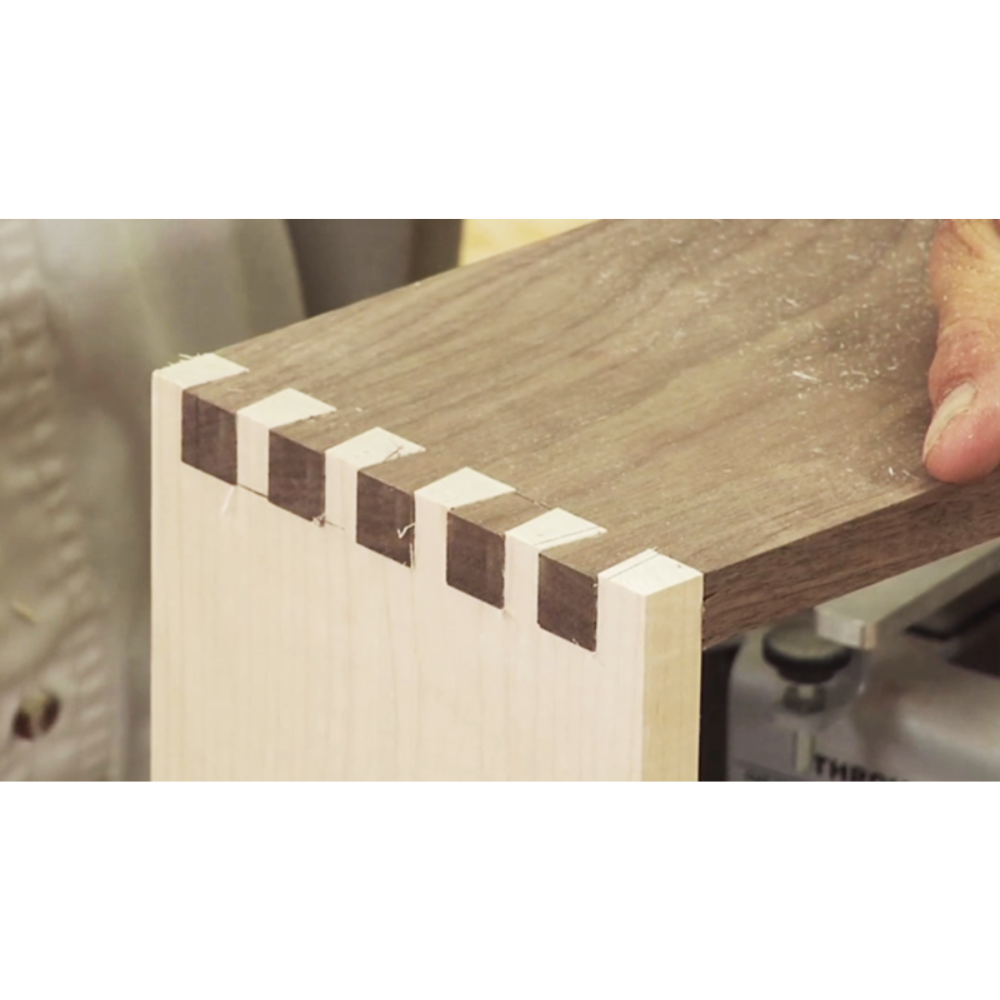
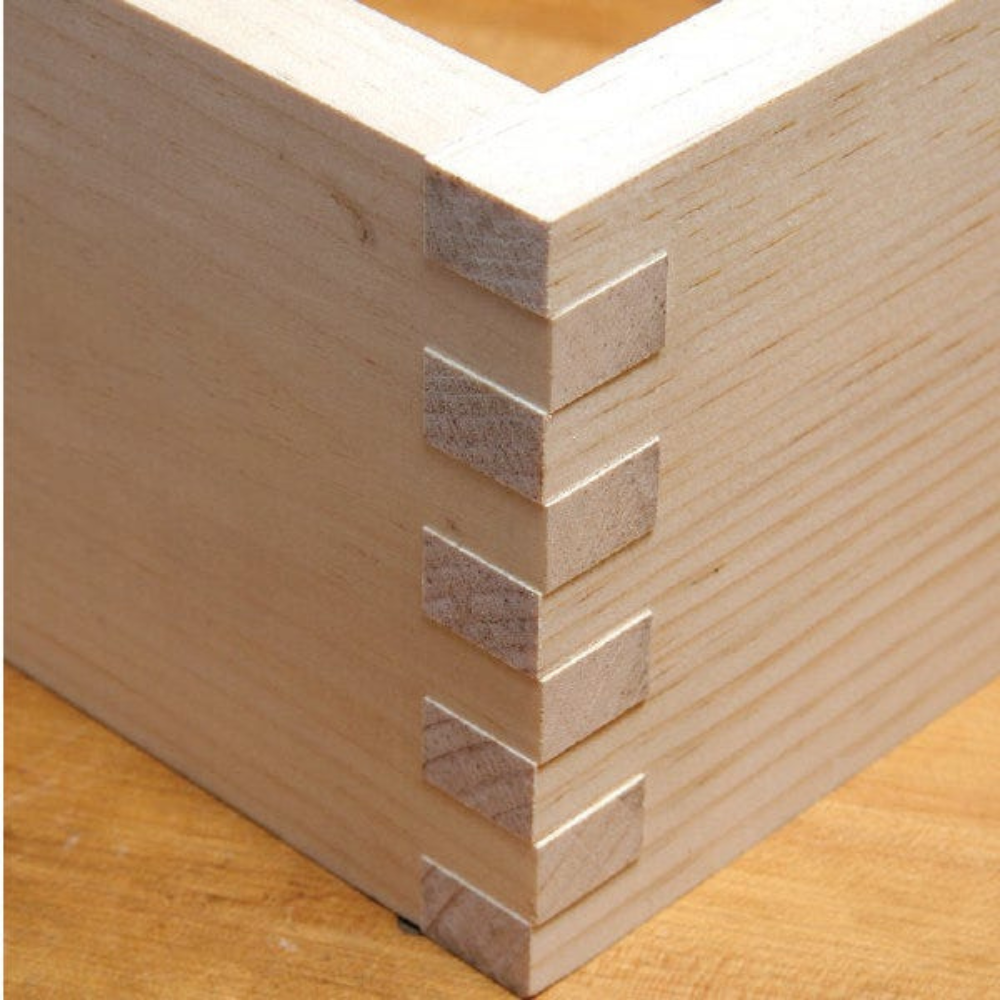
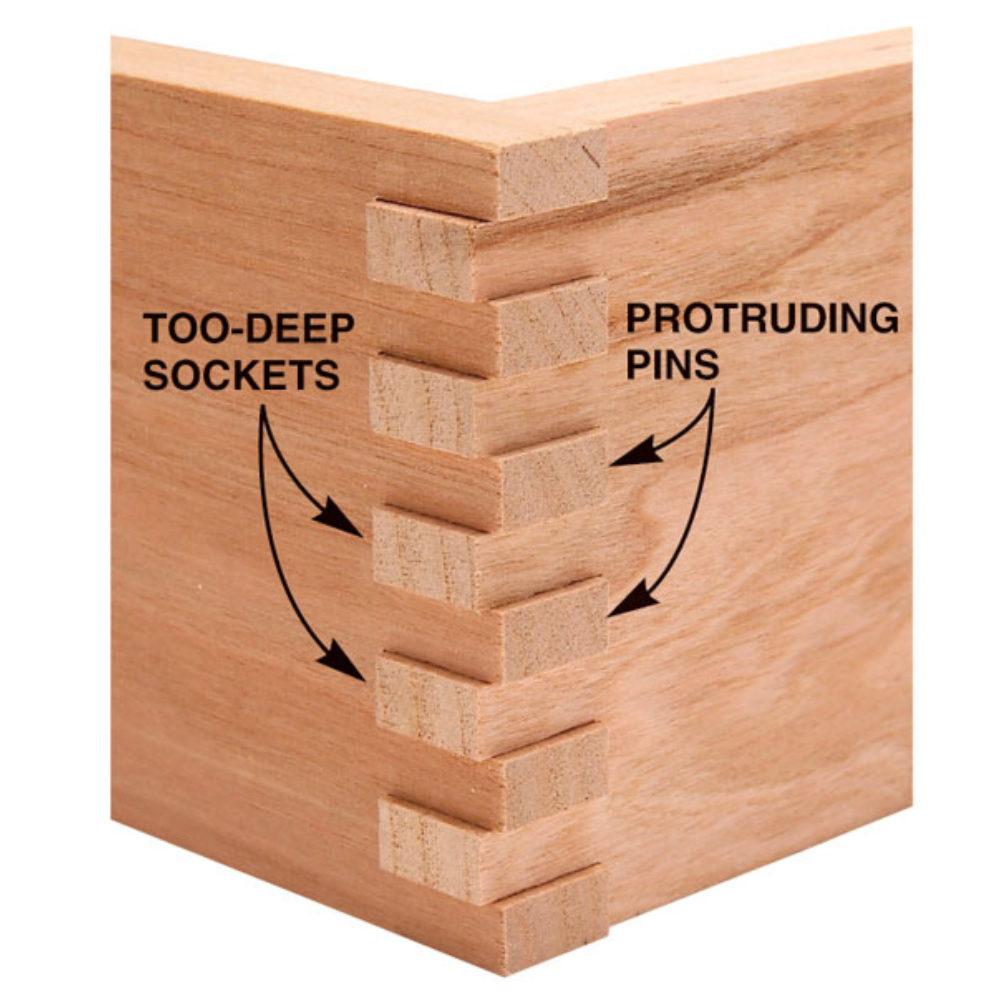
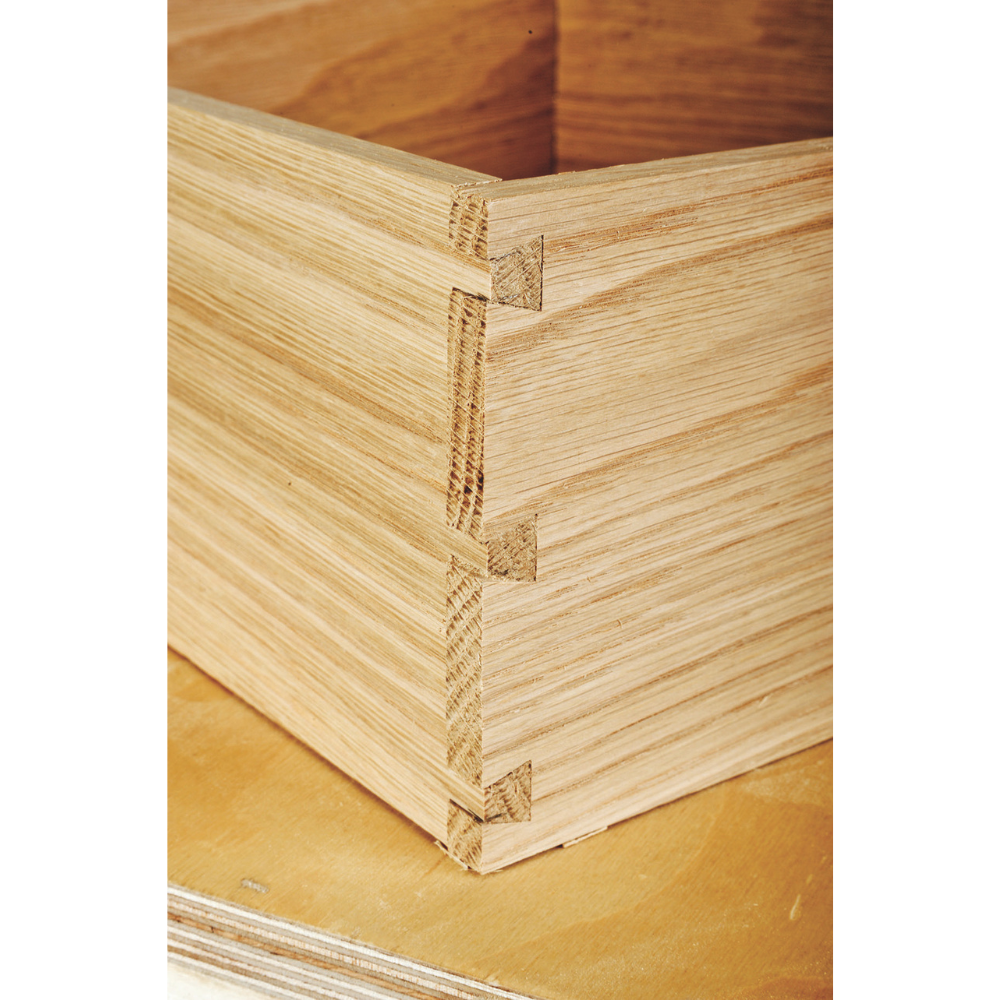
- Intricate Joinery: Use your bandsaw to cut dovetails, tenons, and other types of joinery. This can add a high level of craftsmanship to your projects.
- Decorative Elements: Create decorative elements such as scrollwork, appliqués, and inlays. These details can add a unique touch to your woodworking projects.
Incorporating a Bandsaw into Your Workflow
Integrating a bandsaw into your regular workflow can streamline your woodworking process. Whether you’re preparing stock, making precision cuts, or crafting detailed pieces, a bandsaw can enhance your efficiency and creativity.
- Stock Preparation: Use your bandsaw to resaw lumber and prepare stock for your projects. This can save you time and material compared to purchasing pre-cut wood.
- Precision Cuts: Rely on your bandsaw for making precise, intricate cuts that other saws can’t handle. This can improve the accuracy and quality of your work.
- Creative Projects: Explore new creative possibilities with your bandsaw. From unique furniture designs to artistic wood sculptures, a bandsaw opens up a world of creative potential.
Choosing the Best Bandsaw for Woodworking
Selecting the right bandsaw for your needs depends on several factors, including the type of projects you undertake, the space in your workshop, and your budget. Research different models, read reviews, and consider your specific requirements before making a purchase.
- Project Type: Consider the types of projects you plan to work on. Larger projects may require a more powerful, floor-standing bandsaw, while smaller projects can be handled with a bench-top model.
- Workshop Space: Evaluate the available space in your workshop. A larger bandsaw may offer more capabilities but requires more space.
- Budget: Determine your budget and look for a bandsaw that offers the best combination of features and performance within your price range. Remember that investing in quality equipment can pay off in the long run.
Bandsaw Accessories
Enhance your bandsaw’s capabilities with various accessories designed to improve performance, accuracy, and safety. Some useful bandsaw accessories include:
- Rip Fence: A high-quality rip fence helps guide your material for straight cuts and resawing. It ensures consistency and accuracy.
- Miter Gauge: Use a miter gauge to make precise angled cuts. This accessory is particularly useful for making crosscuts and compound angles.
- Blade Tension Gauge: A blade tension gauge ensures that your blade is properly tensioned, reducing the risk of blade drift and improving cut quality.
- Dust Collection System: A dust collection system helps keep your workspace clean and free of sawdust. This not only improves visibility but also prolongs the life of your bandsaw by reducing dust buildup.
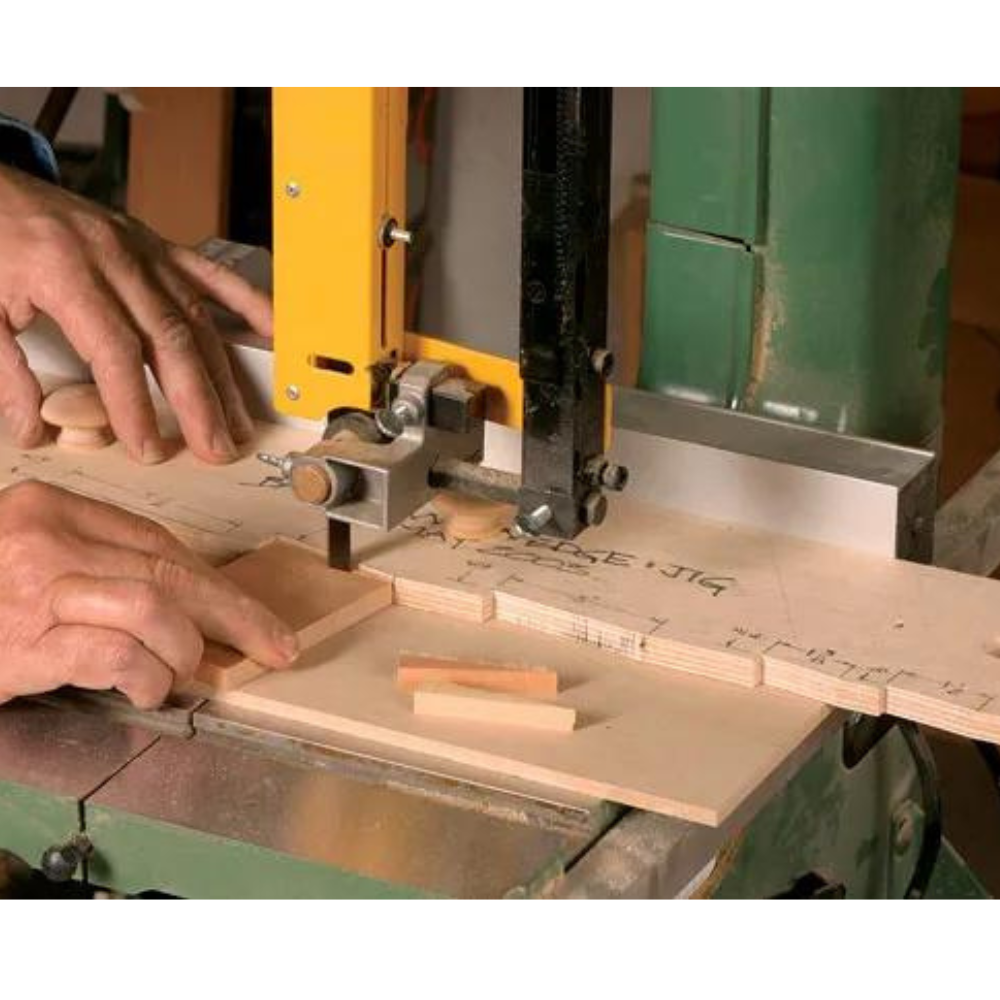
Custom Jigs when using a Bandsaw for Woodworking
Creating custom jigs can enhance the versatility of your bandsaw and allow you to perform specialized cuts with ease. Some common jigs include:
- Circle Cutting Jig: This jig helps you cut perfect circles of various diameters. It is particularly useful for making round tabletops or decorative elements.
- Resawing Jig: A resawing jig provides additional support for tall or uneven pieces of wood, ensuring consistent and accurate resawing cuts.
- Tapering Jig: Use a tapering jig to create precise, tapered cuts for legs or other furniture components. This jig ensures uniformity and accuracy.
Innovative Projects with a Bandsaw
A bandsaw for woodworking can unlock a world of creative possibilities. Here are some innovative projects you can tackle with your bandsaw:
- Bandsaw Boxes: Craft unique, multi-compartment boxes with intricate designs and shapes.
- Wooden Gears: Create functional wooden gears for mechanical projects or decorative purposes.
- Laminated Sculptures: Experiment with laminating different types of wood and cutting them into artistic shapes and forms.
- Bandsaw Art: Use your bandsaw to carve intricate patterns and designs into wooden panels, turning them into works of art.
Bandsaw for Professional Woodworking
For professional woodworkers, a bandsaw is an indispensable tool that can significantly enhance productivity and craftsmanship. Here are some professional applications of a bandsaw:
- Custom Furniture: Create custom furniture pieces with precision-cut components and intricate designs.
- Cabinet Making: Use a bandsaw to cut detailed joinery and decorative elements for high-end cabinetry.
- Musical Instruments: Craft musical instruments such as guitars and violins with intricate shapes and fine details.
- Architectural Millwork: Produce detailed architectural millwork, including moldings, trims, and custom woodwork for interior design projects.
Environmental Benefits when using a Bandsaw for woodworking
Using a bandsaw for woodworking can also have environmental benefits. By resawing lumber and utilizing every piece of wood efficiently, you can reduce waste and make the most of your materials. Additionally, bandsaws are often more energy-efficient than other types of saws, helping to lower your workshop’s overall energy consumption.
Community and Learning Resources
Joining a woodworking community or taking advantage of learning resources can help you improve your bandsaw skills and stay updated on the latest techniques. Consider joining woodworking clubs, attending workshops, or participating in online forums and social media groups dedicated to woodworking enthusiasts.
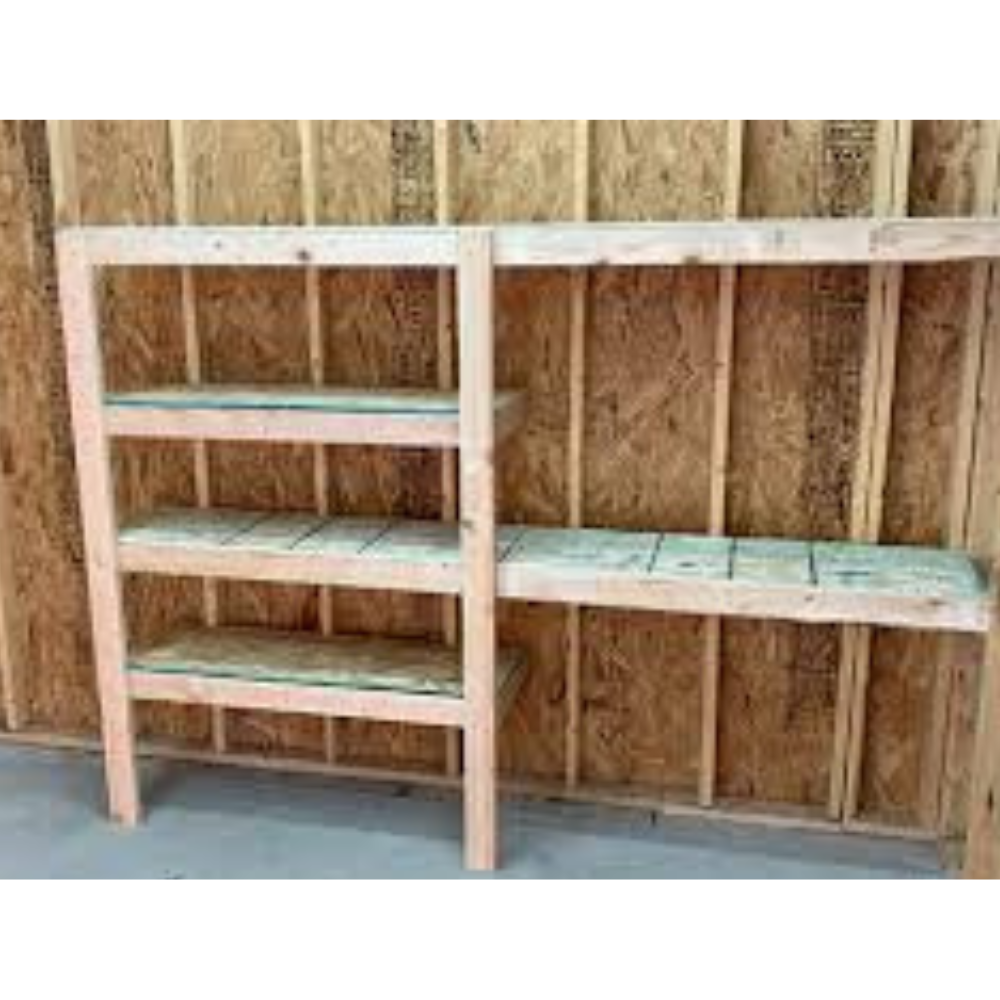
For your “Free” Guide to 13 Wood Joinery Types – Click Here.
FAQs About Bandsaws for Woodworking
Q1: What is the best type of blade for cutting curves?
A narrow blade, typically 1/8 inch to 1/4 inch wide, is best for cutting curves. The narrow width allows for tighter turns and more intricate patterns.
Q2: How do I prevent blade drift?
Blade drift can be minimized by ensuring the blade is properly tensioned and the guides are correctly adjusted. Using a sharp blade and maintaining a consistent feed rate also helps.
Q3: Can a bandsaw be used to cut metal?
While bandsaws are primarily designed for wood, there are blades available that can cut through metal. However, using the correct blade and speed settings is crucial to avoid damage.
Q4: How often should I replace the bandsaw blade?
The frequency of blade replacement depends on usage. Signs that a blade needs replacing include difficulty cutting, increased noise, and rough or uneven cuts.
Q5: Is it necessary to use a fence with a bandsaw?
Using a fence is recommended for making straight cuts. It helps guide the material and ensures accuracy. For freehand cuts and curves, the fence can be removed.
Summary
A bandsaw for woodworking is an invaluable tool that can enhance your craftsmanship and open up new possibilities in your projects. From making straight cuts to intricate patterns and resawing, a bandsaw offers versatility and precision. By choosing the right blade, setting up the machine correctly, and following safety and maintenance practices, you can get the most out of your bandsaw. Whether you’re a beginner or an experienced woodworker, incorporating a bandsaw into your workshop can significantly improve your woodworking experience. Happy woodworking!