Woodworking is a craft that has fascinated people for centuries, transforming raw timber into beautiful, functional pieces. For anyone passionate about this craft, discovering comprehensive resources can be a game-changer. Enter Teds Woodworking, a highly acclaimed resource designed to help both novice and experienced woodworkers achieve their dreams. In this article, we’ll delve into what offers and benefits, and how it can revolutionize your woodworking journey.
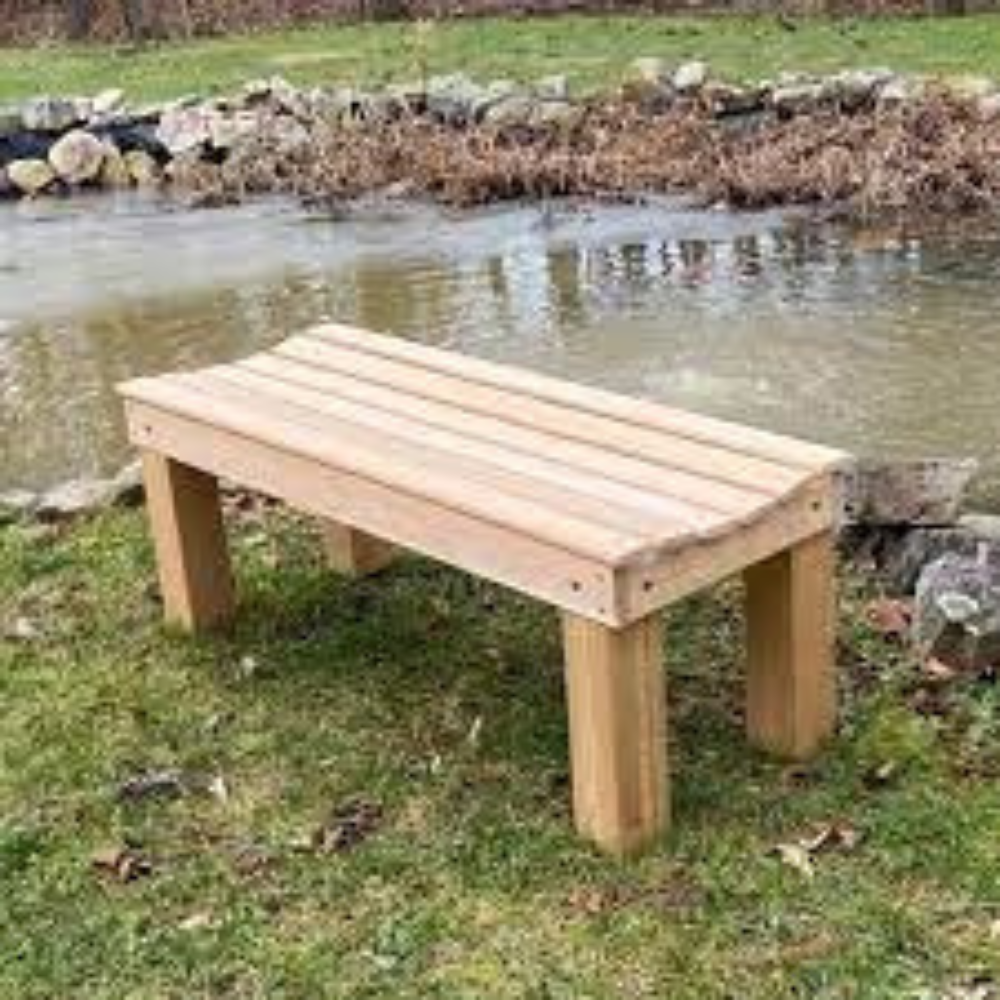
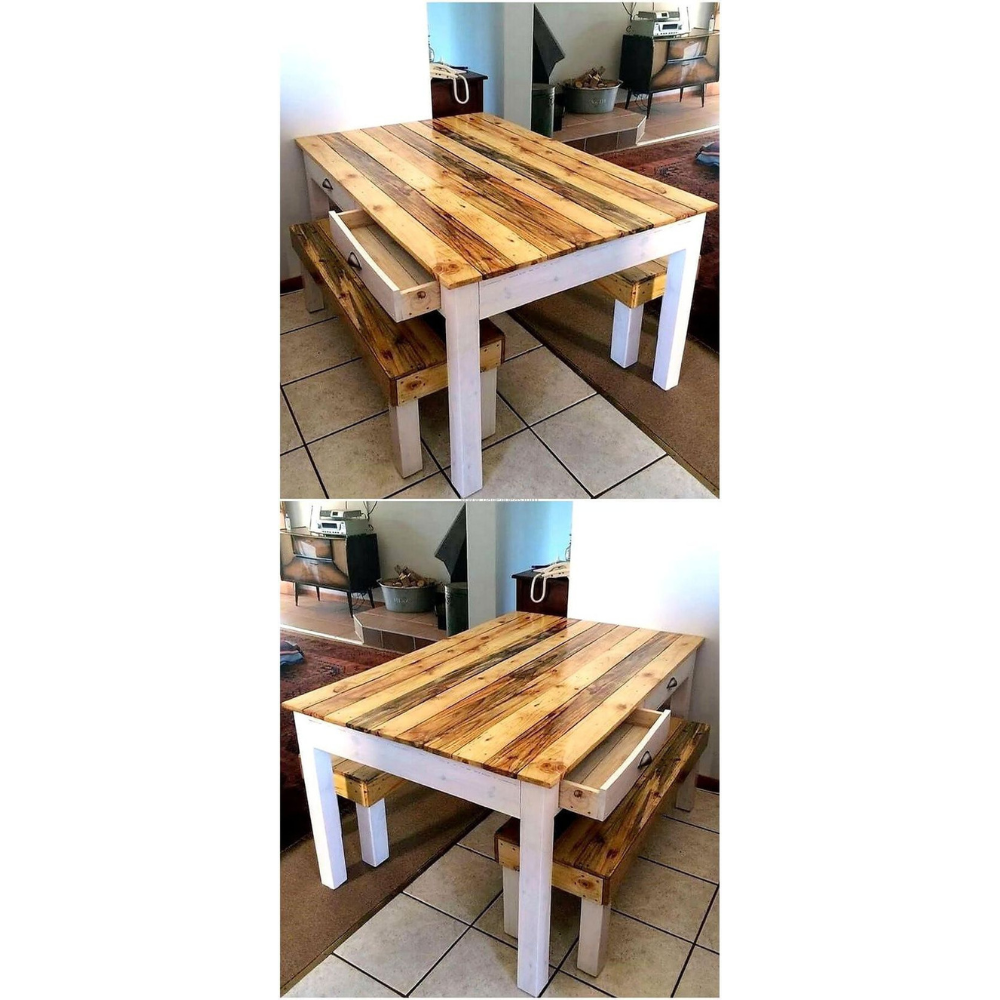
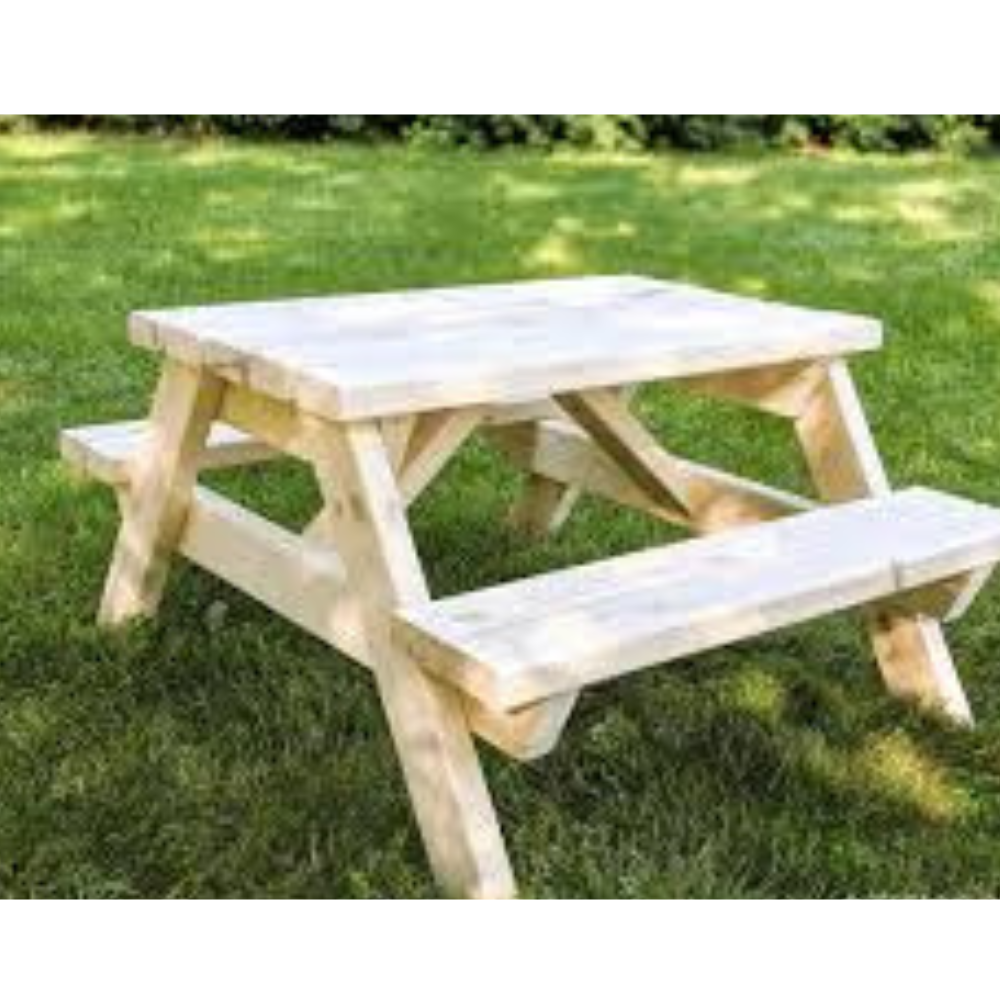
For your “Free” 2 in 1 Folding Picnic Table Bench Plan – Click Here.
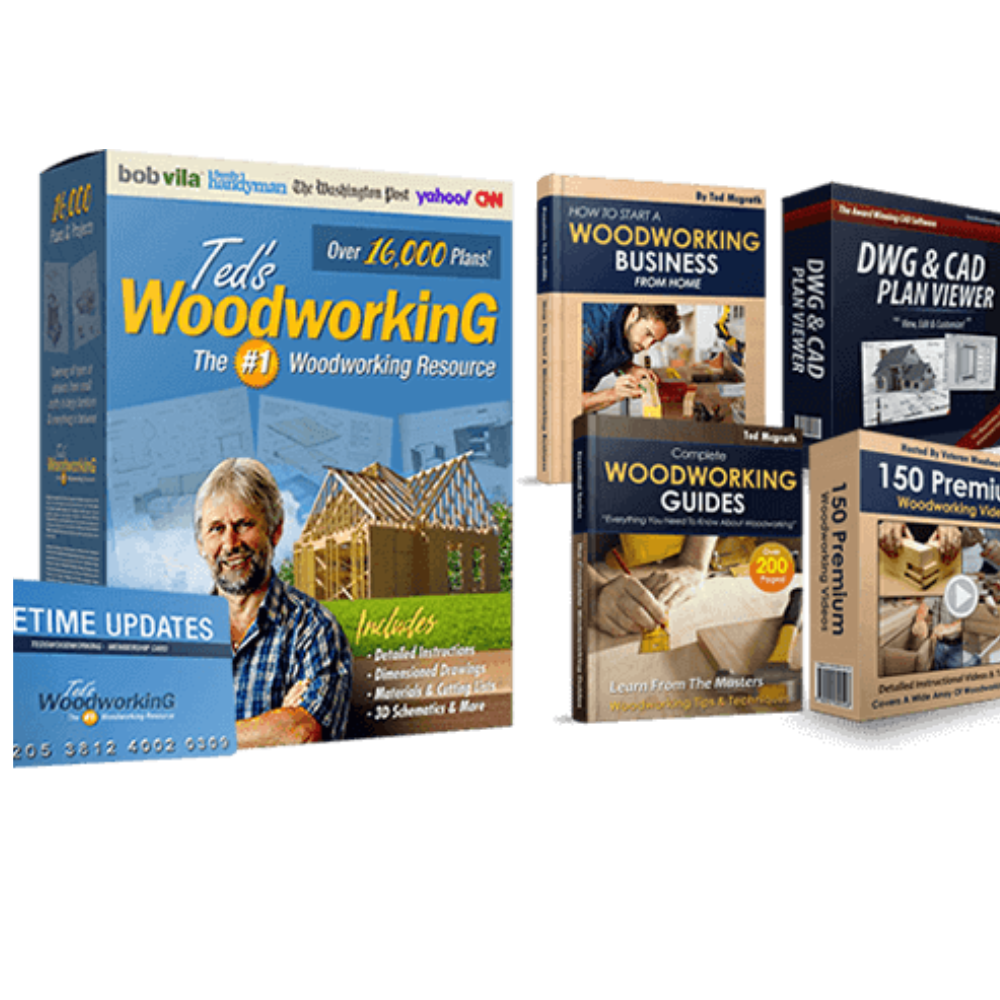

Table of Contents
- Introduction to Teds Woodworking
- What is Teds Woodworking?
- The Origin and Creator of Teds Woodworking
- Why Choose Teds Woodworking?
- Key Features of Teds Woodworking
- Exploring the Plans and Projects
- Benefits of Using Teds Woodworking Plans
- How Teds Woodworking Saves Time and Money
- Teds Woodworking for Beginners
- Advanced Projects in Teds Woodworking
- Tips for Getting the Most Out of Teds Woodworking
- Real User Experiences and Testimonials
- Frequently Asked Questions (FAQs)
Introduction to Teds Woodworking
Are you a woodworking enthusiast looking for the ultimate resource to fuel your passion? Look no further than Teds Woodworking. This comprehensive guide has something for everyone, from beginners to seasoned pros.
What is Teds Woodworking?
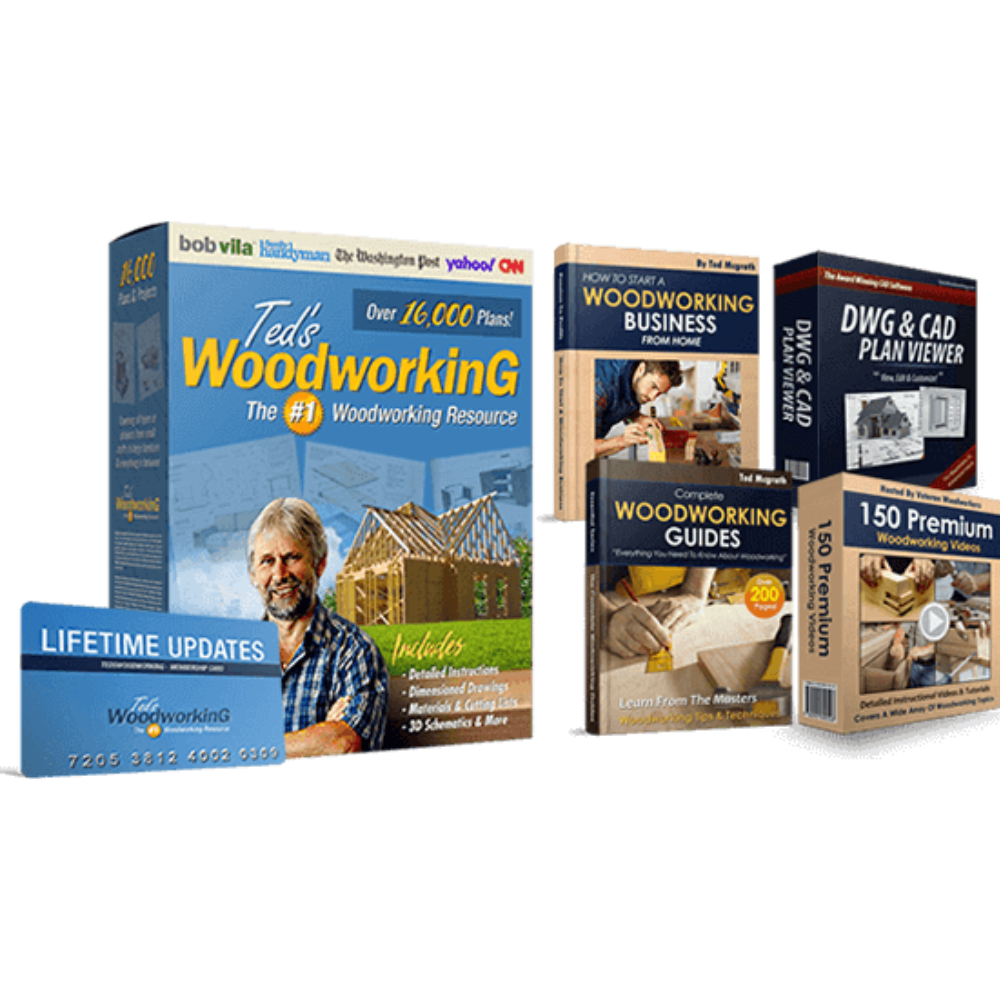
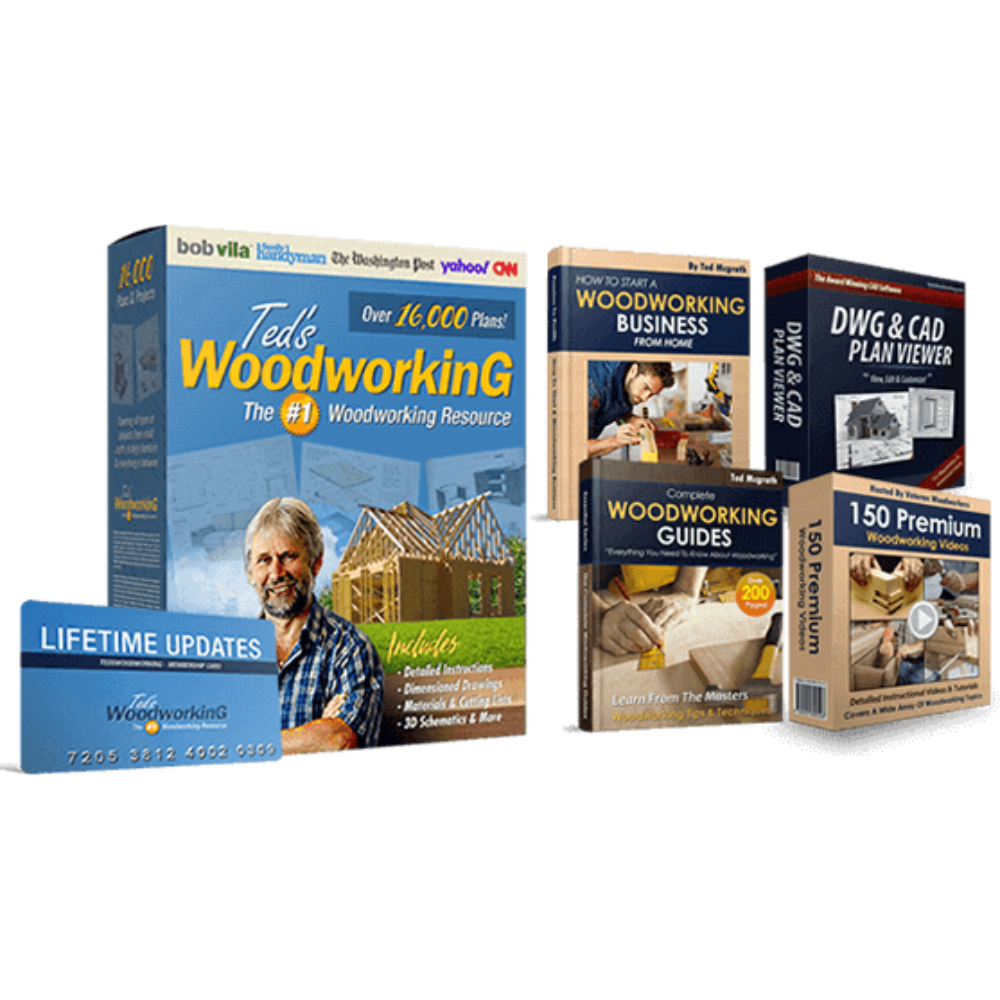
Teds Woodworking is an extensive collection of plans, instructions, and blueprints curated to help woodworkers at all skill levels. It provides over 16,000 detailed plans that cover a wide range of projects. Whether you’re interested in crafting furniture, building sheds, or creating intricate designs, This collection has you covered.
The Origin and Creator of Teds Woodworking
Teds Woodworking was created by Ted McGrath, a professional woodworker, educator, and AWI member. With years of experience under his belt, Ted wanted to share his knowledge and expertise with others. He realized that many aspiring woodworkers struggle with finding reliable plans and clear instructions, leading him to compile this extensive resource.
Why Choose Teds?
Why should you consider Teds Woodworking over other resources? Here are a few compelling reasons:
- Comprehensive Plans: With over 16,000 plans, you’ll never run out of projects.
- Detailed Instructions: Each plan comes with step-by-step instructions, making it easy to follow along.
- Skill Levels: Teds caters to all skill levels, from beginners to advanced woodworkers.
- Affordability: It’s a cost-effective solution compared to hiring a professional or buying individual plans.
Key Features of Teds
Let’s take a closer look at some of the key features that make Teds Woodworking a standout resource:
- Variety of Projects: From small crafts to large constructions, there’s something for everyone.
- Clear Schematics: Each plan includes detailed schematics, ensuring you understand every step.
- Material Lists: Know exactly what materials you need before starting a project.
- 3D Diagrams: Visual aids help you grasp complex designs more easily.
- CAD Plan Viewer: Edit and customize plans to suit your specific needs.
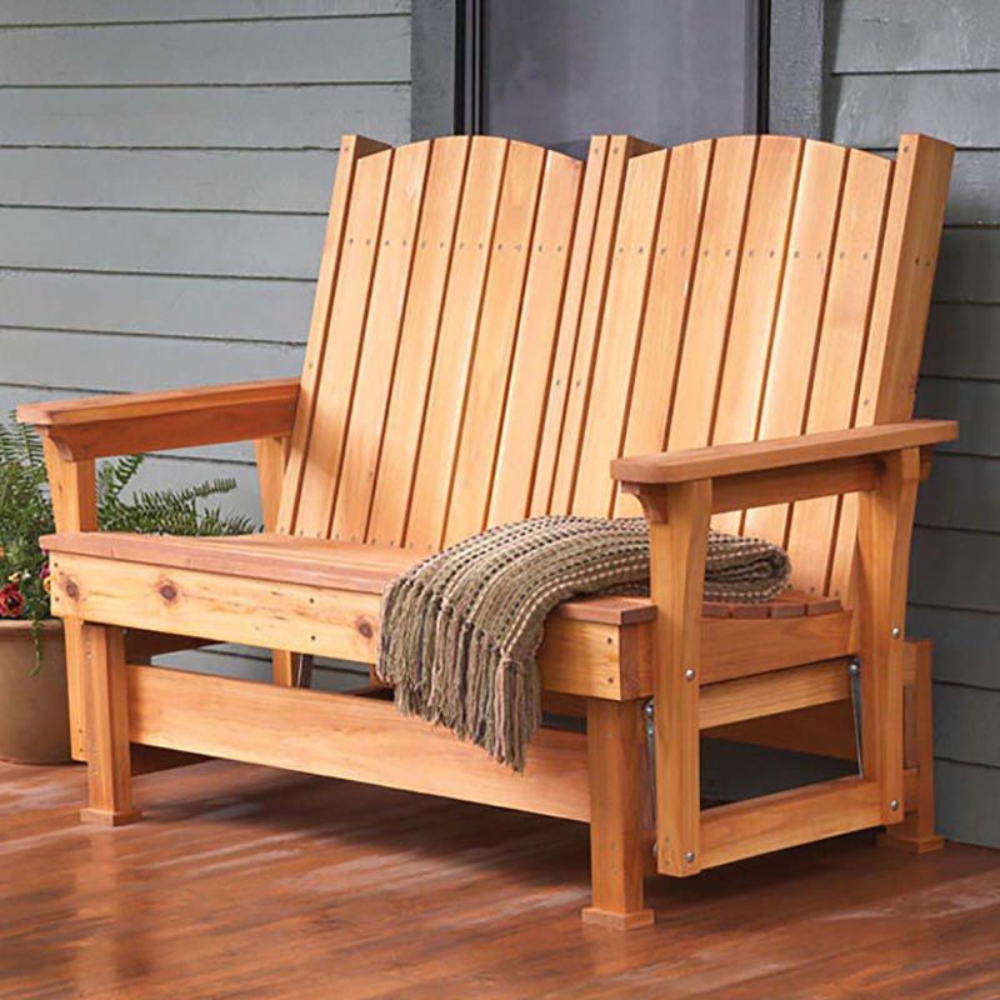
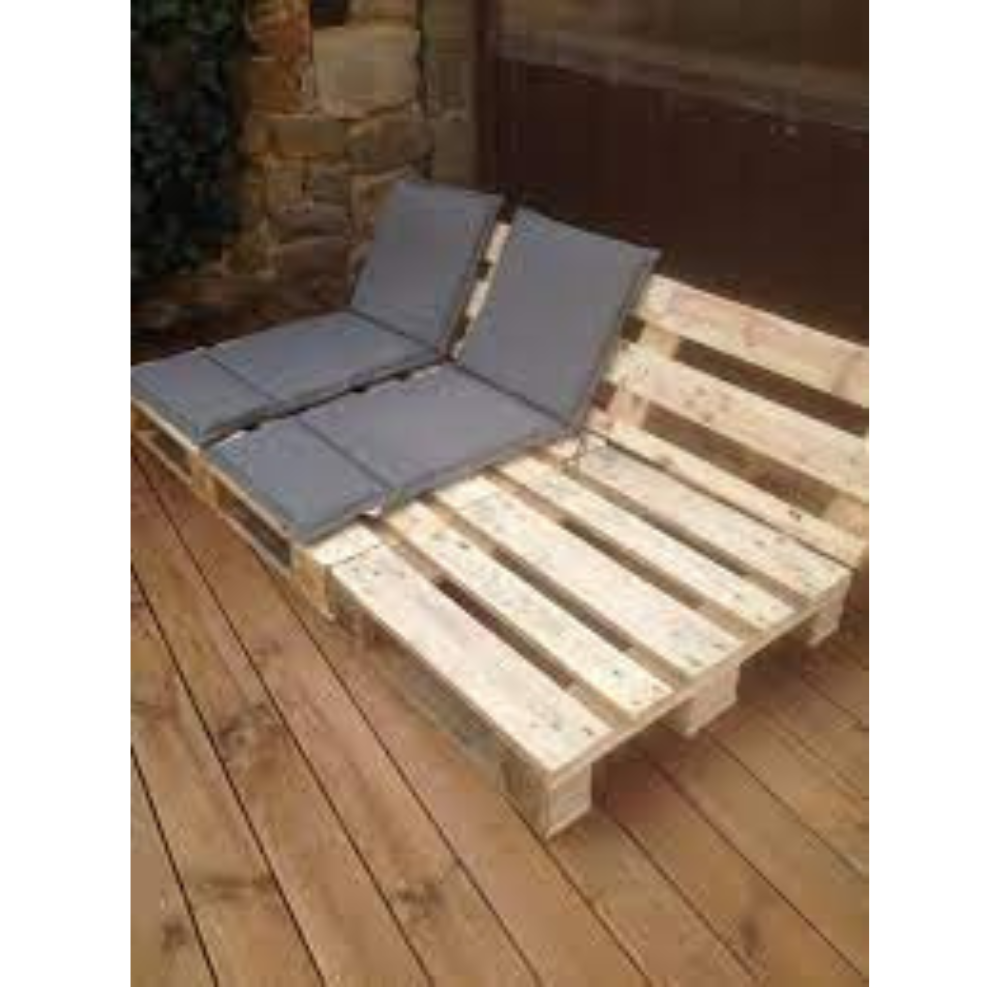
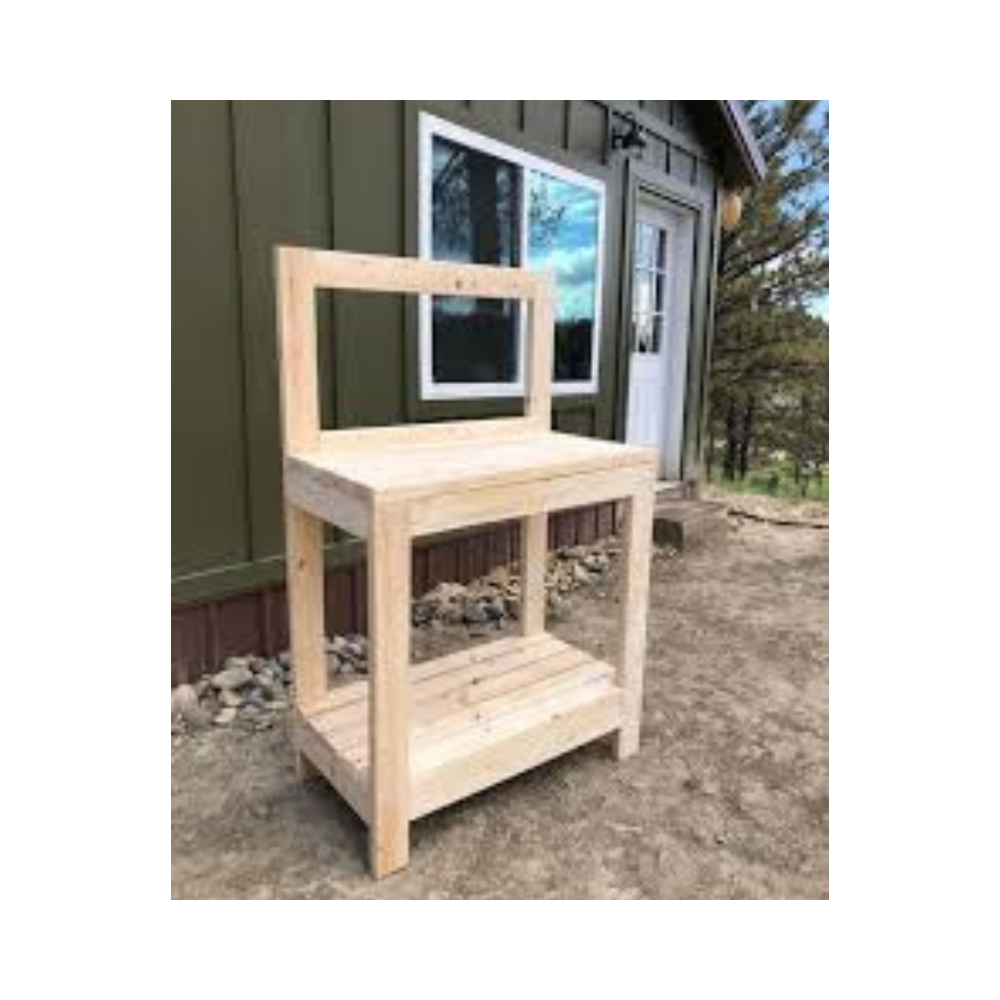
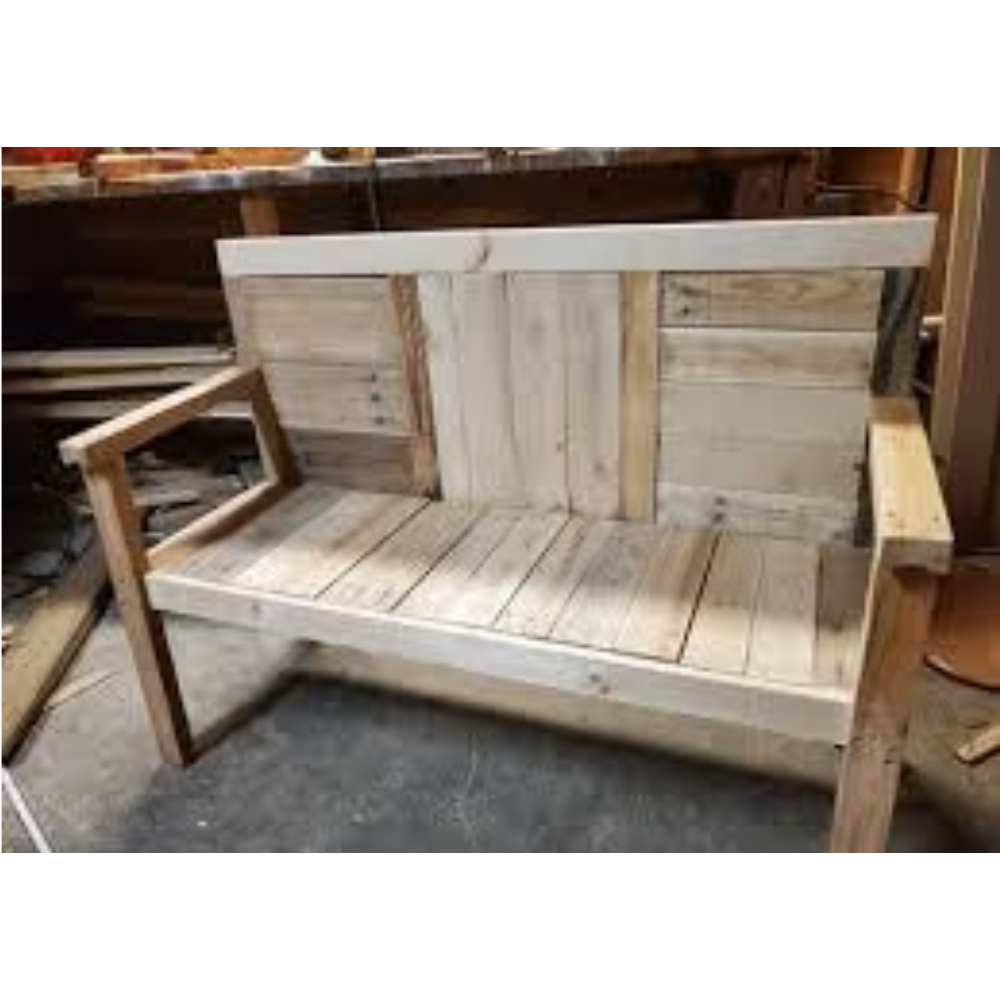
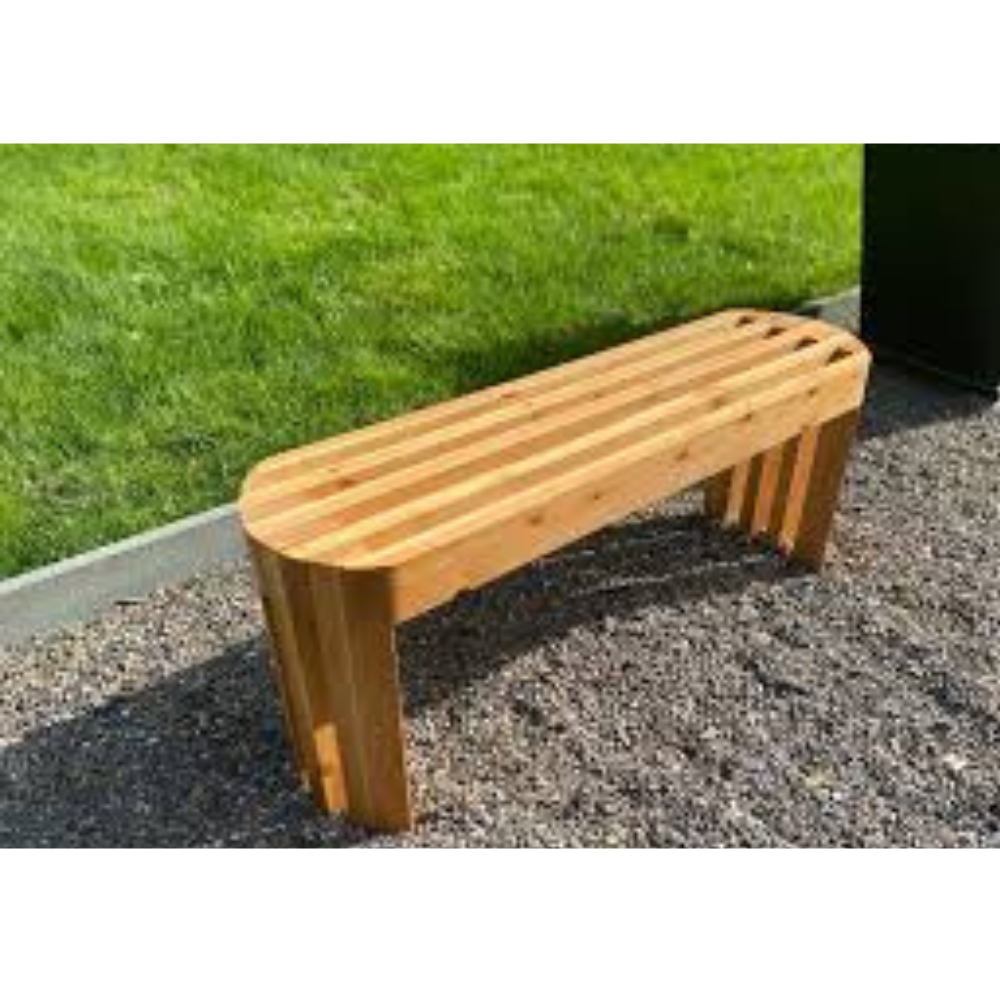
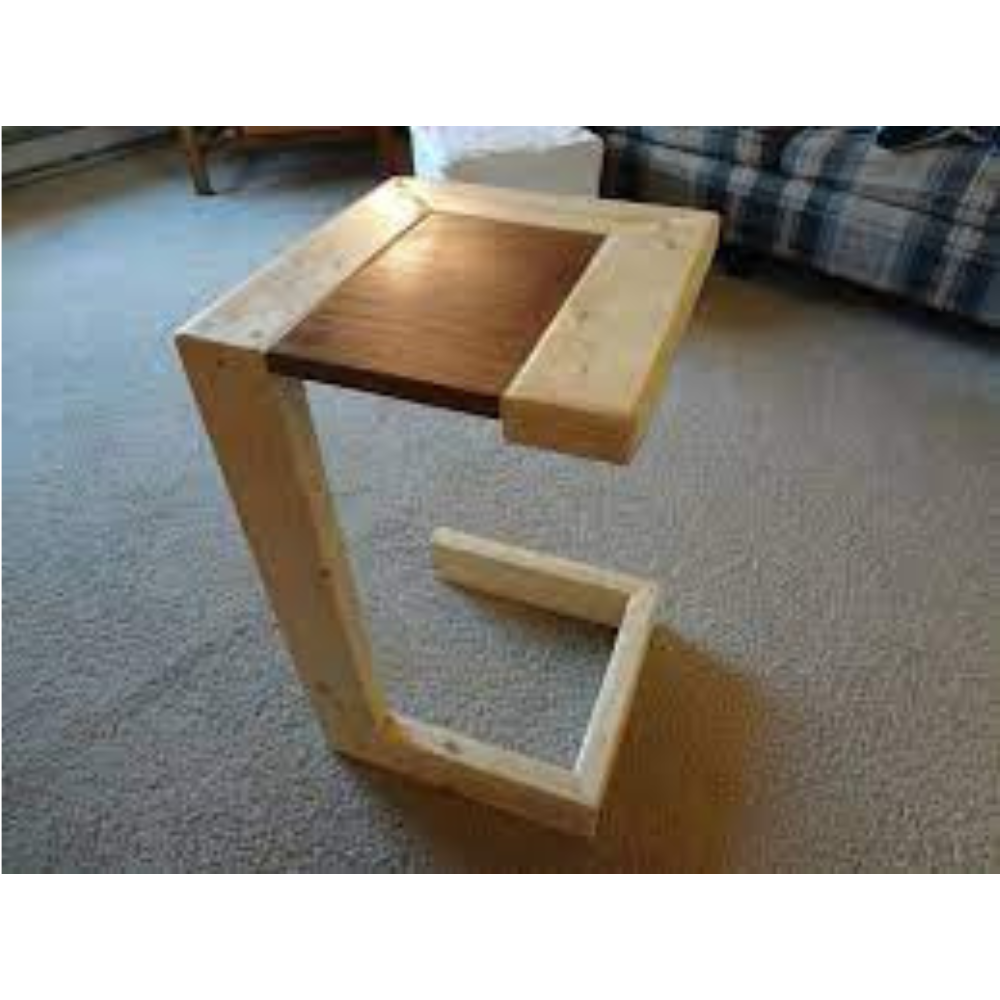
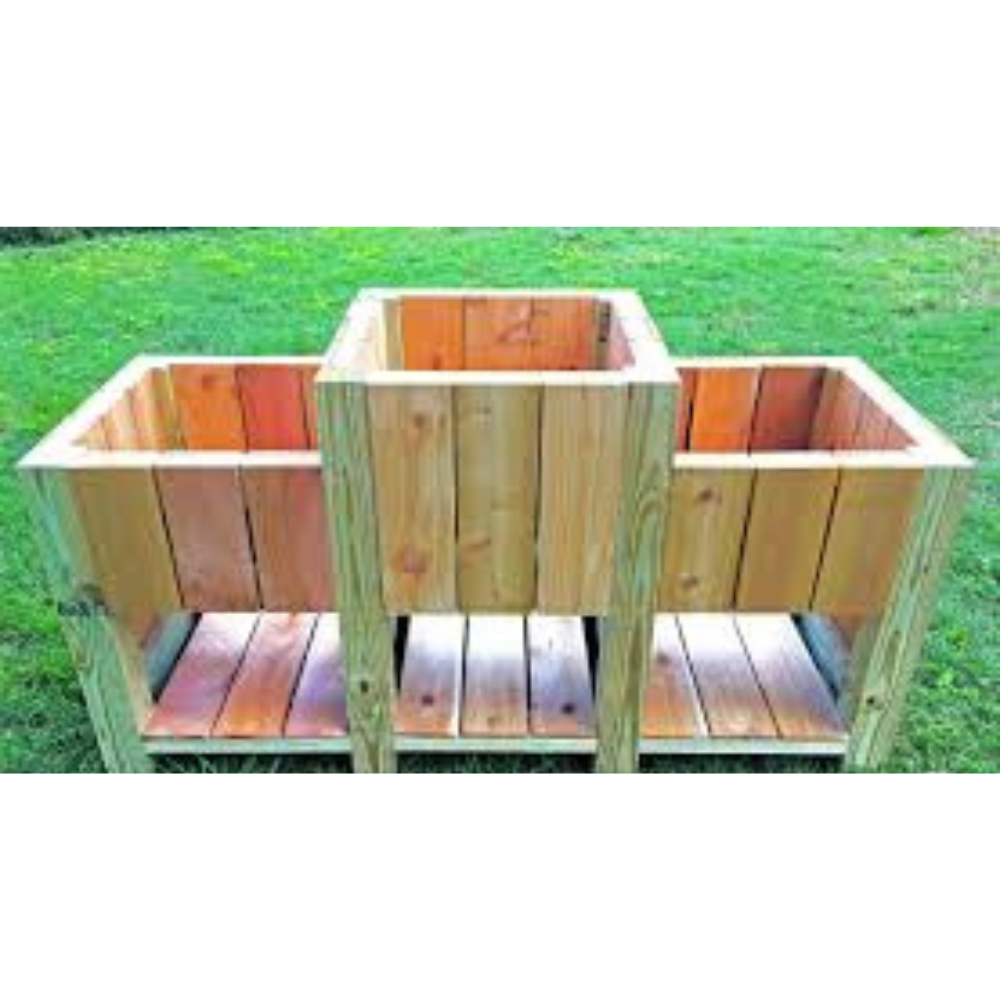
For your “Free” Outdoor Projects Plan – Click Here.

Exploring the Plans and Projects
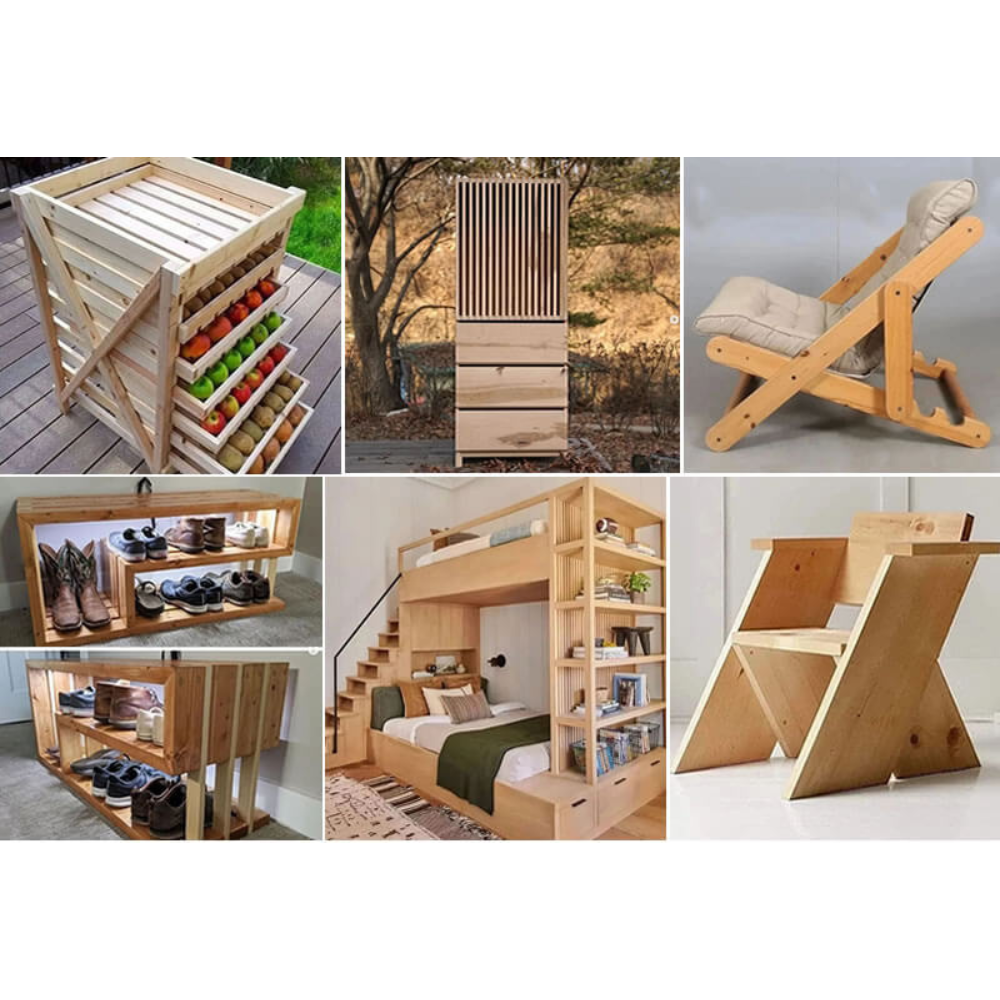
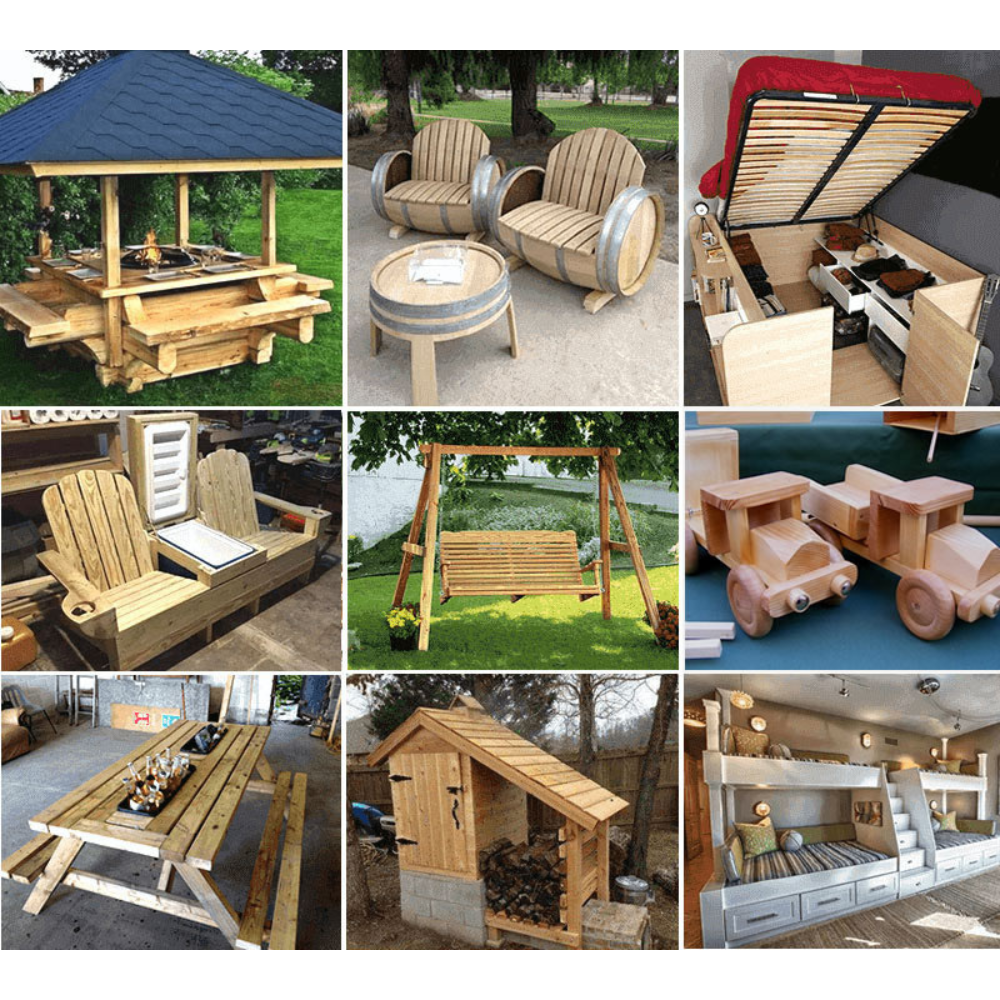
One of the highlights of Teds Woodworking is the variety of plans and projects available. Here are a few examples of what you can expect:
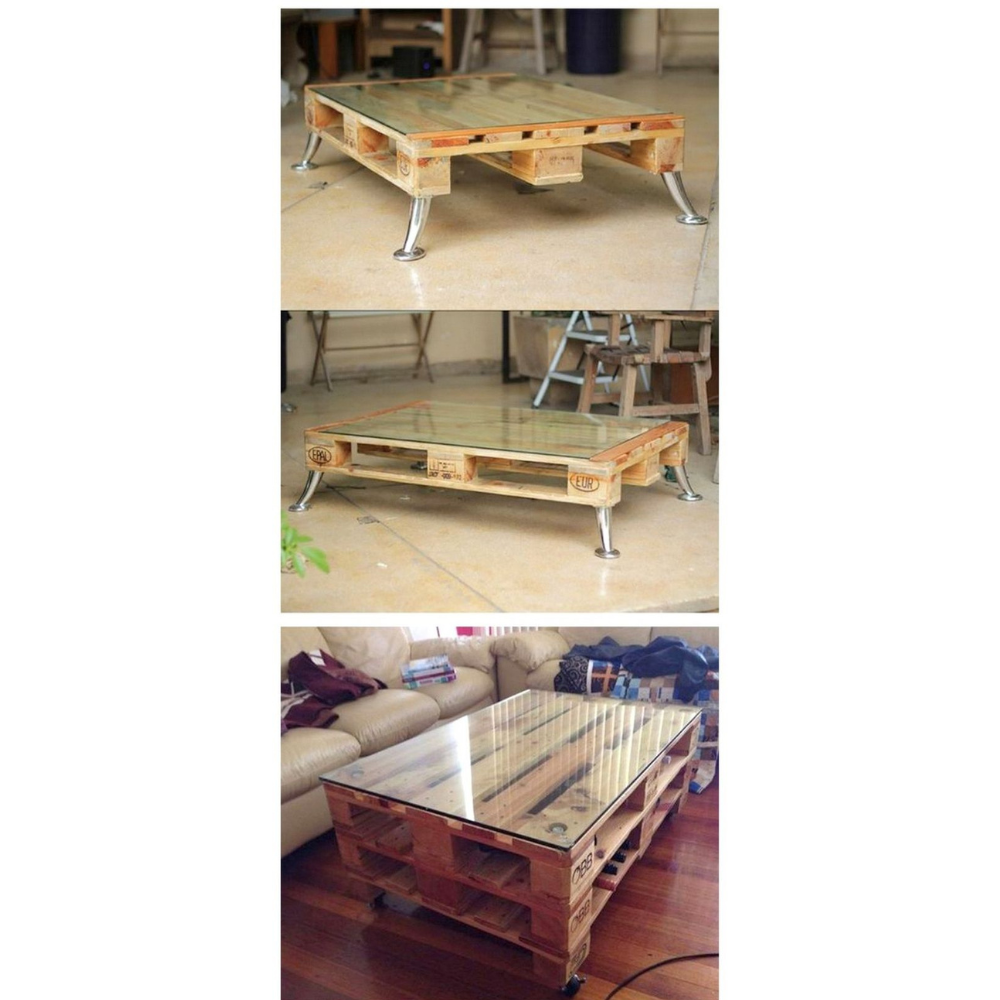
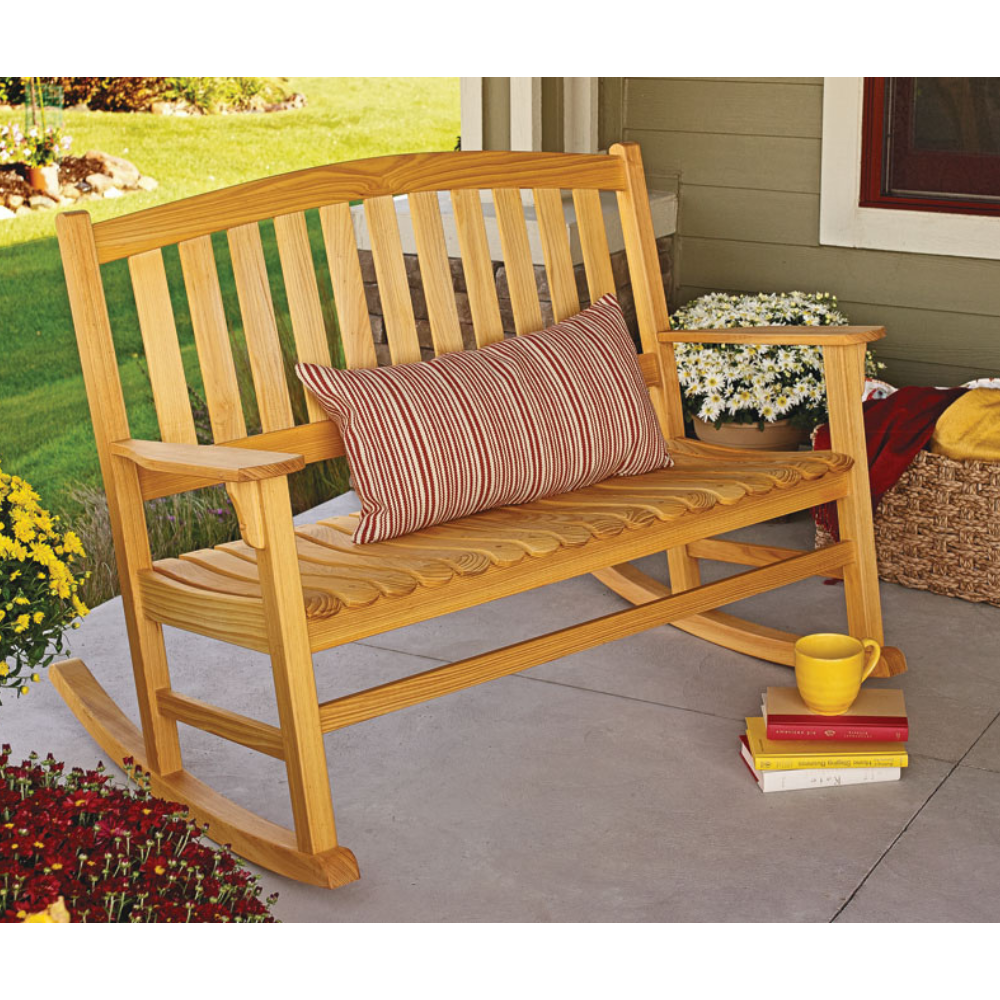
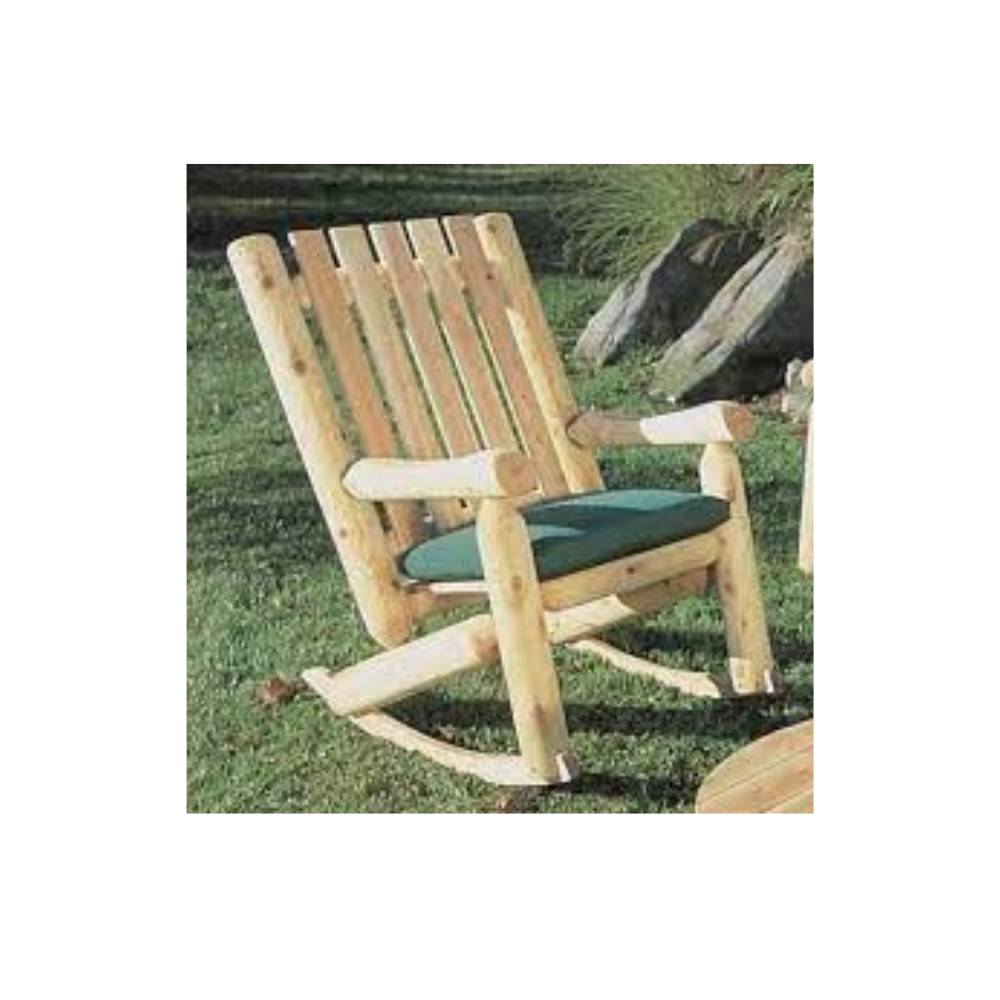
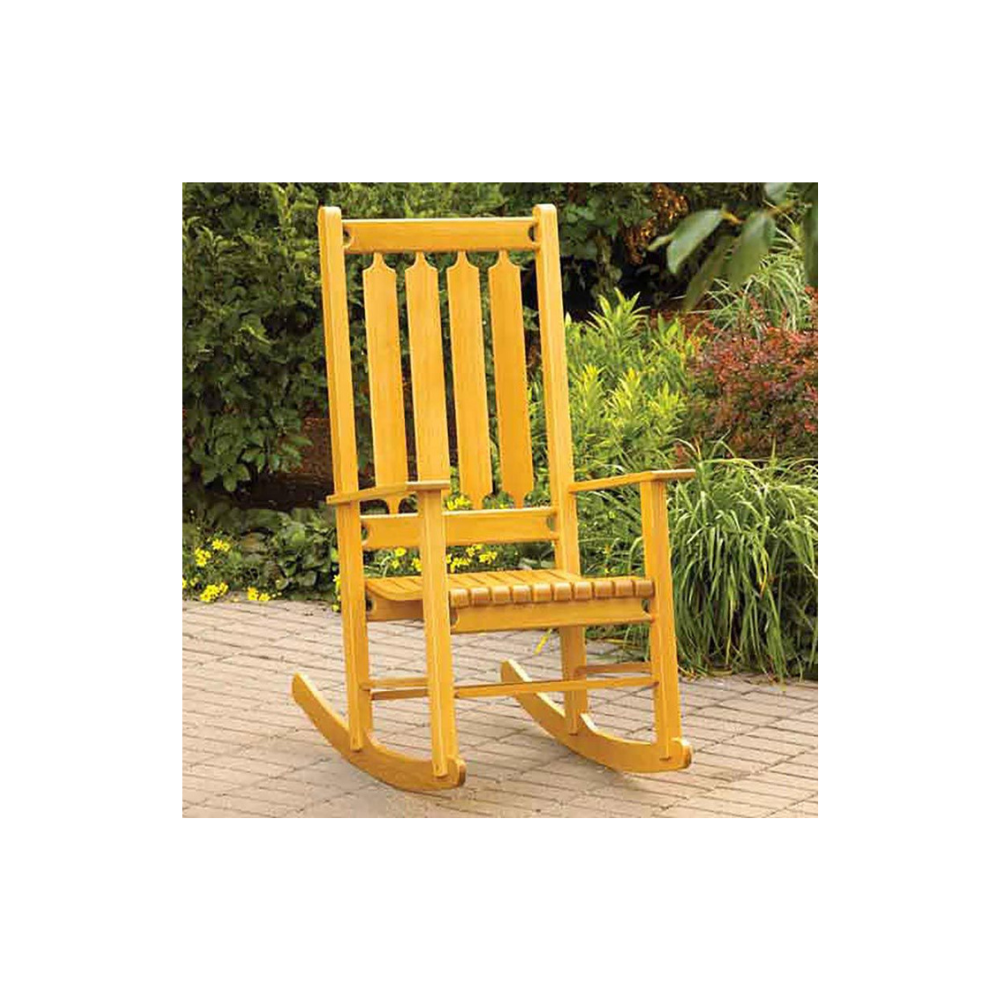
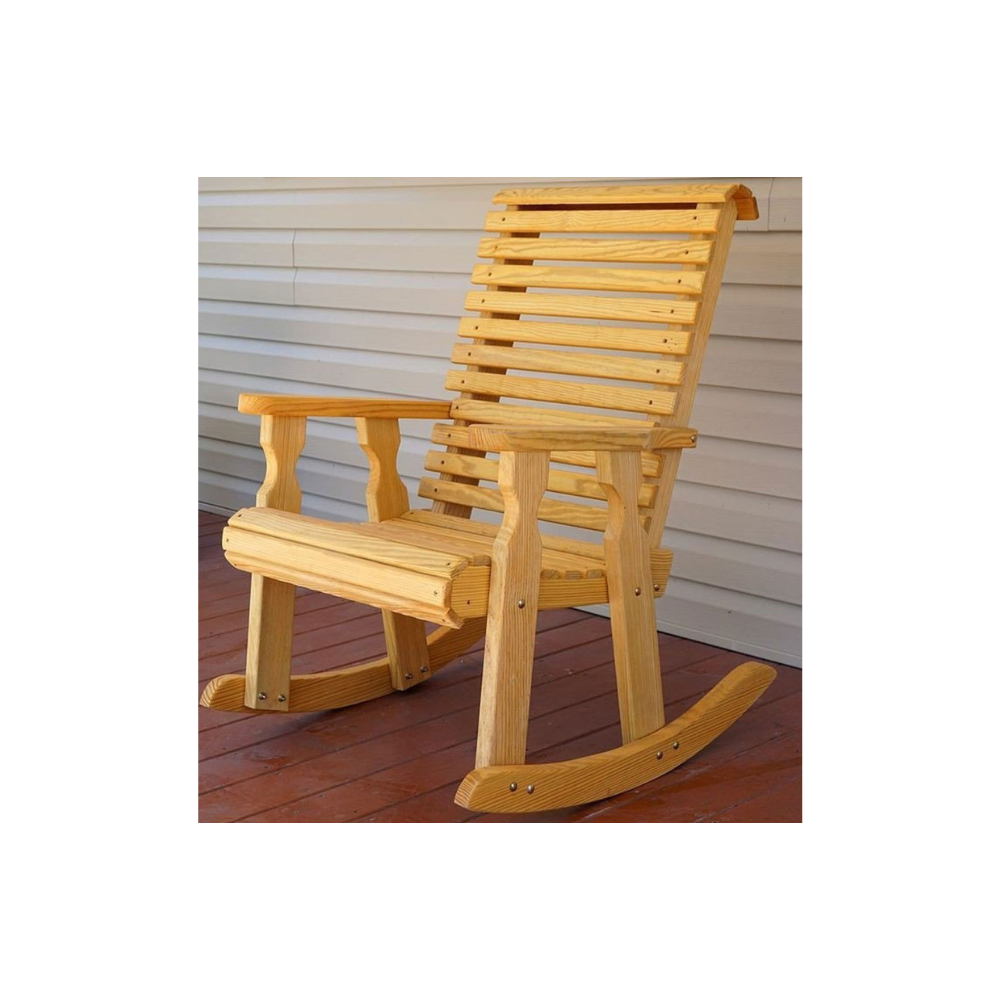
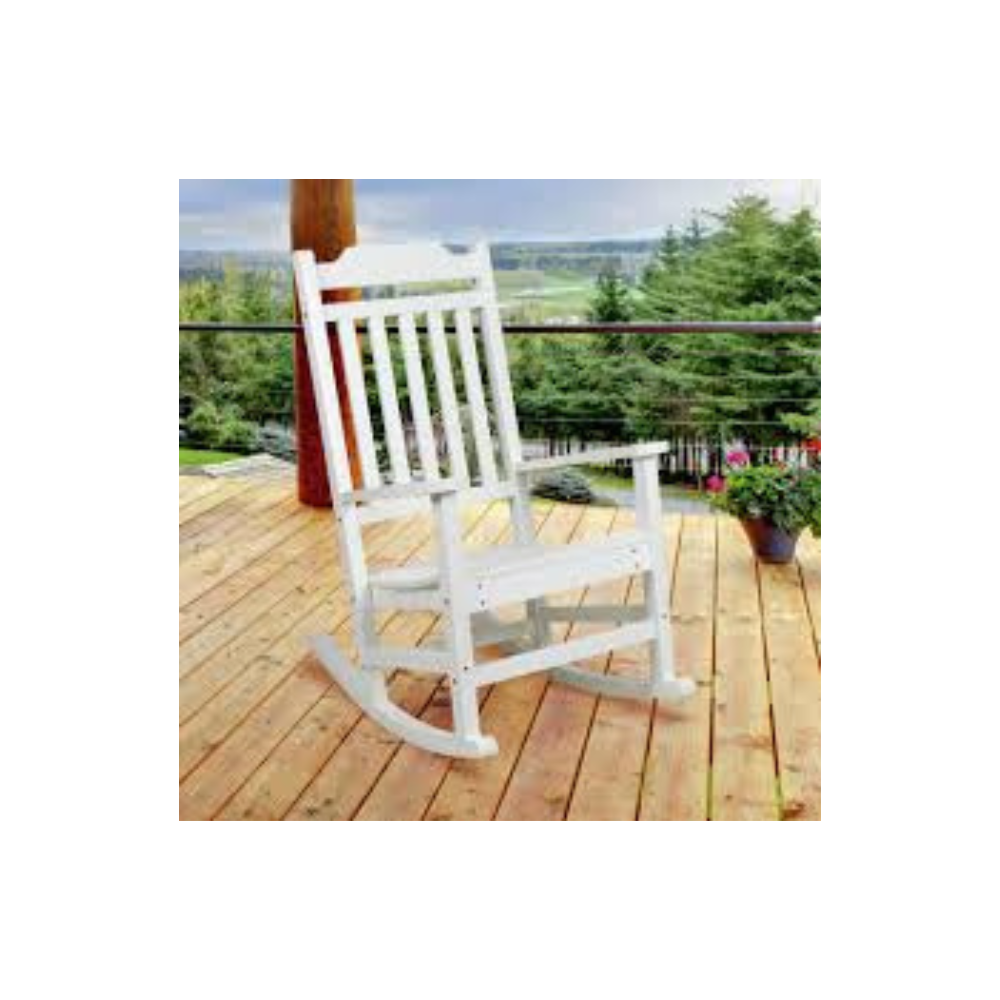
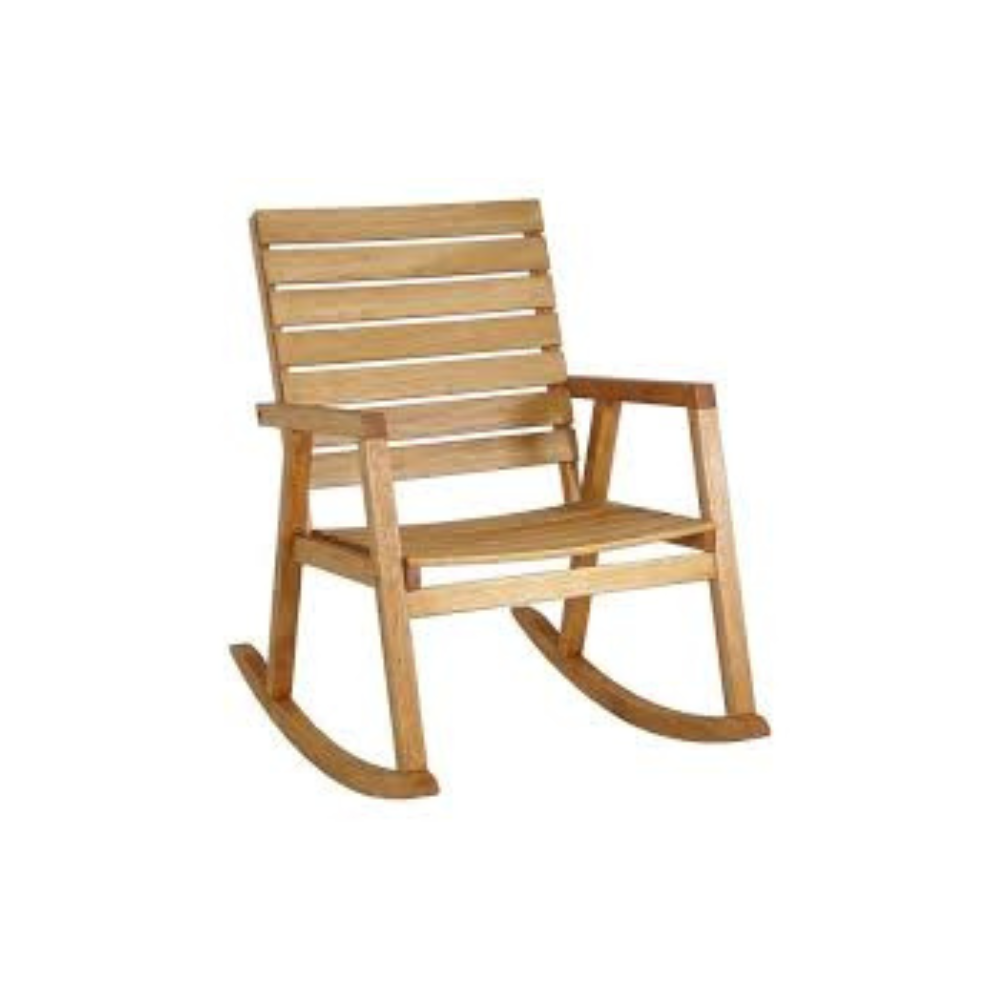
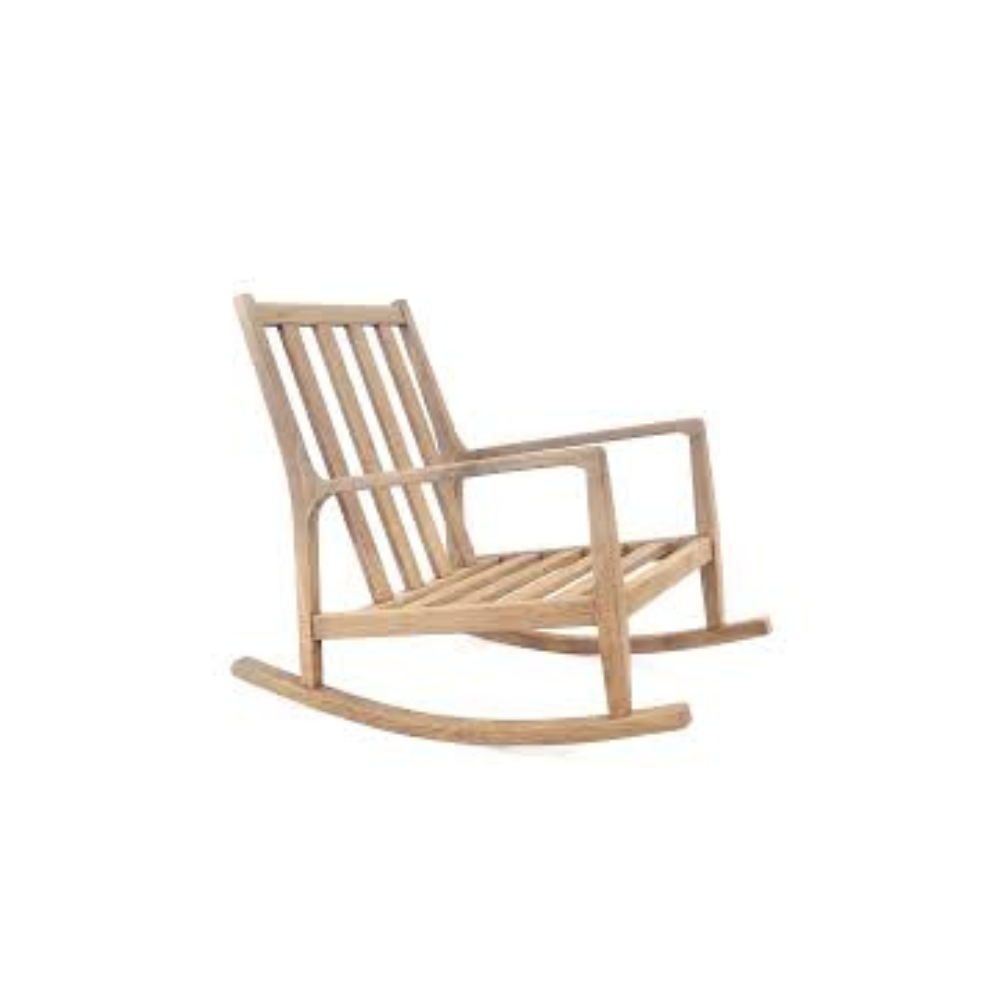
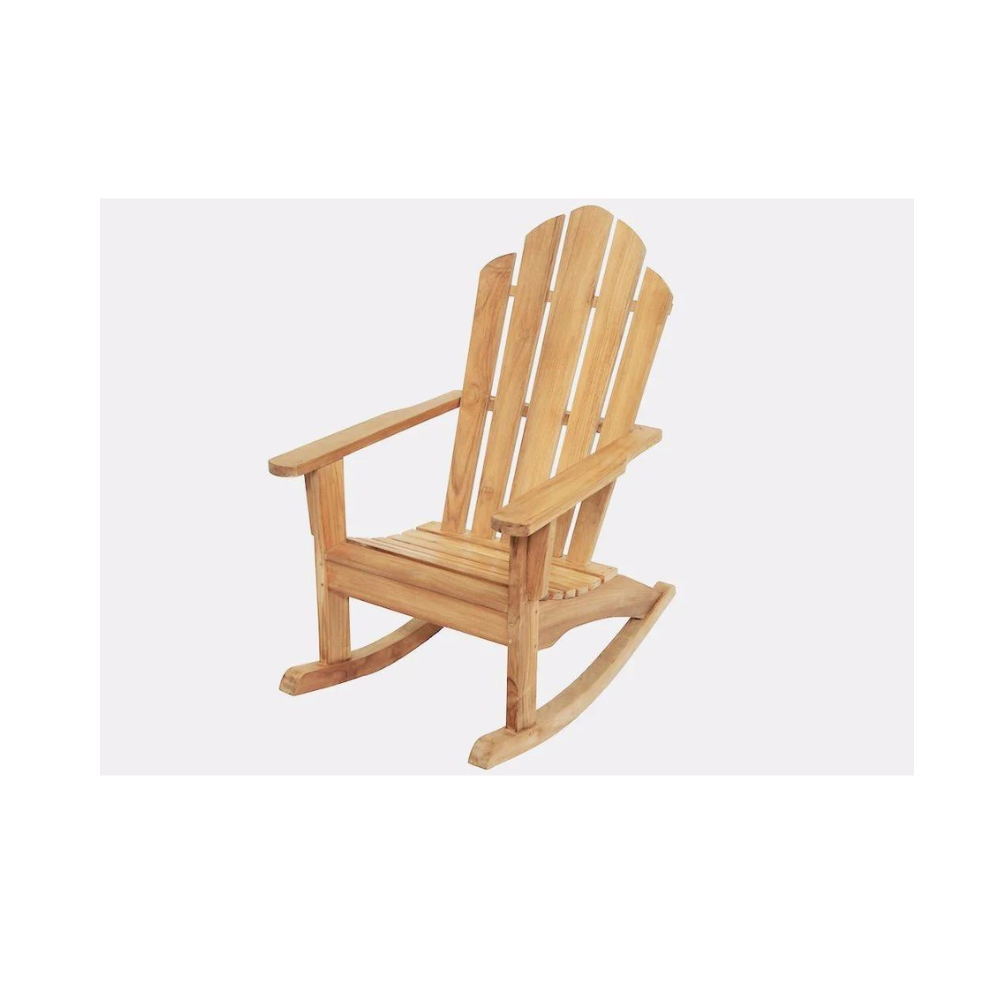
- Furniture: Chairs, tables, beds, and cabinets.
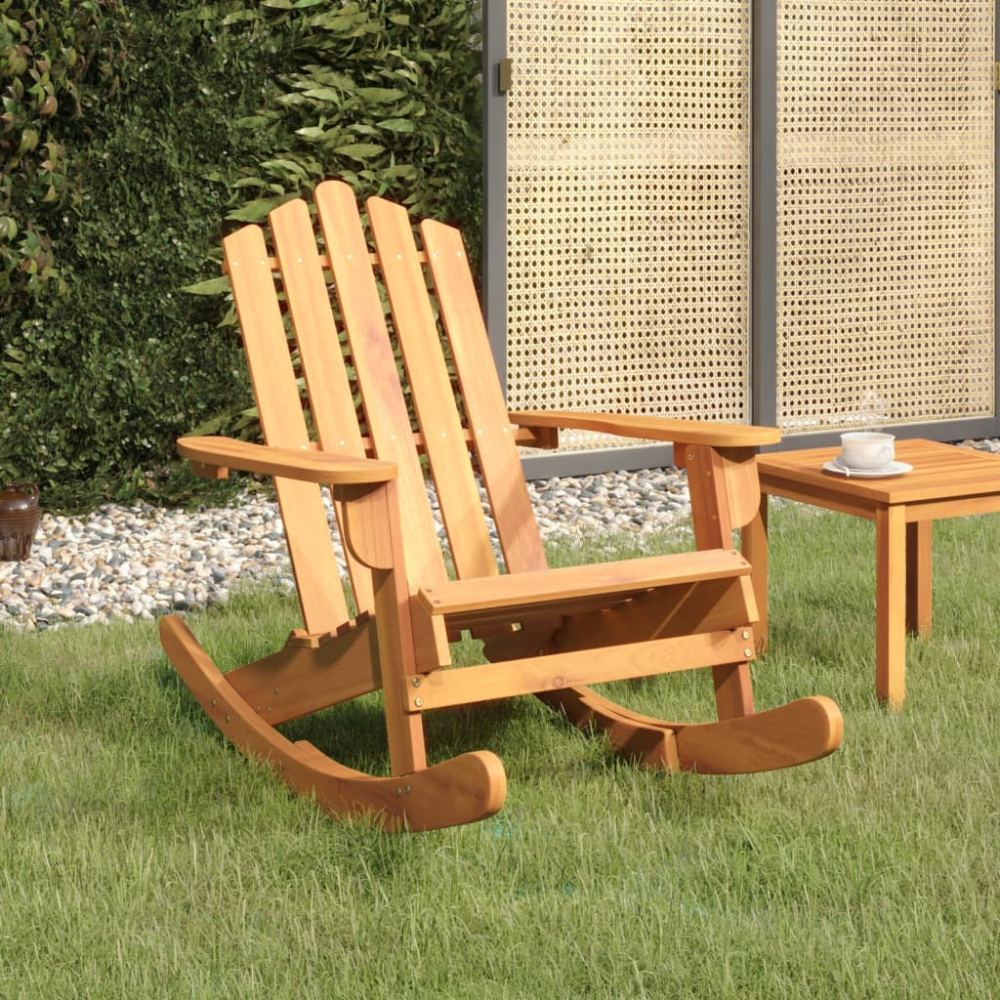
- Outdoor Projects: Gazebos, pergolas, and garden furniture.
- Decorative Items: Picture frames, clocks, and wall art.
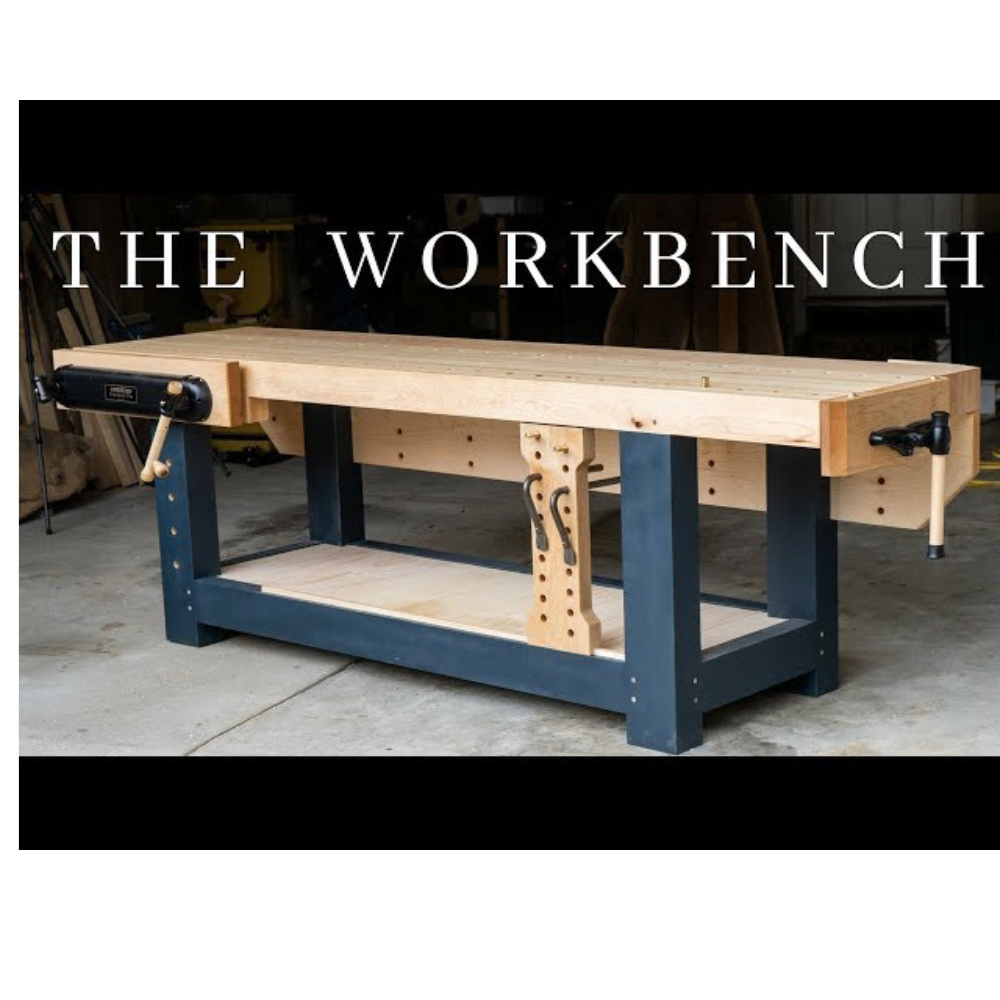
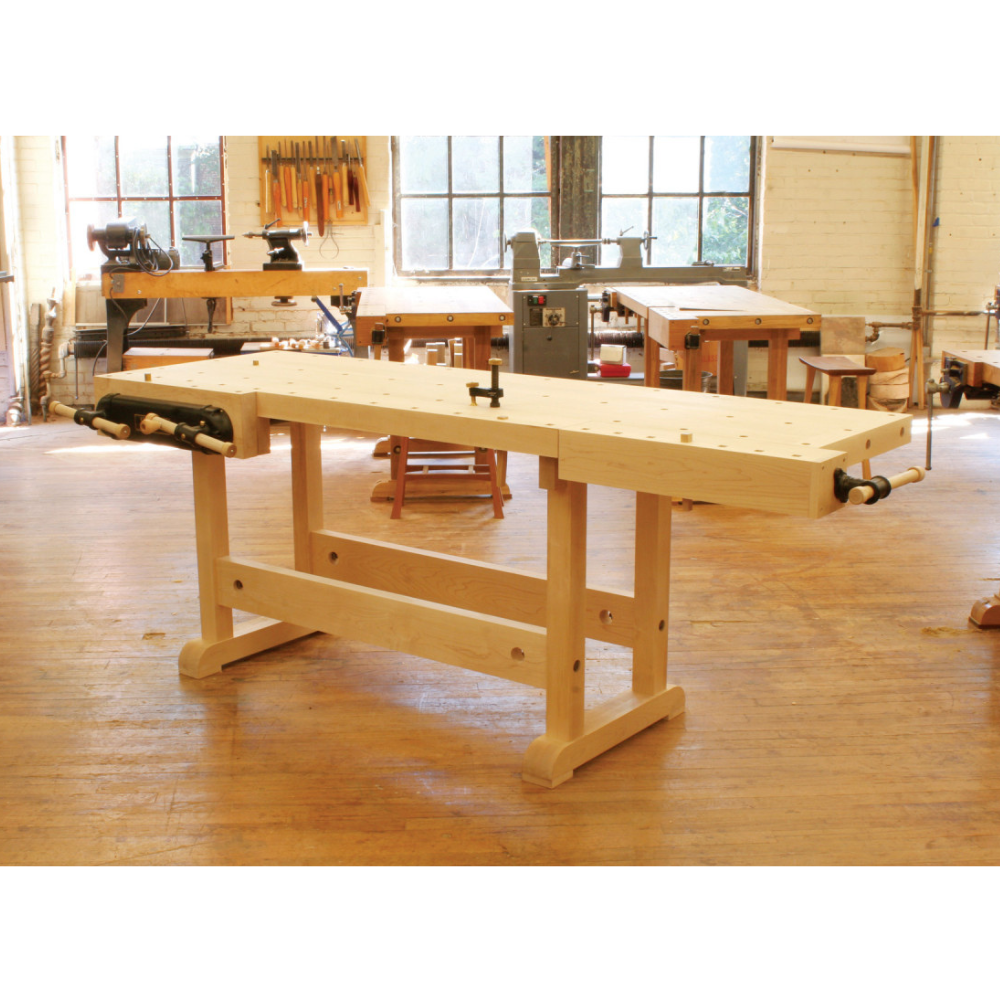
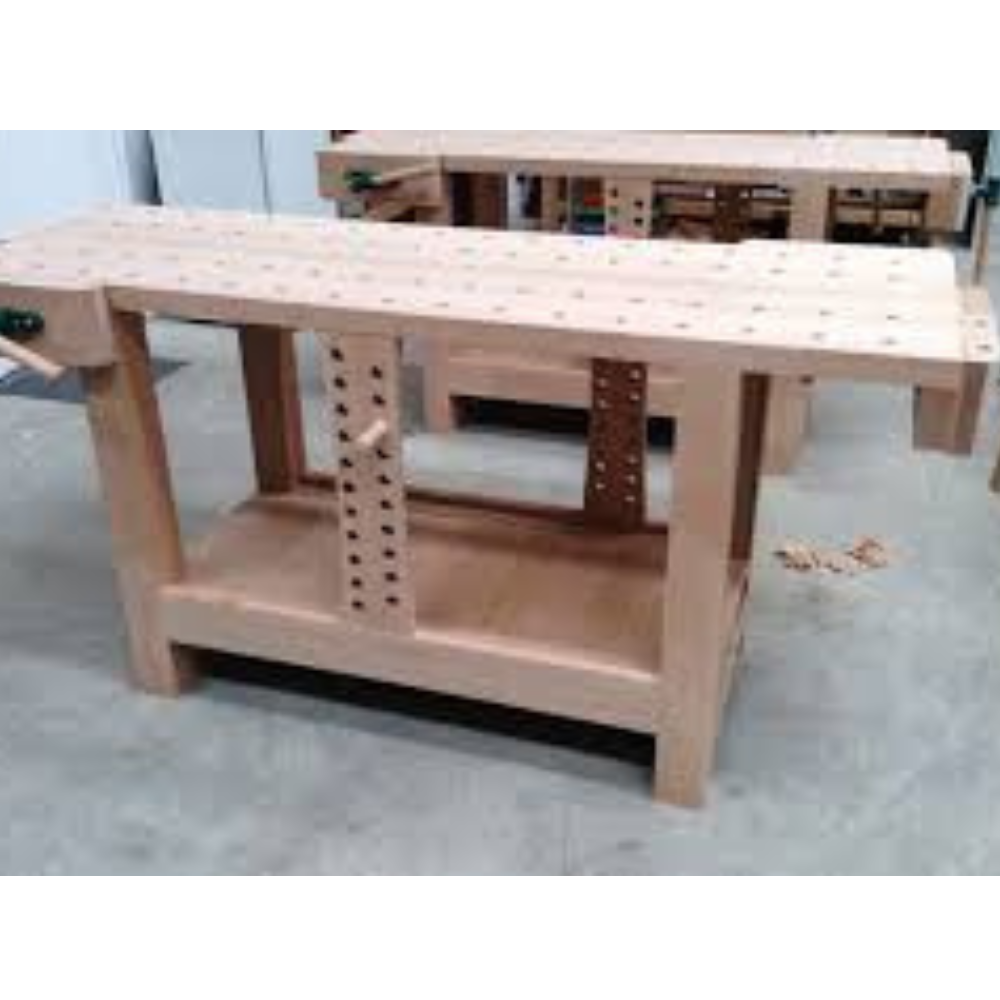
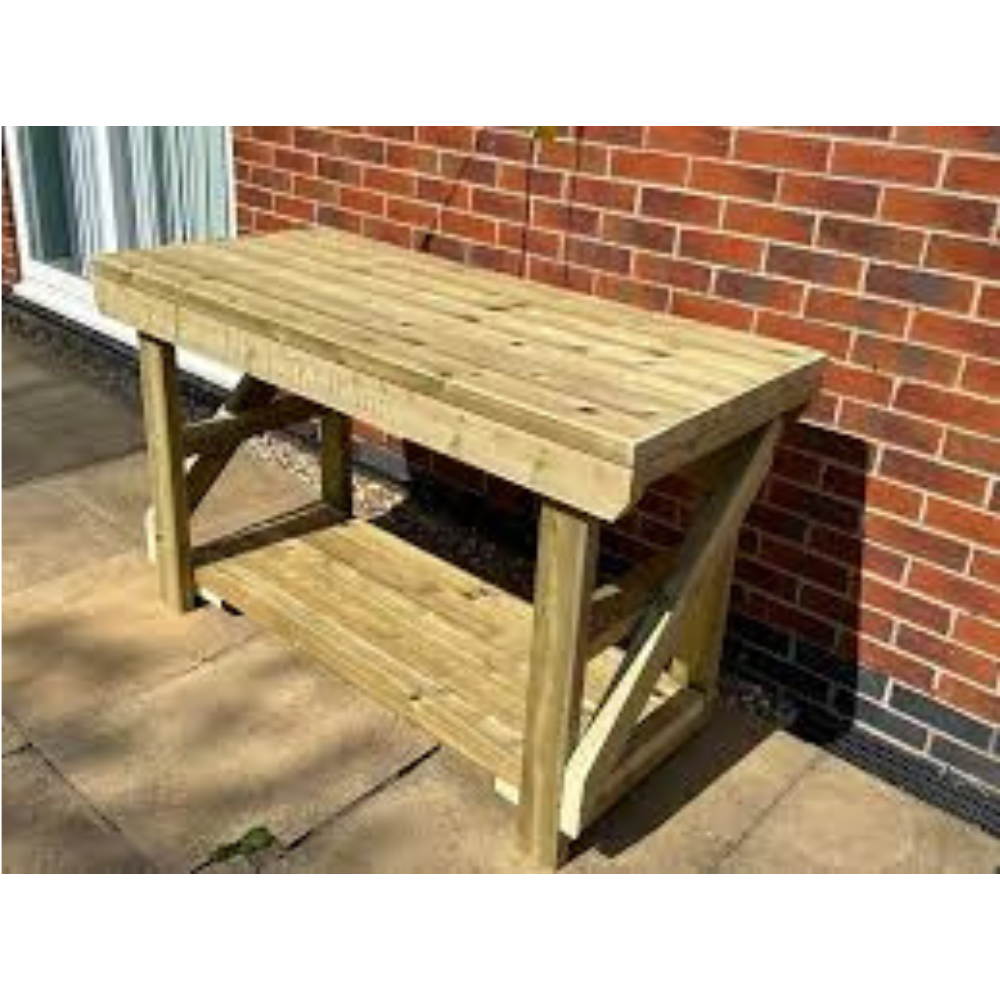
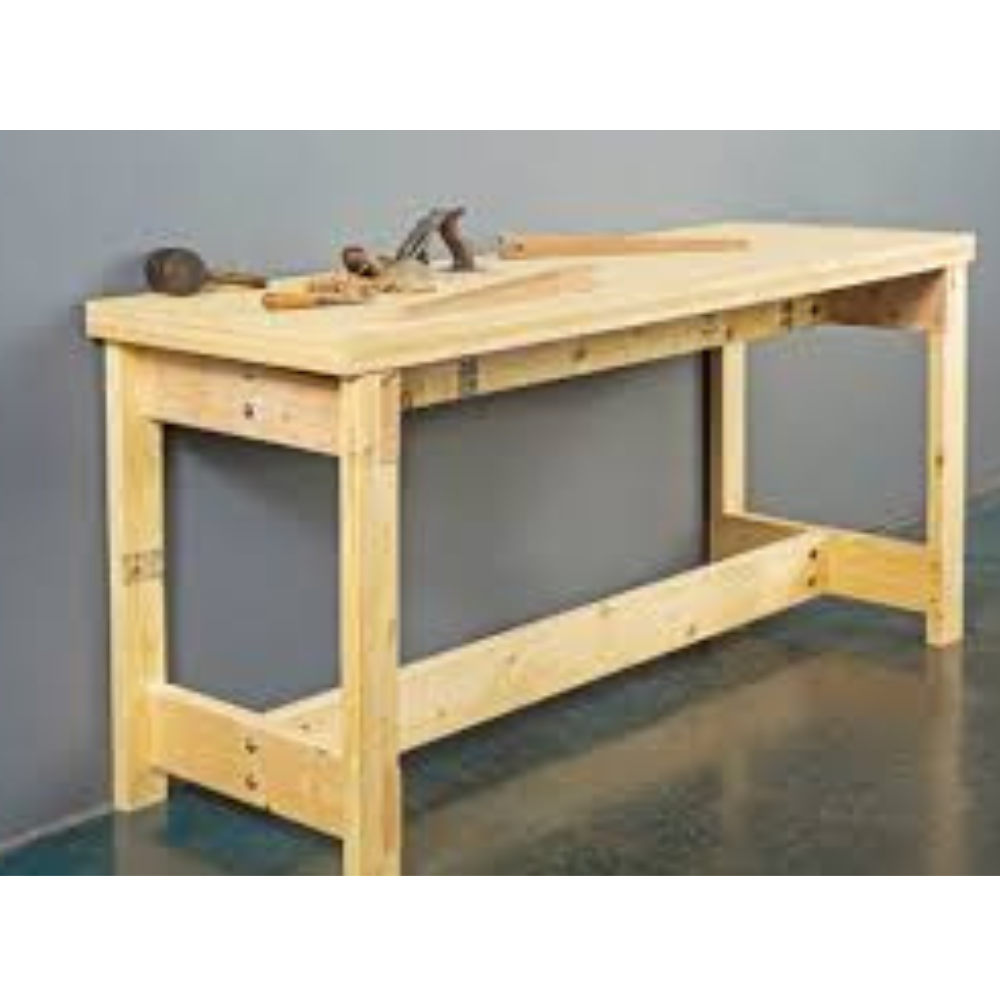
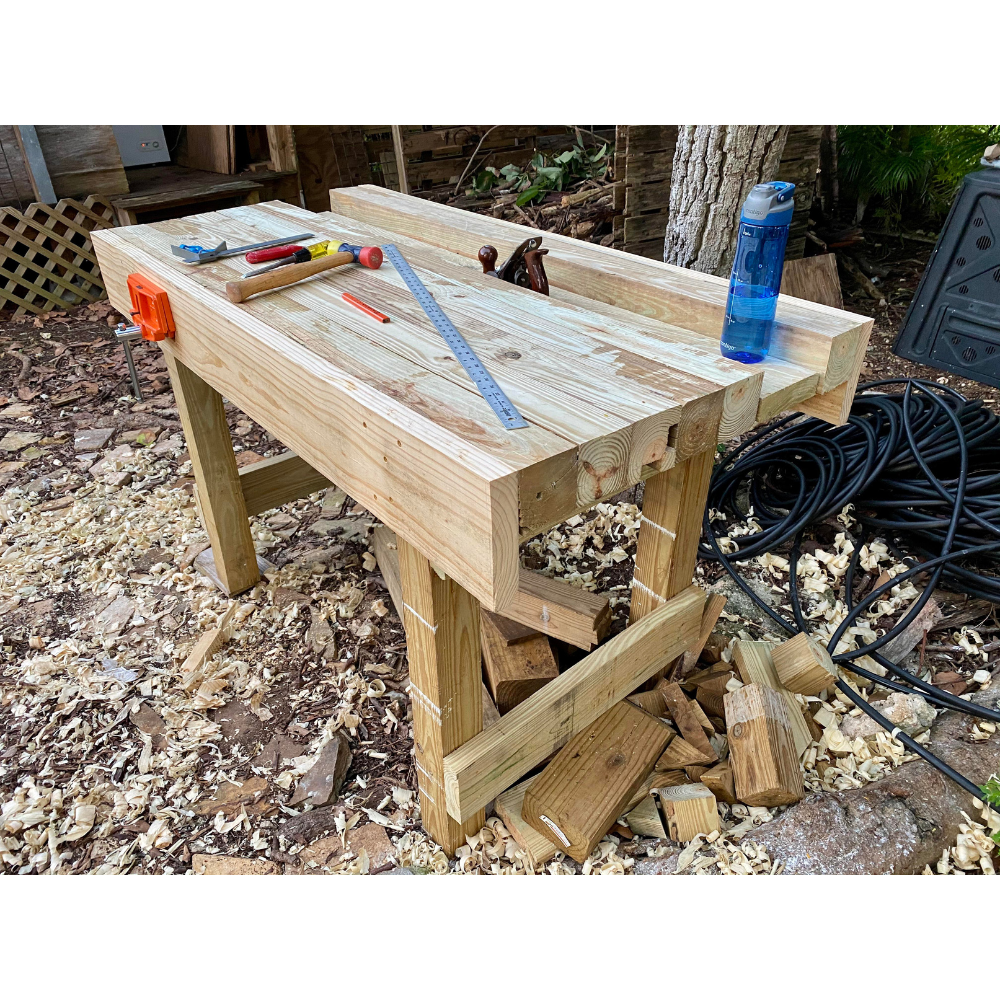
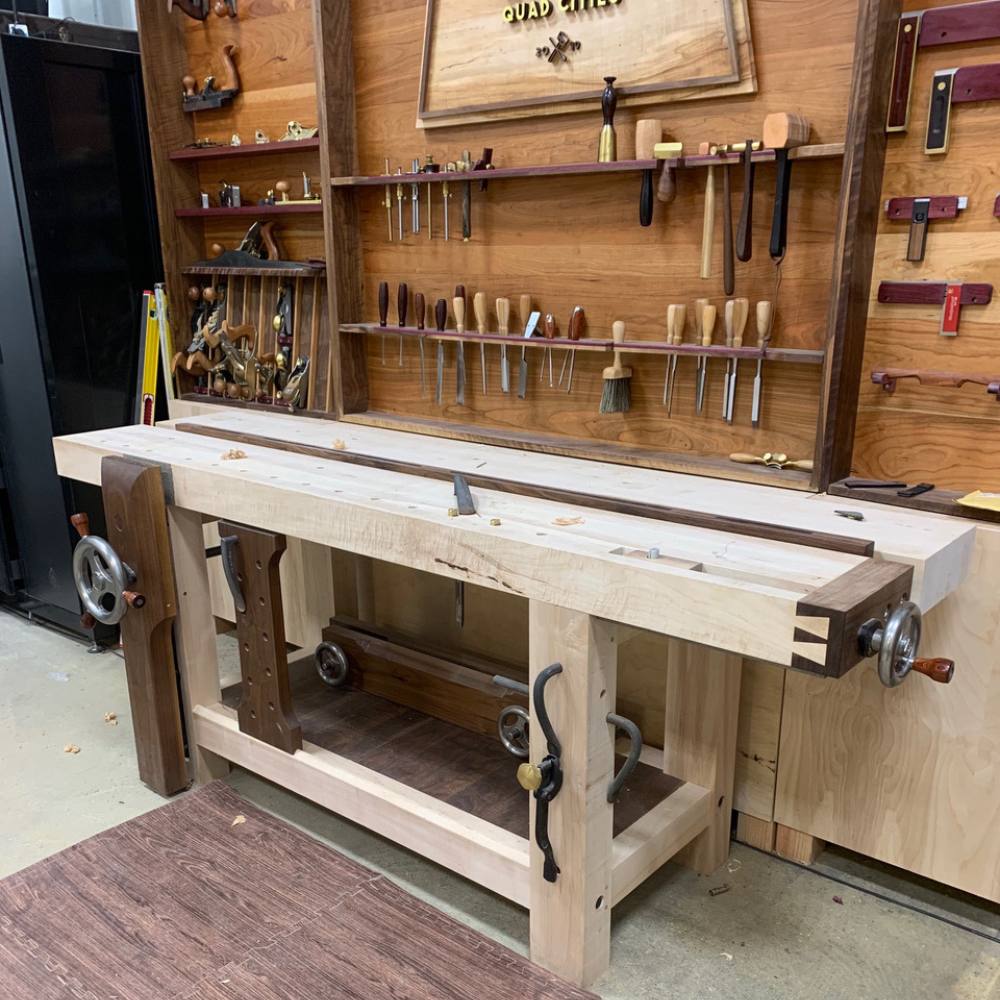
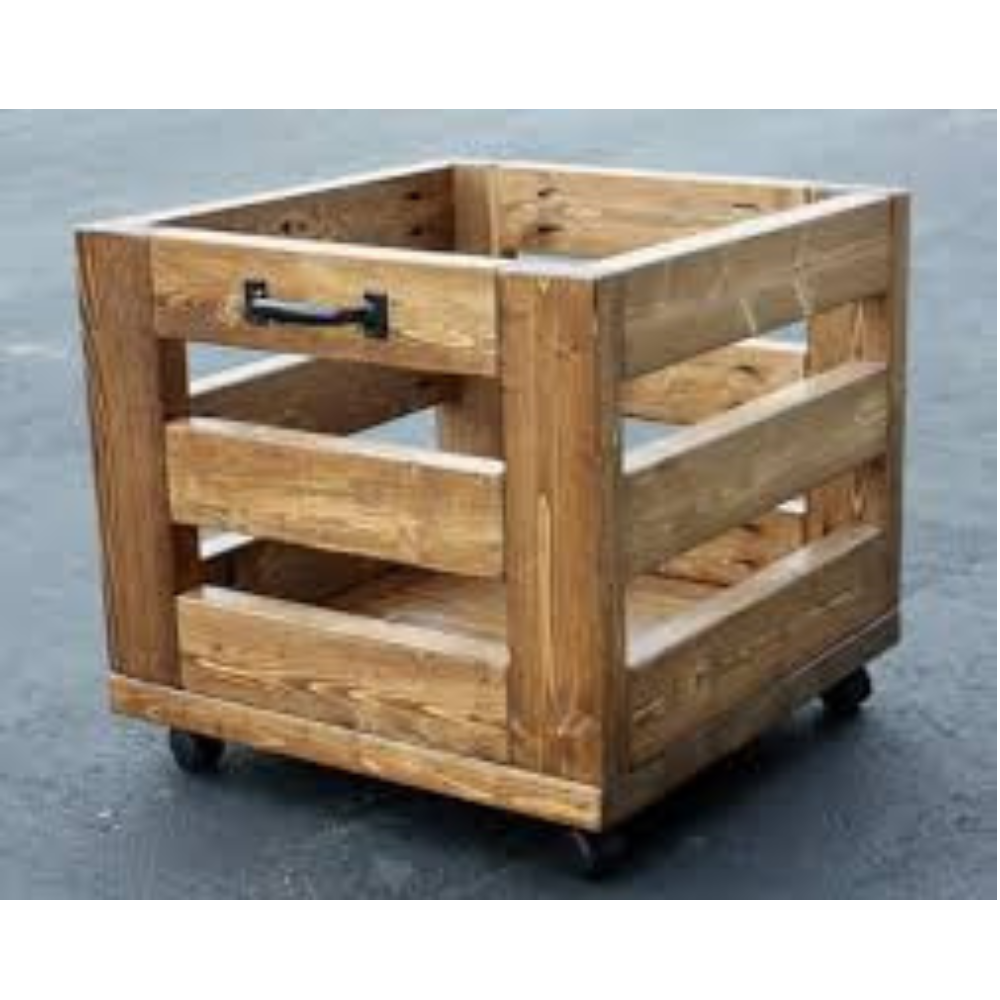
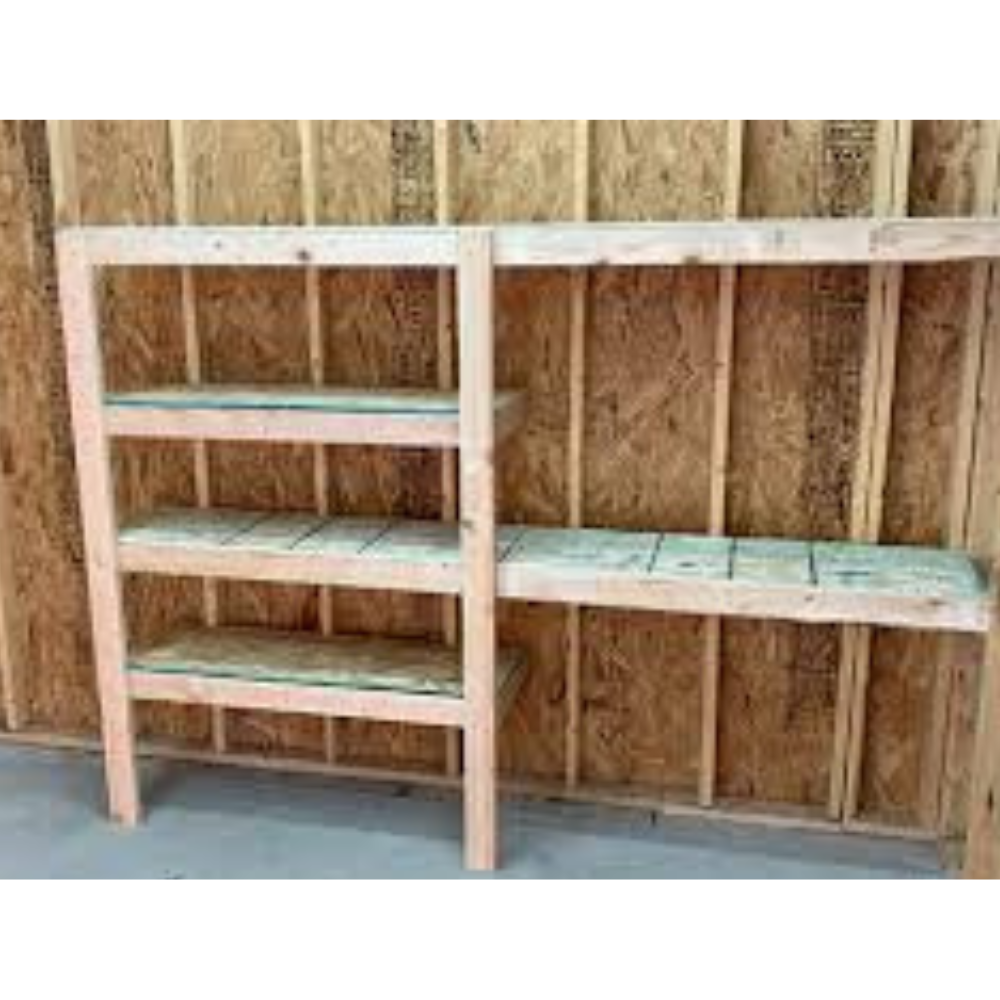
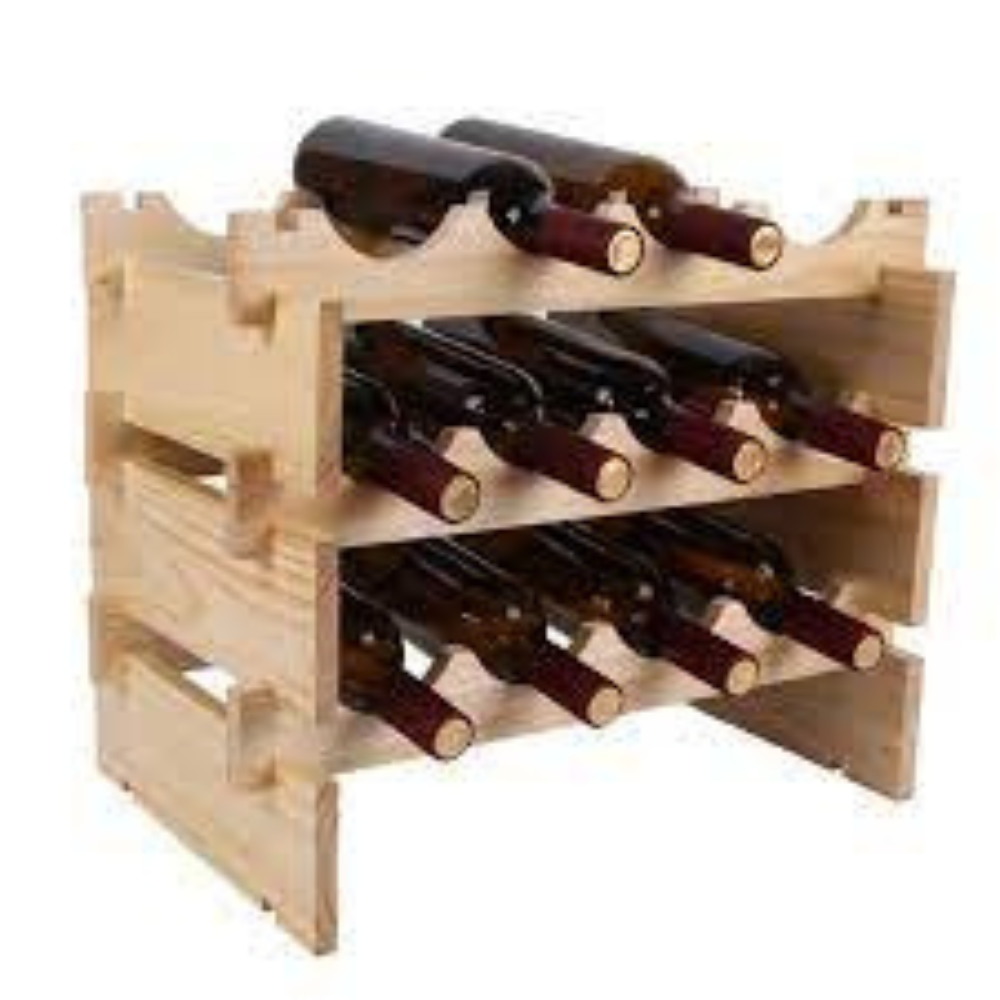
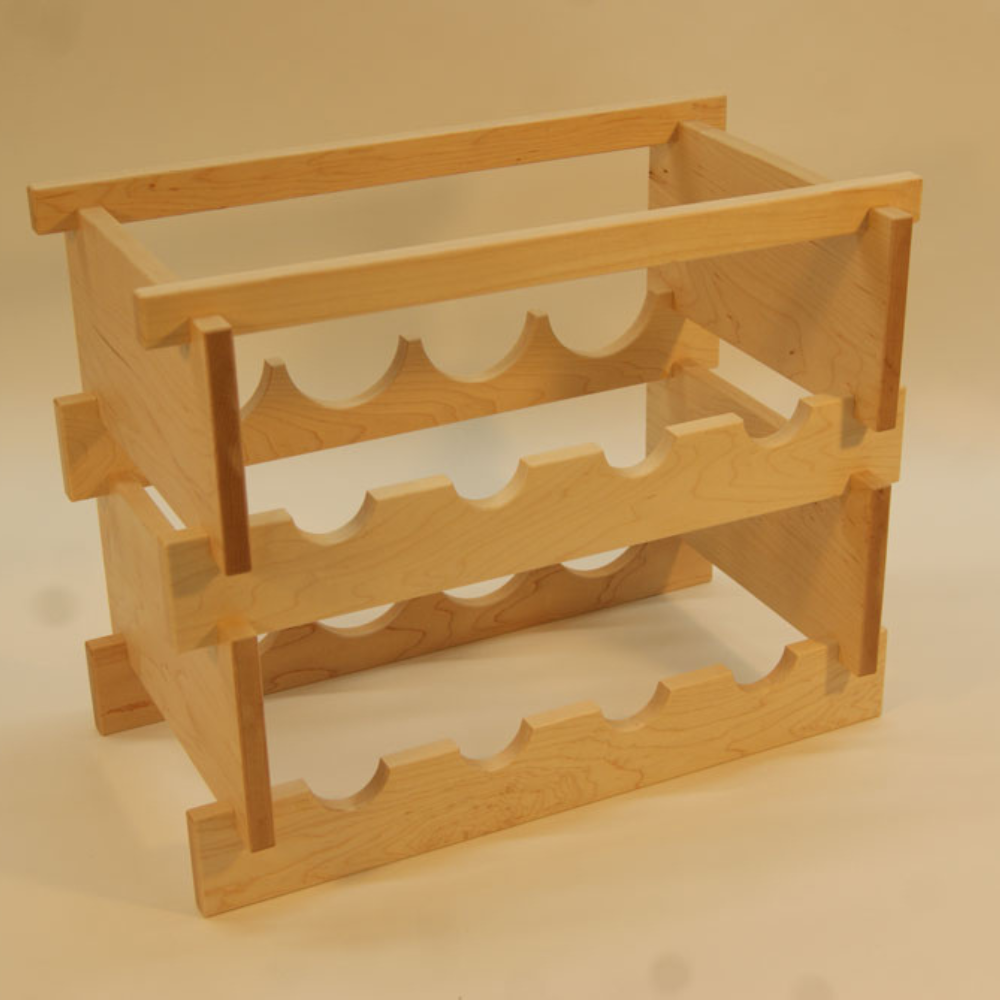
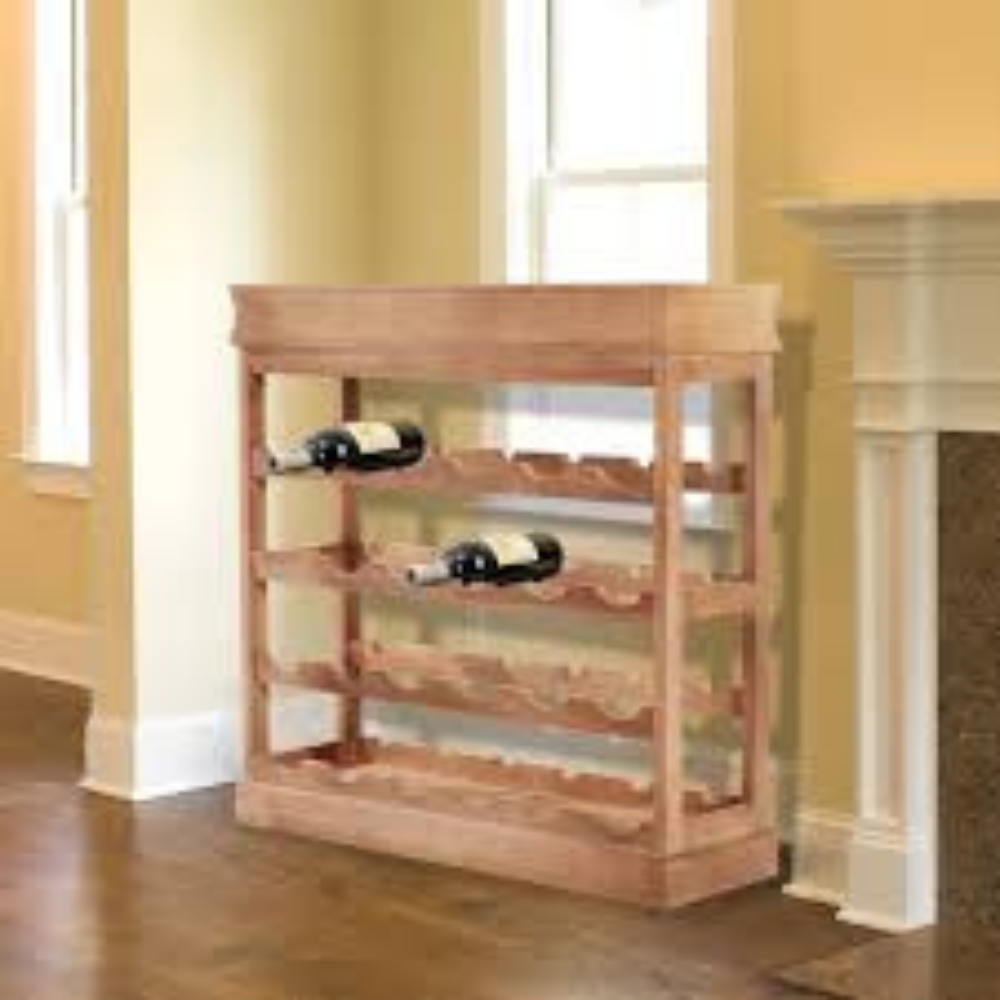
- Utility Projects: Workbenches, storage solutions, and tool organizers.
Benefits of Using Teds Plans
Using Teds plans comes with numerous benefits. First and foremost, it eliminates the guesswork. You’ll have access to precise measurements, detailed instructions, and clear diagrams. This means fewer mistakes, less wasted material, and a smoother building process.
How Teds Woodworking Saves Time and Money
By providing comprehensive plans and detailed instructions, Ted helps you save time and money. You won’t need to spend hours researching or experimenting with different techniques. Instead, you can dive straight into your projects, confident that you have a reliable guide to follow.
Teds Woodworking for Beginners
If you’re a beginner, Teds is an excellent starting point. The beginner-friendly plans and clear instructions make it easy to get started. Plus, you’ll find plenty of resources to help you learn the basics, such as:
- Introduction to Tools: Learn about the essential tools you’ll need.
- Basic Techniques: Master the foundational skills of woodworking.
- Safety Tips: Ensure you’re working safely at all times.
Advanced Projects in Teds Woodworking
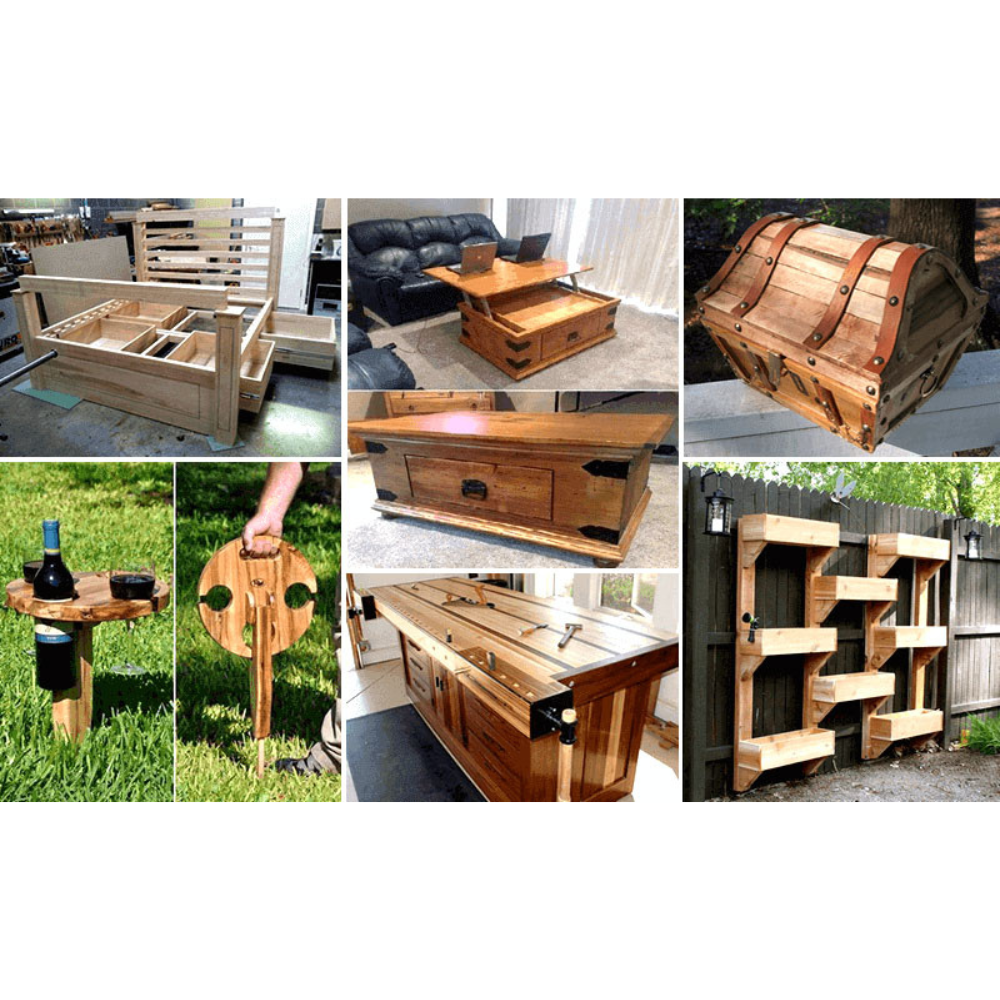
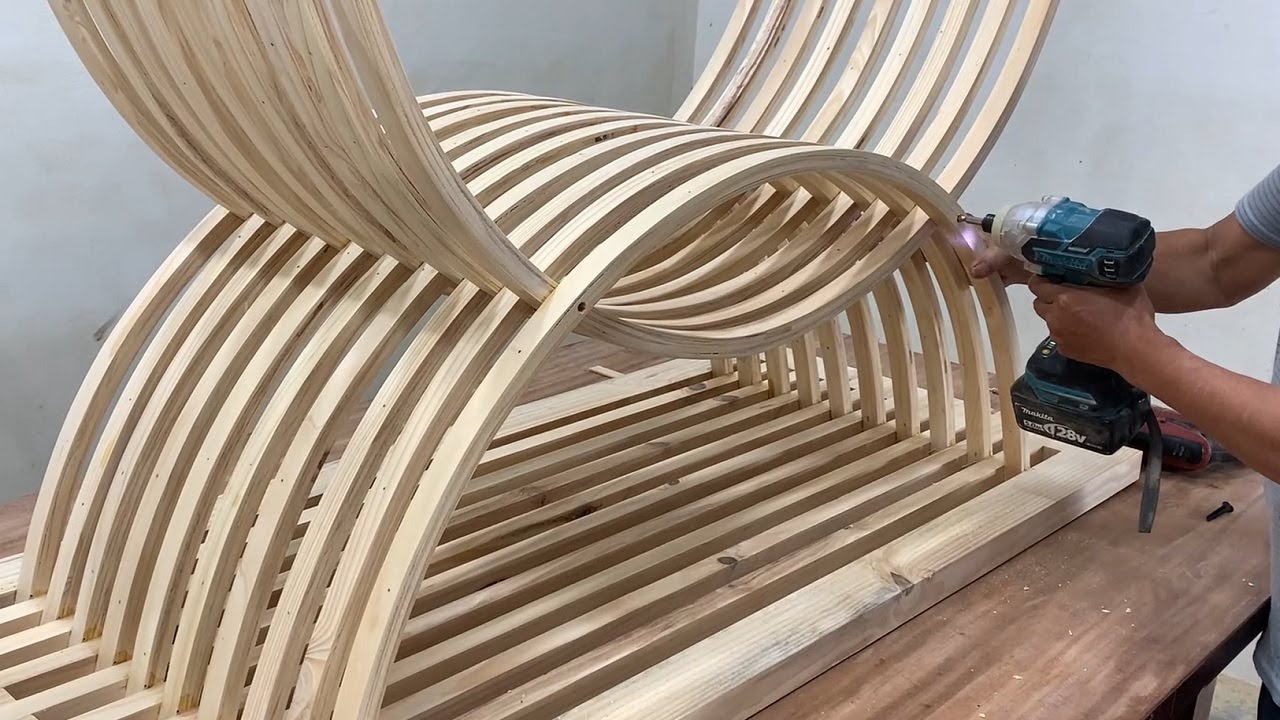
For those with more experience, Teds offers advanced projects that will challenge your skills and expand your repertoire. These projects often involve intricate designs, complex joinery, and high-quality finishes. Examples include:
- Custom Furniture: Design and build unique pieces tailored to your needs.
- Outdoor Structures: Construct durable and stylish outdoor features.
- Artistic Creations: Push the boundaries of traditional woodworking with creative and artistic projects.
Tips for Getting the Most Out of Teds
To maximize the benefits of Teds, consider these tips:
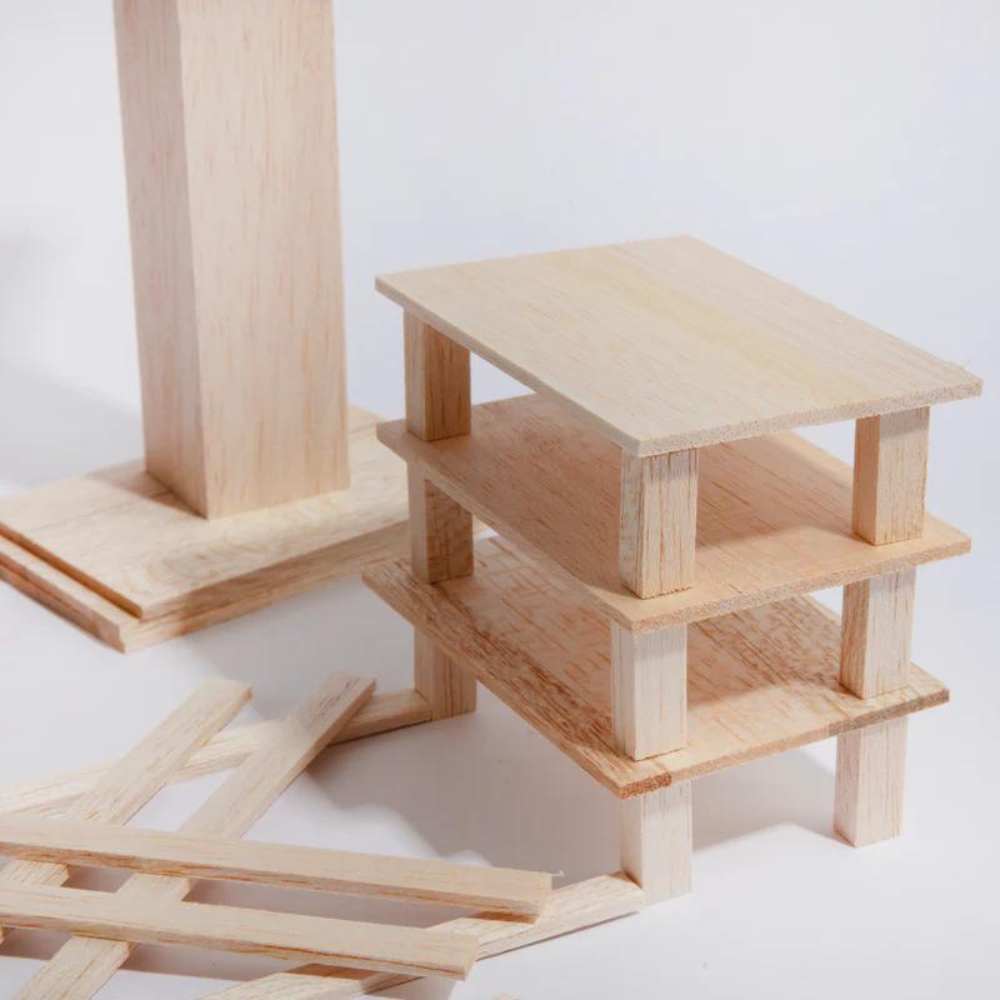
- Start Small: Begin with simpler projects to build your confidence.
- Stay Organized: Keep your workspace tidy and materials well-organized.
- Follow Instructions: Carefully read through the instructions before starting.
- Take Your Time: Don’t rush; woodworking is about precision and patience.
- Learn Continuously: Keep expanding your skills by exploring new techniques and projects.
Real User Experiences and Testimonials
Many users have shared their positive experiences with Teds. Here are a few testimonials:
- John D.: “Teds has transformed my hobby. The plans are easy to follow, and the projects are fun and rewarding.”
- Emily S.: “As a beginner, I found Teds incredibly helpful. The instructions are clear, and I’ve learned so much.”
- Mark R.: “I’ve been woodworking for years, and Teds still surprises me with its variety and depth. Highly recommended.”
Frequently Asked Questions (FAQs)
1. What is Teds Woodworking? Teds is a comprehensive collection of plans and instructions created by Ted McGrath. It includes over 16,000 plans for various projects, catering to all skill levels.
2. Who is Ted McGrath? Ted McGrath is a professional woodworker, educator, and AWI member. He created Teds to share his extensive knowledge and help others succeed in working with wood.
3. Is Teds Woodworking suitable for beginners? Yes, Teds is suitable for beginners. It includes beginner-friendly plans, clear instructions, and resources to help you learn the basics of woodworking.
4. How does Teds Woodworking save time and money? Teds saves time and money by providing comprehensive plans and detailed instructions. This eliminates the need for extensive research and reduces the likelihood of mistakes and wasted materials.
5. Can I customize the plans in Teds Woodworking? Yes, Teds includes a CAD plan viewer, allowing you to edit and customize plans to suit your specific needs.
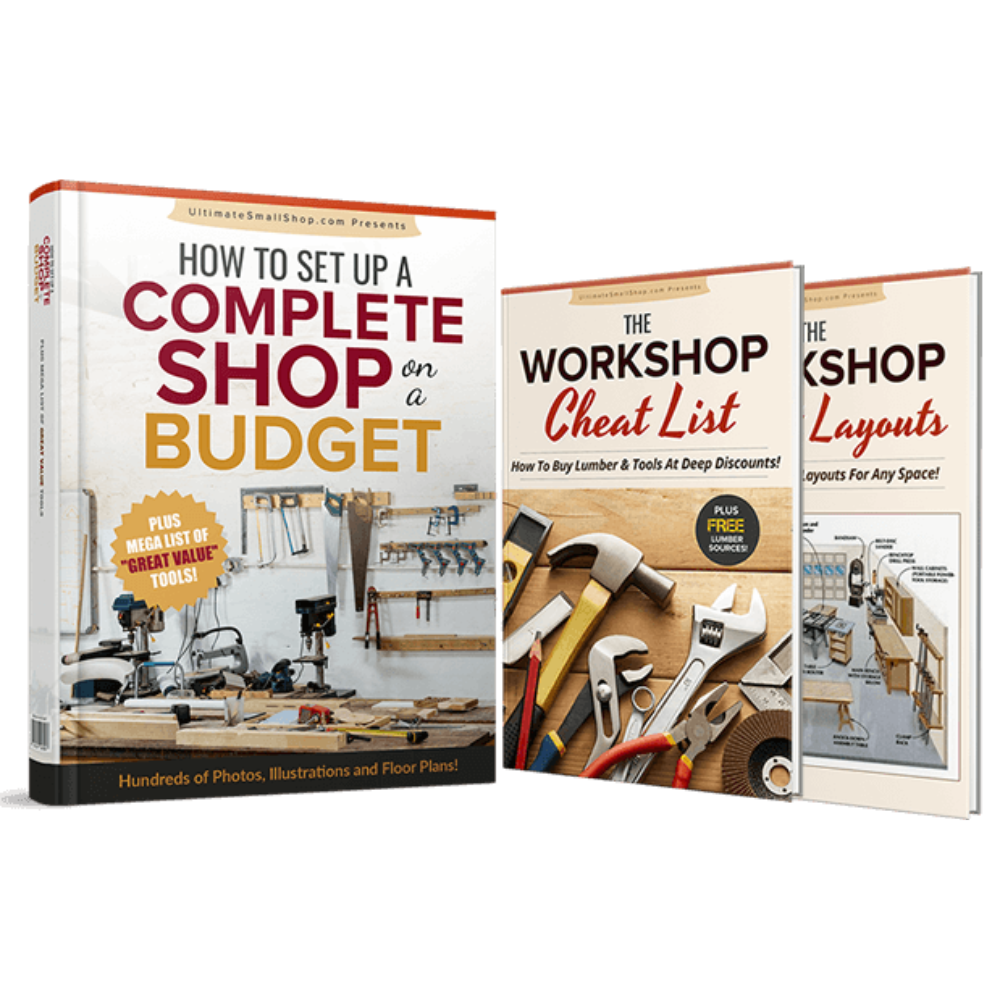
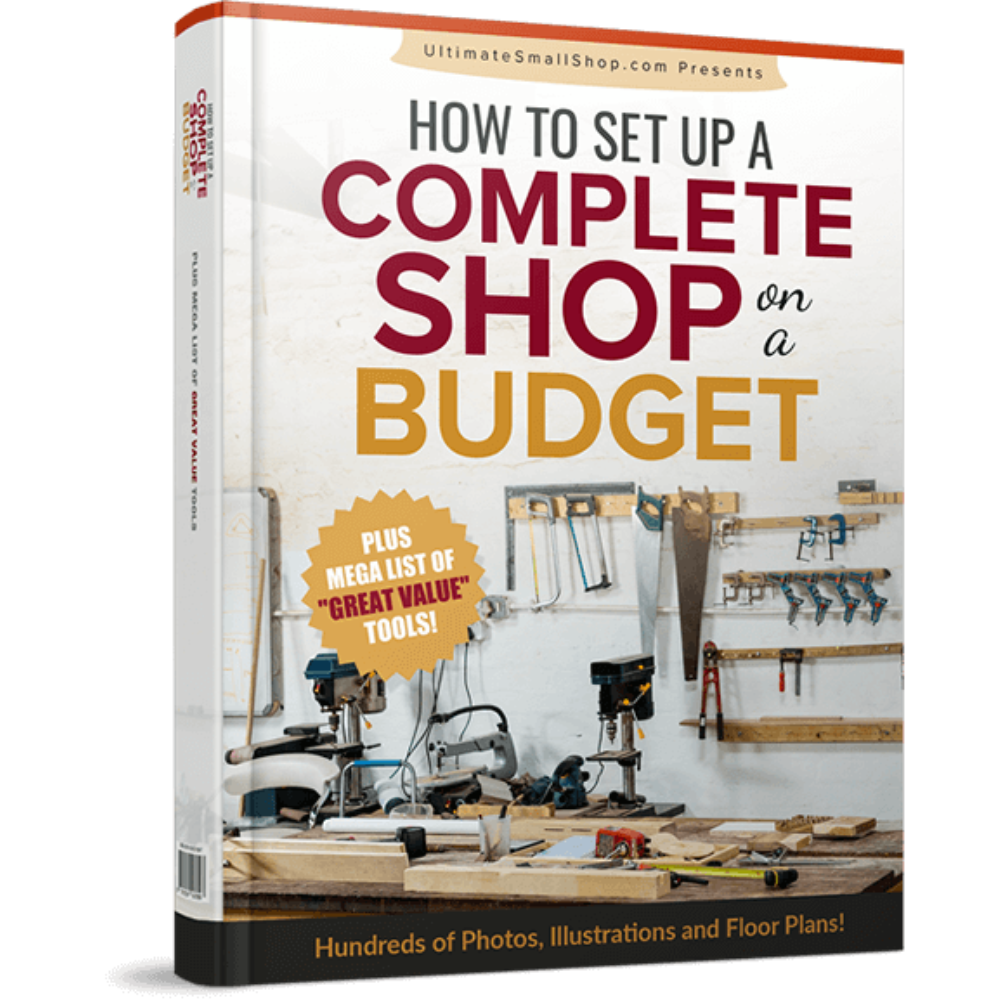
For your “Free” Workspace Plans – Click Here.


Conclusion
In conclusion, Teds Woodworking is a valuable resource for anyone passionate about woodworking. With its extensive collection of plans, detailed instructions, and user-friendly features, it has something to offer everyone, from beginners to advanced woodworkers. By choosing Teds, you can embark on a rewarding woodworking journey, creating beautiful and functional pieces with confidence and ease. Whether you’re building a simple chair or a complex outdoor structure, Teds provides the guidance and inspiration you need to succeed. So why wait? Dive into the world of Teds Woodworking and start crafting your dreams today!