
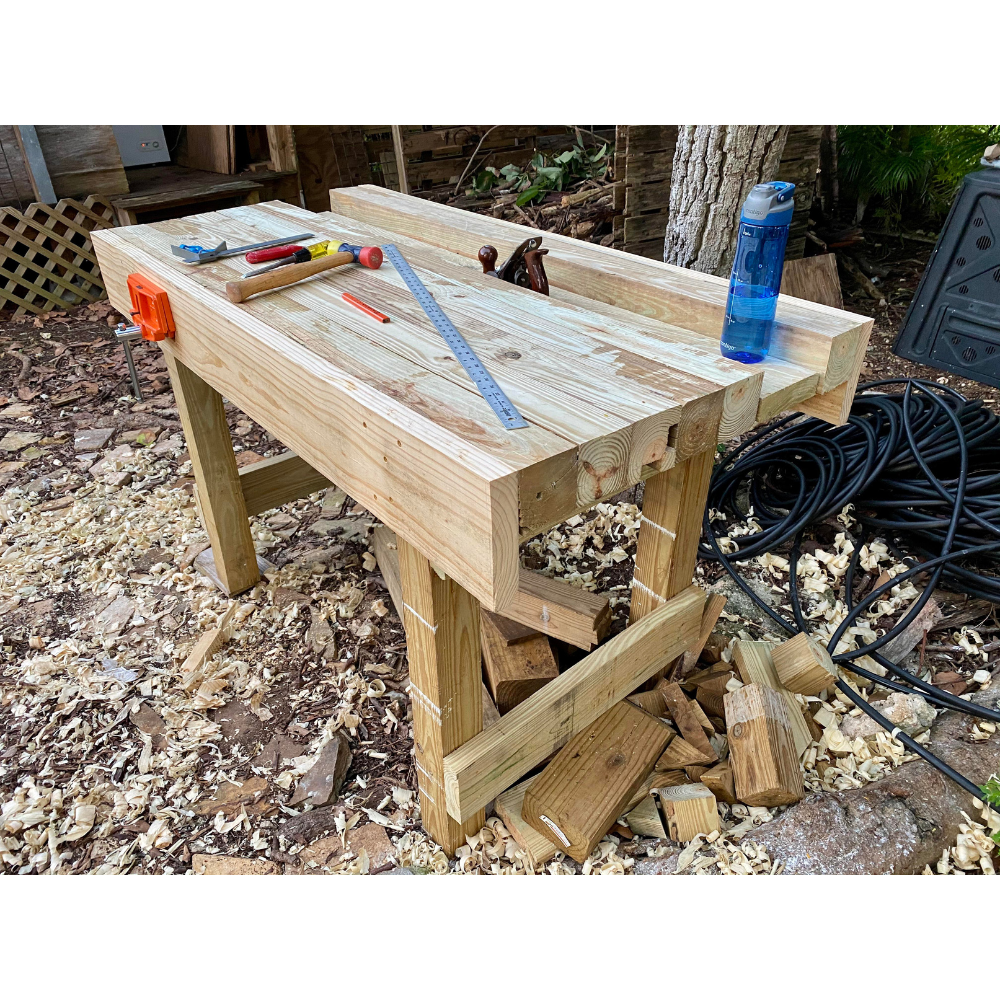
Building your own workbench can be one of the most satisfying projects for any DIY enthusiast. With the right 2×4 workbench plans, you can create a robust and practical workspace tailored to your needs. In this comprehensive guide, we’ll walk you through everything you need to know to construct a dependable workbench using 2×4 lumber. Whether you’re a seasoned woodworker or just getting started, these plans are designed to be straightforward and easy to follow.
For your “Free”Guide to 13 Wood Joinery Types – Click Here.
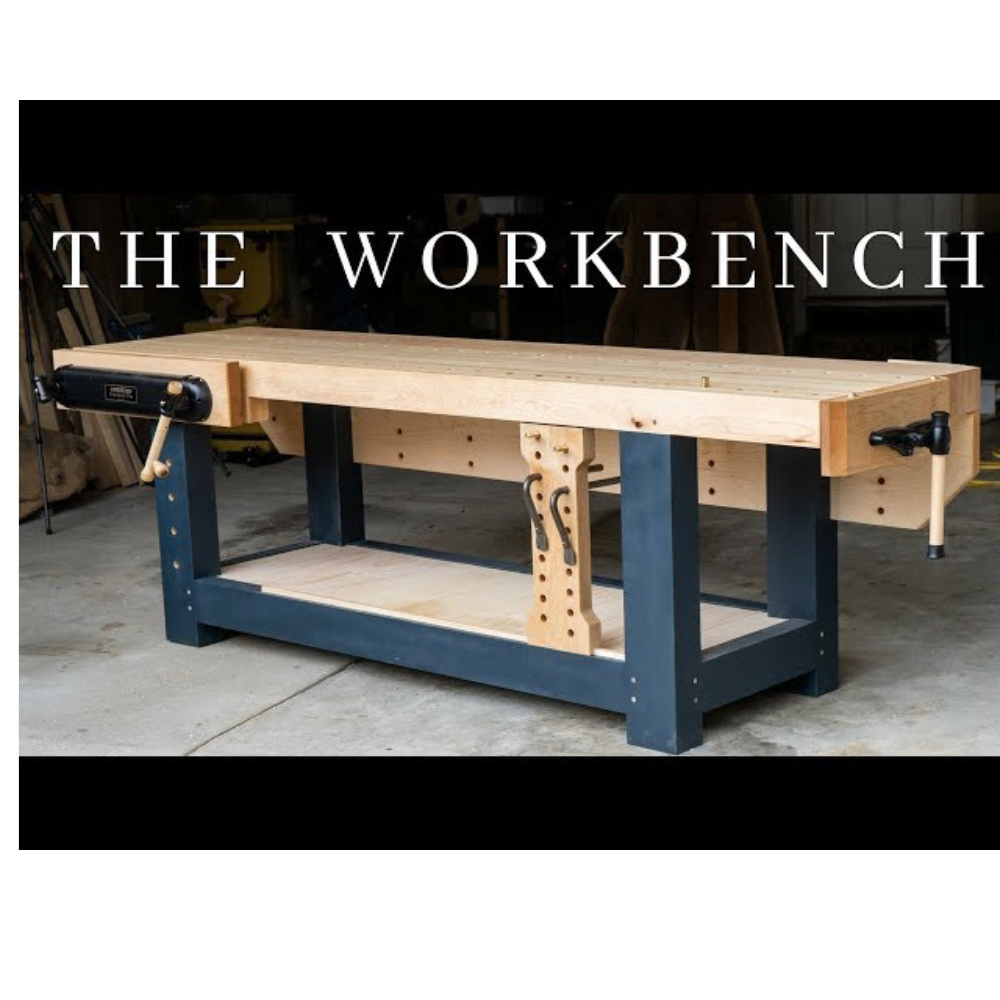
Introduction to 2×4 Workbench Plans
When you think about setting up a workshop, the first essential item that comes to mind is a sturdy workbench. The good news? You don’t need to spend a fortune. With basic 2×4 workbench plans, you can create a durable and functional workbench right in your garage or workshop. These plans are versatile, affordable, and perfect for various projects, making them a popular choice among DIYers.
Why Choose 2×4 Workbench Plans?
Affordability
2×4 lumber is one of the most cost-effective materials available. It’s widely accessible, and even on a tight budget, you can build a solid workbench without breaking the bank.
Durability
Despite its affordability, 2×4 lumber is incredibly durable. A workbench constructed from 2x4s can withstand heavy use and last for years, making it a great investment for your workshop.
Ease of Construction
Even if you’re new to woodworking, 2×4 workbench plans are easy to follow. The simplicity of the design means you don’t need specialized tools or advanced skills to build a sturdy workbench.
Versatility
2×4 workbench plans are highly versatile. You can customize your workbench to suit your specific needs, whether you’re looking for additional storage, mobility, or a particular size.
Essential Tools and Materials
Before diving into the construction process, gather the necessary tools and materials. Here’s a checklist to get you started:
Tools:
- Tape measure
- Circular saw or miter saw
- Power drill and bits
- Screwdriver
- Clamps
- Carpenter’s square
- Safety gear (gloves, goggles, ear protection)
Materials:
- 2×4 lumber (quantity depends on the size of your workbench)
- Plywood or MDF for the work surface
- Screws or nails
- Wood glue
- Sandpaper or a sander
- Wood finish (optional)
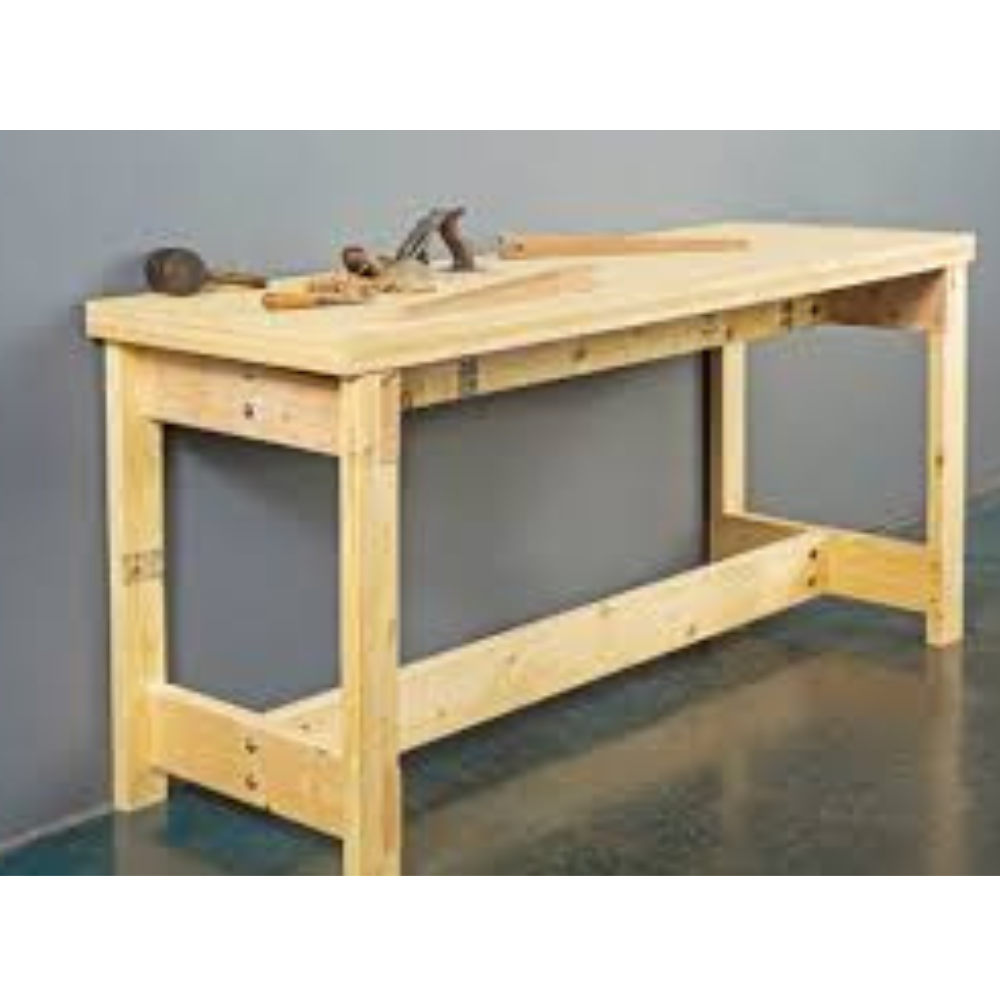
Step-by-Step 2×4 Workbench Plans
1. Planning Your Workbench
Start by deciding on the dimensions of your workbench. Consider the available space in your workshop and the type of projects you’ll be working on. Common dimensions for a workbench are 60 inches long, 30 inches wide, and 34 inches high, but you can adjust these to fit your needs.
2. Cutting the Lumber
Using your tape measure and saw, cut the 2x4s according to your measurements. You’ll need pieces for the legs, the frame, and additional support structures. Label each piece to avoid confusion during assembly.
3. Building the Frame
Begin by assembling the frame of your workbench. Lay out the pieces for the front and back frames and attach them using screws and wood glue. Ensure that all joints are square using your carpenter’s square.

4. Adding the Legs
Attach the legs to the frame, ensuring they are evenly spaced and securely fastened. Use clamps to hold the pieces in place while you drill and screw them together. This step is crucial for the stability of your workbench.
5. Reinforcing the Structure
To enhance the durability of your workbench, add additional supports. Place horizontal braces between the legs and the frame to distribute weight evenly and prevent wobbling.
6. Installing the Work Surface
Cut your plywood or MDF to fit the top of your frame. Secure it with screws, ensuring it’s flush with the edges of the frame. Sand the surface to remove any rough edges and apply a wood finish if desired.
7. Adding Storage Options
If you need extra storage, consider adding a lower shelf or drawers to your workbench. Use additional 2x4s to create a frame for the shelf and attach it to the legs. For drawers, use pre-made drawer slides or build custom ones to fit your needs.
8. Final Touches
Inspect your workbench for any loose screws or rough edges. Sand any remaining rough spots and apply a finish to protect the wood and enhance its appearance.
Tips for Customizing Your 2×4 Workbench Plans
Mobility
If you need to move your workbench around your workshop, consider adding casters to the legs. Make sure to use locking casters to keep your bench stable when in use.
Adjustable Height
For a more ergonomic workspace, you can design your workbench with adjustable legs. This feature allows you to raise or lower the height of the bench to suit different projects or users.
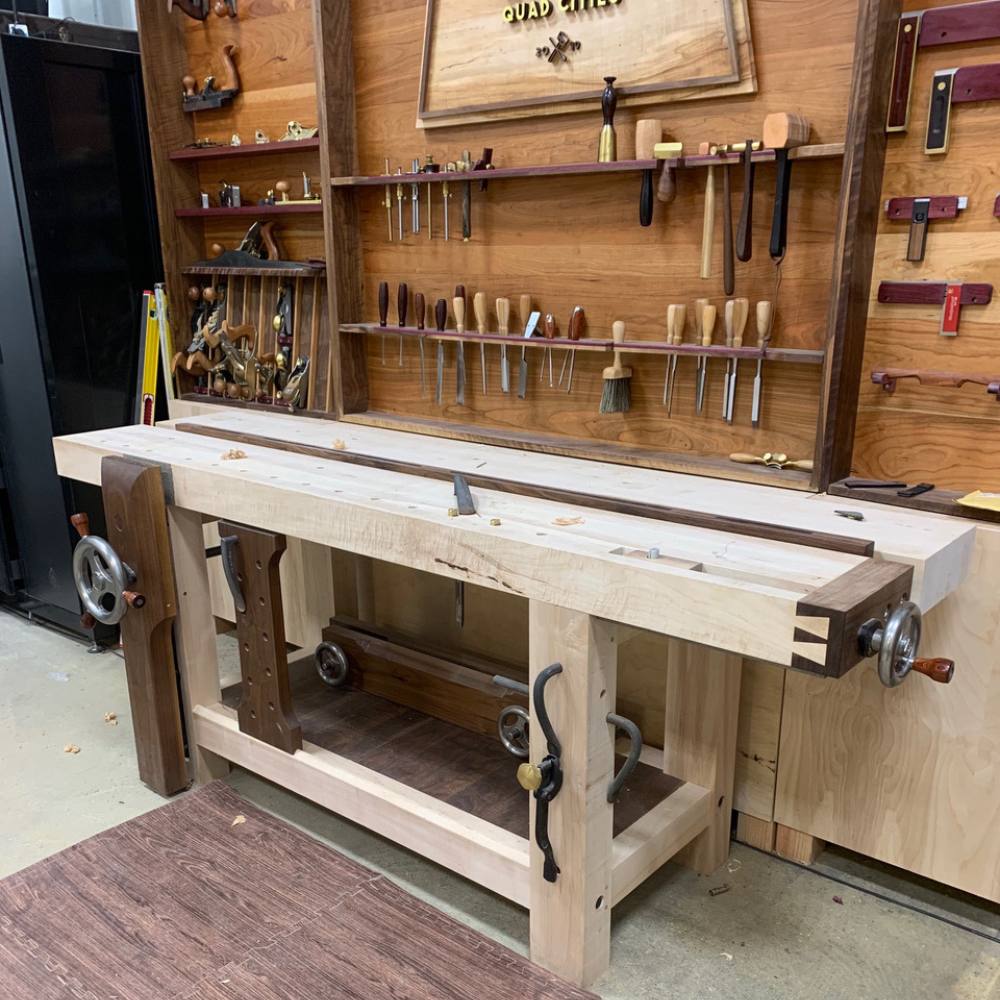
Built-in Tool Storage
Incorporate built-in tool storage to keep your workspace organized. Add pegboards, hooks, or magnetic strips to hold your tools within easy reach.
Electrical Outlets
For convenience, you can add electrical outlets to your workbench. This feature is especially useful for powering tools and chargers without needing long extension cords.
Maintaining Your 2×4 Workbench
Regular Inspections
Periodically inspect your workbench for any signs of wear or damage. Tighten loose screws and address any issues promptly to ensure the longevity of your bench.
Cleaning
Keep your workbench clean and free of debris. Regularly wipe down the surface and remove any sawdust or spills to maintain a safe and efficient workspace.
Protecting the Surface
Use a protective cover or mat when working on messy projects to prevent damage to the work surface. This simple step can extend the life of your workbench.
2×4 Workbench Plans for Small Spaces
If you’re working with limited space, you can still build an effective workbench. Opt for a compact design that maximizes functionality without taking up too much room. Foldable or wall-mounted workbenches are excellent options for small workshops.
2×4 Workbench Plans for Heavy-Duty Use
For more demanding projects, you might need a heavy-duty workbench. Reinforce your 2×4 workbench plans with additional bracing and thicker materials to support heavier loads and withstand rigorous use.
Frequently Asked Questions (FAQs)
1. What are the advantages of using 2×4 lumber for workbench plans?
2×4 lumber is affordable, durable, and easy to work with, making it an ideal choice for building a sturdy and reliable workbench. It’s readily available at most hardware stores, and its versatility allows for a wide range of customizations.
2. How long does it take to build a 2×4 workbench?
The time it takes to build a 2×4 workbench depends on your skill level and the complexity of your design. On average, a simple workbench can be completed in a day or two, while more intricate designs with additional features may take longer.
3. Can I build a 2×4 workbench without advanced woodworking skills?
Absolutely! One of the great things about 2×4 workbench plans is their simplicity. Even beginners can follow these plans to build a functional and sturdy workbench with basic tools and materials.
4. What size should my workbench be?
The size of your workbench depends on the available space in your workshop and the type of projects you’ll be working on. Common dimensions are 60 inches long, 30 inches wide, and 34 inches high, but you can adjust these measurements to fit your needs.
5. How can I make my 2×4 workbench more versatile?
To enhance the versatility of your workbench, consider adding features such as adjustable height, built-in tool storage, or electrical outlets. These additions can make your workbench more functional and convenient for a variety of projects.
For your “Free” Modern Table Plan – Click Here.
Conclusion
Building a workbench using 2×4 workbench plans is a rewarding project that provides you with a sturdy and reliable workspace. By following the steps outlined in this guide, you can create a customized workbench that suits your needs and enhances your workshop. Whether you’re a novice or an experienced woodworker, these plans offer a straightforward and cost-effective solution for building a workbench that will serve you well for years to come. So, gather your tools and materials, and start building your perfect workbench today!